
How to Make Recipe Cards in Canva (Printable 4×6, with Photos)
A step-by-step guide to designing printable recipe cards in Canva: the right card size, a layout that still reads in a messy kitchen, a photo frame that isn't a plain rectangle, and how to print and cut a whole set at home.
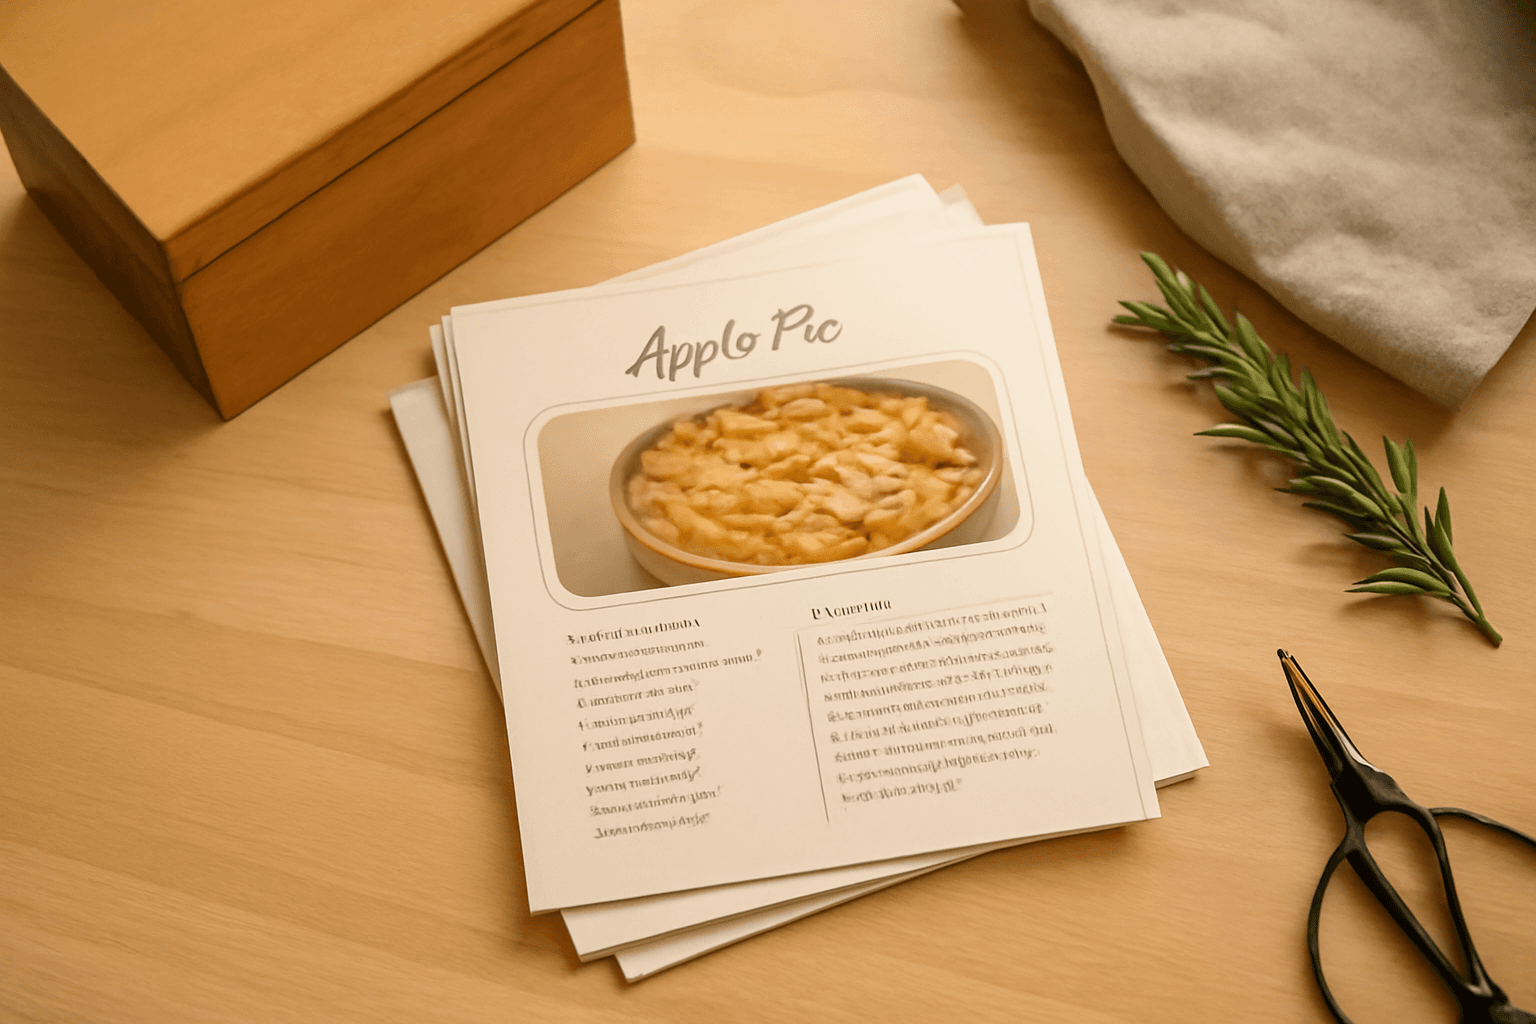
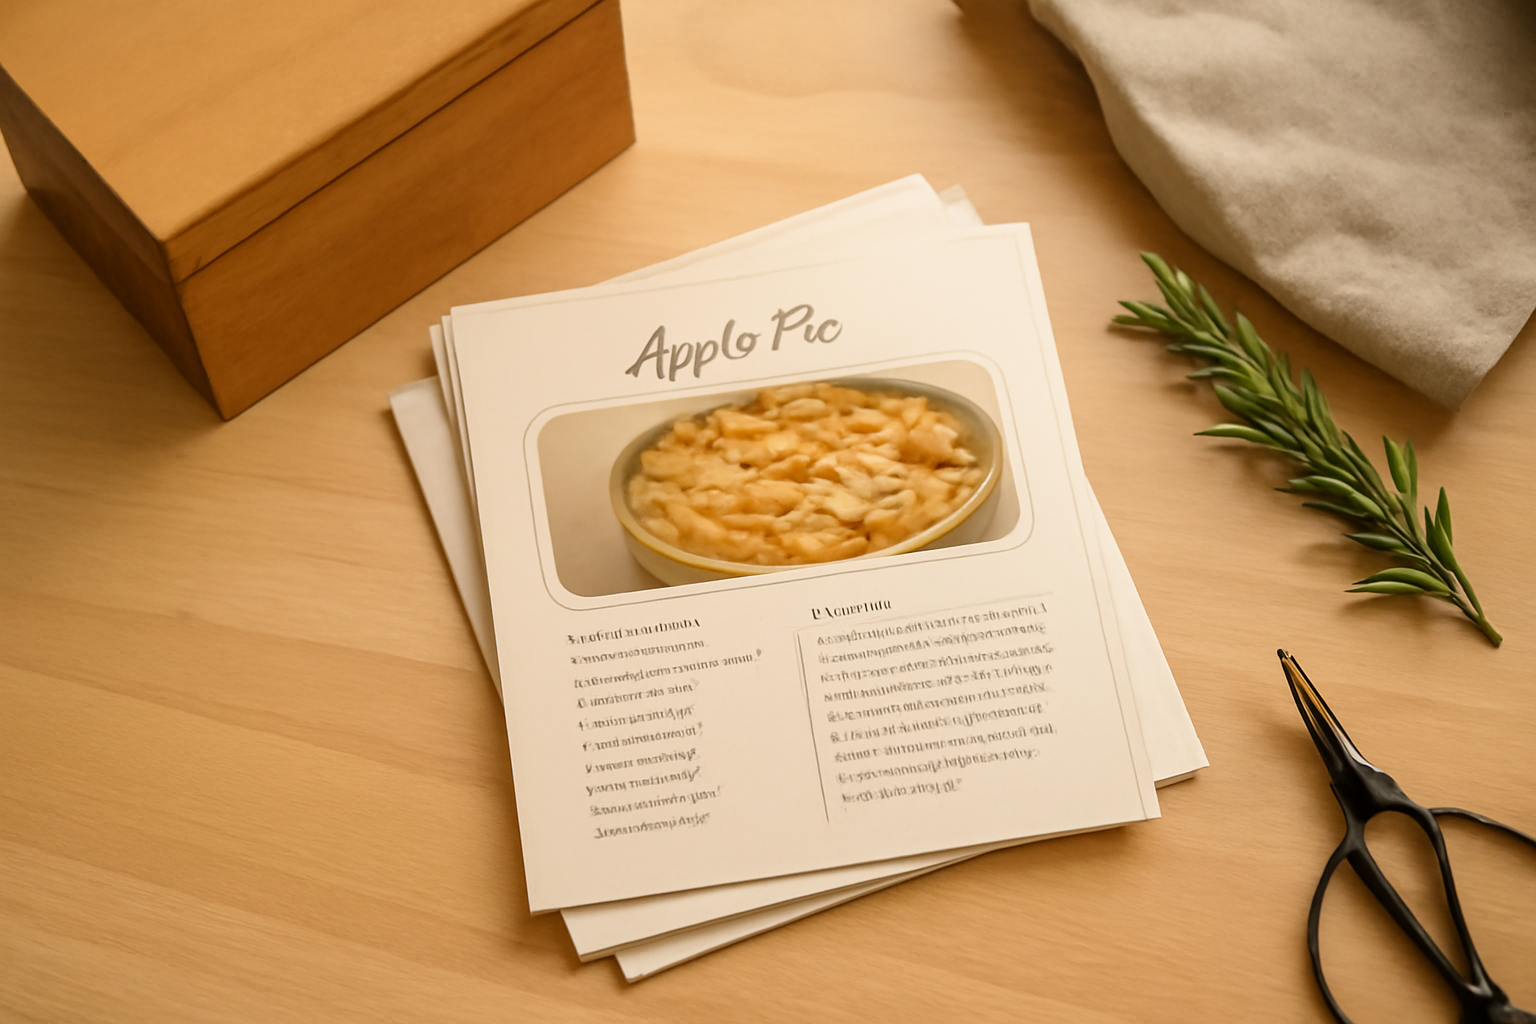
Recipe cards are one of those projects that look trivial until you print the first one. The photo is cropped wrong, the ingredient list runs off the edge, the type is too small to read when you're standing at the counter with flour on your hands — and you've just used a sheet of good cardstock.
This is the build I use for a whole set: pick a real card size, lay out the card so it survives a kitchen, put the dish photo in a frame that isn't a plain rectangle, then print and cut the batch. Canva does most of it. Where a Canva app genuinely saves you time, I'll say so — and where Canva's built-in tools are already enough, I'll say that too.
Step 1: Pick the card size first #
Everything downstream depends on this, so decide before you open a template.
| Size | Best for | Per US Letter sheet |
|---|---|---|
| 4 × 6 in | The standard. Fits every recipe box and card sleeve | 2 |
| 3 × 5 in | Short recipes, small index-card boxes | 4 |
| 5 × 7 in | Gift cards, or a recipe you want to frame | 2 |
| 8.5 × 11 in | Binder collections, long recipes, large type | 1 |
Go with 4 × 6 unless you have a reason not to — it's what recipe boxes, plastic sleeves and photo printing services are all built around.
In Canva: Create a design → Custom size, switch the unit to in, and enter your size. Do this rather than resizing a template, because a stretched template quietly ruins your margins.
Step 2: Add bleed before you design anything #
If any colour or photo touches the edge of your card, it needs to extend past the trim line, or you'll get a white sliver when you cut. Turn on File → Settings → Show print bleed and keep every background element running into that outer band.
Then keep text and anything you can't afford to lose at least 0.25 in inside the trim edge. That inner margin is your safe area.
If bleed, trim and safe area are new to you, what bleed actually means in printing covers it in one read.
Step 3: Lay out the card so it works in a kitchen #
A recipe card is read at arm's length, at an angle, in bad light. That rules out the delicate script-over-photo look most templates push.
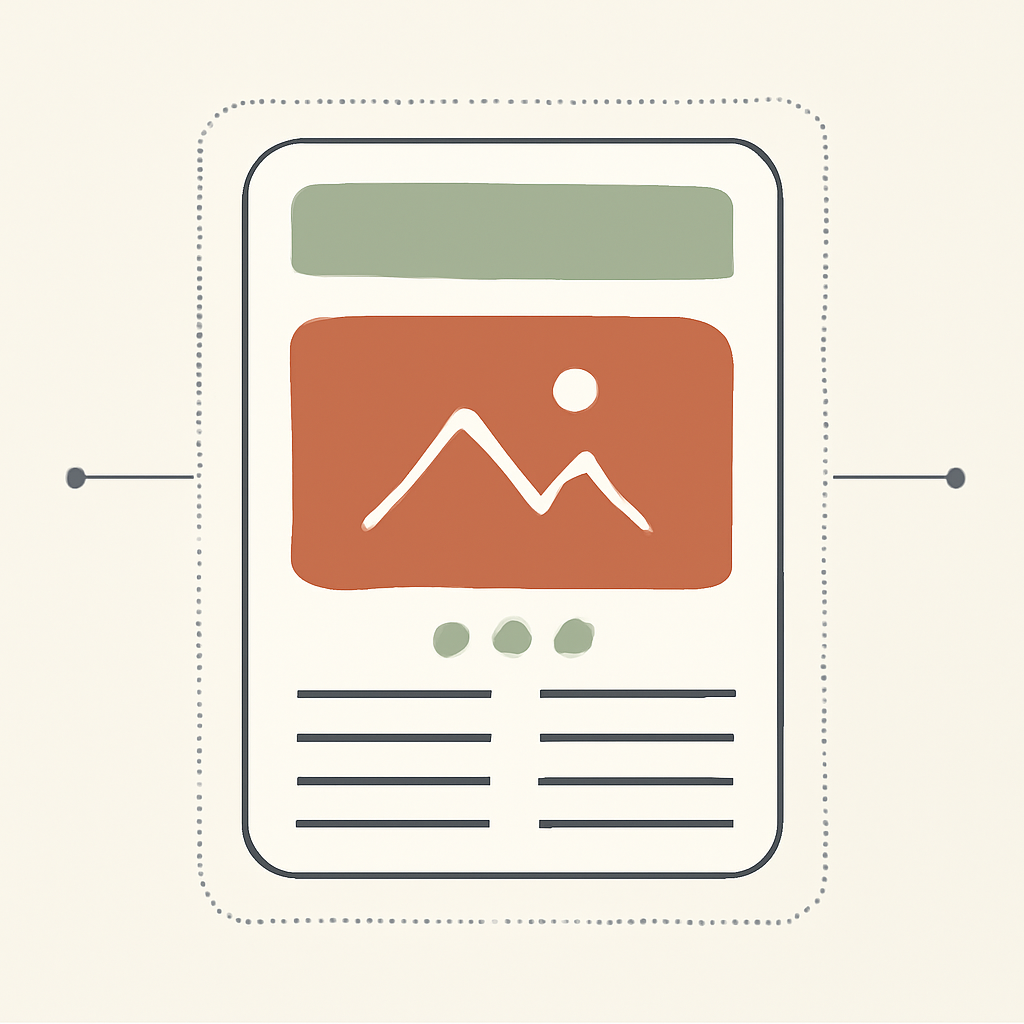
Top to bottom:
- Title — the recipe name, 28–36 pt on a 4 × 6 card. This is the only piece that should be decorative.
- Photo — one clear shot of the finished dish, around a third of the card height.
- Detail row — prep time, cook time, servings. Three short items, not a paragraph.
- Ingredients — a narrow left column, 10–12 pt, one item per line, quantities first.
- Method — a wider right column, numbered steps, same size as the ingredients.
Two hard rules from printing far too many of these: never go below 10 pt for the body text, and never set the method in a light grey. On screen it looks refined; on paper under a kitchen light it disappears.
If the recipe won't fit, cut words before you shrink type. "Preheat the oven to 180°C" becomes "Oven: 180°C".
Step 4: Give the photo a frame with a shape #
A rectangular photo is fine. A photo cropped into a shape — a rounded panel, an arc across the top of the card, a small grid of three step photos — is what makes a homemade set look designed.
Canva's own frames (Elements → Frames) handle circles, arches and a few decorative shapes, and for a lot of cards that's all you need. Drag a frame onto the card, drop a photo on it, done.
When you want the frame to match the card instead of the other way round, that's where Frames Lab comes in. It's a Canva app that builds frames to your parameters, and three of its modes suit recipe cards:
- Arc — set the sweep and start angle to get a curved photo band across the top of the card, sized to your page automatically.
- Grid — a small grid (2 × 2 or 3 × 1) for step-by-step process photos. Set columns, rows and the gap between cells, then Add to design. Keep it under about 30 cells or the app will refuse the layout.
- Shape — drop any shape from Elements → Shape onto your card, hit Recheck design in the app, and it converts that shape into a frame you can drop a photo into.
Frames Lab also has an Explore tab of ready-made frames if you'd rather just pick one, and a Style tab that re-adds your last frame with a border, blur or inner shadow. Free accounts get a limited number of frame adds before it asks you to upgrade.
If you've already got a silhouette you want to use — a PNG of a pot, a leaf, your logo — Image to Frame converts a PNG, SVG or JPG into a real Canva frame, so the photo crops to that outline instead of sitting behind it.

The step people skip: the silhouette needs a transparent background. A pot sitting on a white square converts into a square.
Step 5: Add the small stuff that makes it a set #
- A border. A thin rule 0.2 in inside the trim edge instantly makes a card look finished, and gives you a visual line to cut along. Border Art Maker will build a repeating dot, icon or photo border if a plain rule feels too plain.
- A category marker. A small coloured bar in one corner — green for mains, terracotta for bakes — so you can find a recipe in the box without reading every card.
- A source line. "From Grandma's notebook, 1998" at the bottom. On a gift set this is the line people actually react to.
- A decorative title. If you want the recipe name filled with a photo of the dish, Text to Frames turns each letter into its own frame. Use it on a cover card, not on every card — it costs legibility.
Step 6: Duplicate, then swap #
Build one card completely, then duplicate the page for every recipe. Change only the title, the photo and the text — never the margins, the type sizes or the border. That consistency is the entire difference between a set and a pile.
A practical trick: make the first card the cover of the set instead of a recipe. Title, a photo, the year. It makes the stack feel like a gift rather than a printout, and it gives you a card to put at the front of the box.
Step 7: Print and cut #
- Paper. 110 lb cover / 250–300 gsm cardstock. Regular copy paper will not survive a kitchen. Matte is easier to write on; glossy makes the food photo pop — matte vs glossy if you're torn.
- Download. Share → Download → PDF Print, and tick Crop marks and bleed. That gives you the trim lines to cut against.
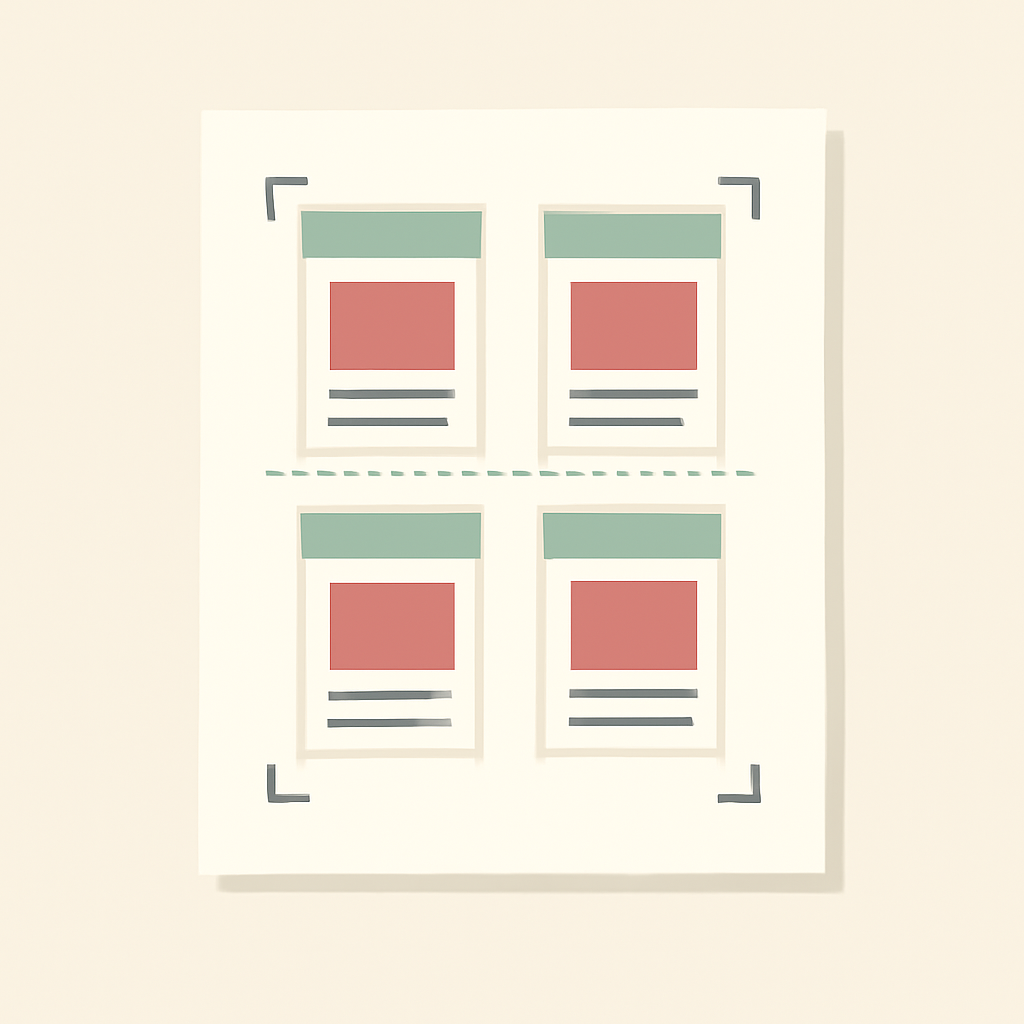
- Gang them up. For 3 × 5 cards, make a Letter-size design and paste four cards onto it in a 2 × 2 grid with a small gutter. For 4 × 6, two side by side is your limit on Letter.
- Test on plain paper first. One sheet. Check the type size by holding it at counter distance, not screen distance.
- Cut. A paper trimmer beats scissors by a mile on a set of twelve. Cut the long edges of the whole sheet first, then the short ones.
- Optional: laminate. Self-adhesive laminating pouches turn these into wipe-clean cards. Worth it for anything involving raw chicken.
Your photos should be at least 300 DPI at print size — a 4 × 6 photo area wants roughly 1200 × 1800 px. If that number means nothing to you, what DPI actually is is the short version. And if the printed colours come back duller than the screen, that's RGB vs CMYK, not your printer failing.
Where Canva's built-ins are already enough #
Honest answer: for a plain, good-looking recipe card, you don't need any apps at all. Custom size, a text box, a rounded rectangle from Elements, one of Canva's stock frames, download as PDF Print. That's a complete card, free, in about fifteen minutes.
The apps earn their place when you're making a set — an arc photo band repeated across twelve cards, a step-photo grid with exact spacing, a custom silhouette frame you'll reuse next year. That's parameter work, and doing it by hand twelve times is where the evening goes.
Three ways to use the set #
- A recipe box gift. Twelve cards, a cover card, a wooden box. One of the cheapest personal gifts that doesn't feel cheap — more ideas in photo gift ideas you can make in Canva.
- A holiday menu insert. Print the cards your guests keep asking about and leave them by the door, alongside your Thanksgiving table pieces.
- A weekly meal plan. Pair the cards with a printed month grid from Calendar Maker and pin both inside a cupboard door.
Start with one recipe, print it, and hold the printed card at arm's length before you build the other eleven. Every mistake worth fixing shows up on that first sheet.
Frequently asked questions
4 x 6 inches is the standard — it fits every recipe box and card sleeve sold as "recipe card size". 3 x 5 inches is the smaller index-card size, good for short recipes and for printing four to a sheet. 5 x 7 inches is worth it if you want a photo big enough to frame, and a full 8.5 x 11 page is best for binder collections and long recipes. Pick one size for the whole set so the cards stack evenly.
On US Letter (8.5 x 11 in) you get two 4 x 6 cards side by side, or four 3 x 5 cards in a 2 x 2 grid. On A4, two 4 x 6 cards across is very tight — 8 inches on an 8.27-inch sheet — so either trim carefully or drop to 3 x 5. Most home printers can't print to the paper edge, so leave a quarter-inch margin around the outside of the sheet.
Yes. Custom dimensions, text, shapes, frames and PNG or PDF download are all on the free plan. The paid extras are mostly convenience: Pro templates, Brand Kit fonts, Magic Resize when you want the same card in a second size, and the CMYK colour profile on a Print PDF download. Third-party Canva apps like Frames Lab have their own free limits — Frames Lab caps how many frames a free account can add before it prompts you to upgrade.
Related products


More from QRdy Blog

What Is a Wall Calendar? Formats, Sizes, and How to Make Your Own
A wall calendar is defined by reading distance, not decoration — it has to be legible from across the room. Here are the five formats, the sizes that actually get printed, how it differs from a desk calendar, and how to design your own in Canva.
10 Thanksgiving Design Ideas You Can Make in Canva (Printable Decor, Menus & More)
Ten Thanksgiving projects you can actually design and print at home this year — turkey-shaped photo frames, a "GRATEFUL" photo banner, menu cards, a Friendsgiving invite, a November countdown and more. Each one names the Canva app that does the hard part.
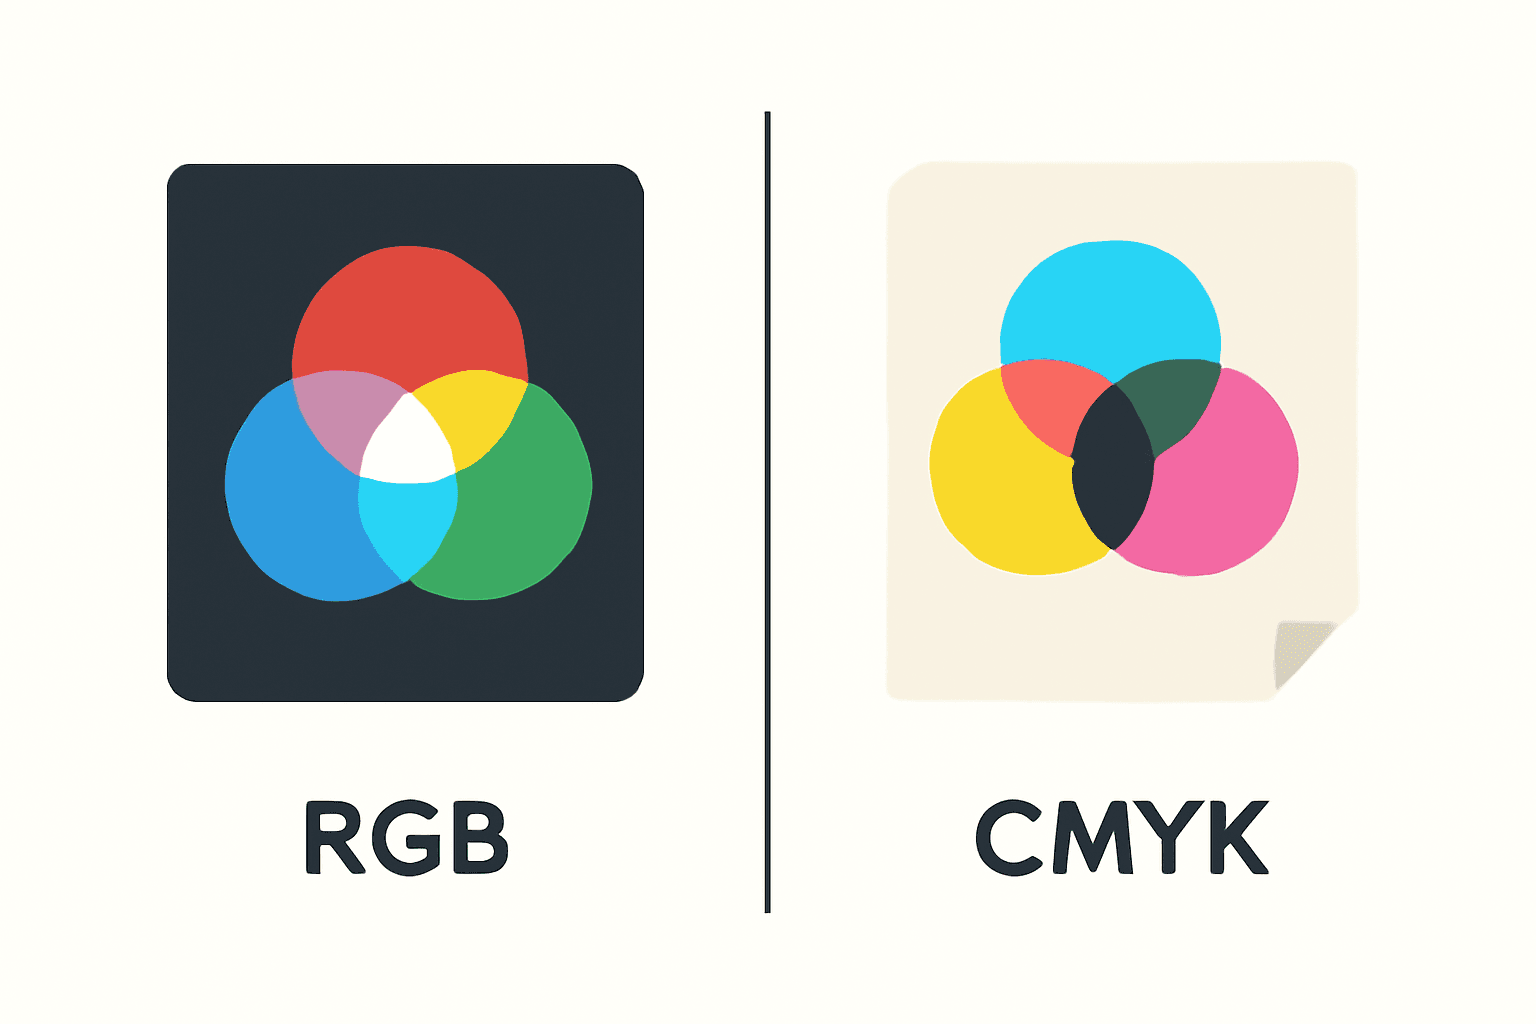
CMYK vs RGB: Which Color Mode Should You Use (and What Canva Actually Does)
RGB is light, CMYK is ink — and that one difference is why your print came back duller than the screen. Here's the plain-English comparison, plus exactly what to do about it inside Canva.