
How to Fill a Shape with a Photo in Canva (Step by Step)
Canva shapes can't hold photos on their own — frames can. Here's how to turn any shape into a photo-filled frame in Canva using Frames Lab, plus the built-in options and when to use each.
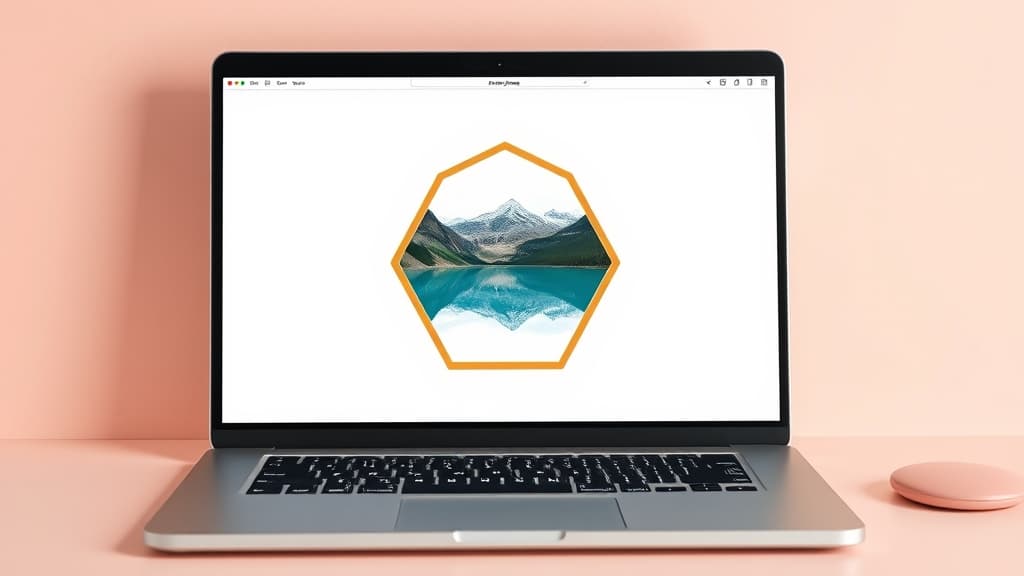
How to Fill a Shape with a Photo in Canva (Step by Step)
If you've ever added a nice shape from Canva's Elements panel and then tried to drag a photo into it, you know the frustrating part: the photo just lands on top of (or behind) the shape. Nothing clips.
That's because Canva shapes are solid graphics, not containers. The only elements in Canva that accept a dropped photo are frames. So the real question behind "how to fill a shape in Canva with a picture" is:
How do I get a frame in the shape I want?
There are two honest answers: use one of Canva's built-in frames (fast, but a limited set of shapes), or turn your own shape into a frame with a frame-maker app. This tutorial covers both, starting with the most flexible method — Frames Lab's Shape mode, which converts any shape sitting in your design into a working, photo-ready frame.

Method 1: Turn any shape into a frame with Frames Lab #
Frames Lab is a free Canva app from Qrdy that runs in the side panel of the Canva editor. Its Shape mode scans your design, finds the shapes in it, and turns each one into a frame you can fill with a photo (or video). Here's the full flow:
Step 1: Add the shape to your design #
In your Canva design, add the shape you want to fill from Elements → Shape or Elements → Graphics. Anything works — a hexagon, a blob, an arrow, a star. If you use Canva's AI Shape to generate a custom shape, that output works too.
Step 2: Open Frames Lab #
Search for Frames Lab in the Canva Apps panel and open it. It appears in the sidebar with three tabs at the top: Create, Explore, and Style.
Step 3: Switch to Shape mode #
In the Create tab, you'll see a row of five create modes: Shape, Burst, Grid, Arc, and Diagonal. Pick Shape.
Step 4: Click "Recheck design" #
Hit the Recheck design button. The app scans your current page and lists every shape and graphic it recognizes under a Frames section. If your shape doesn't show up, make sure it was added from Elements → Shape/Graphics and click Recheck design again.
Step 5 (optional): Add a border #
Want an outline around your filled shape? Set a border color and thickness in the Border section before adding the frame — the border becomes part of the frame.
Step 6: Click the frame to add it #
Click your shape in the list. Frames Lab drops a frame version of it into your design, automatically sized to fit your page — no manual resizing needed.
Step 7: Drag your photo in #
Now the normal Canva frame behavior kicks in: drag any photo from Uploads or the Photos tab onto the frame and it snaps inside, cropped perfectly to the shape. Double-click to reposition or zoom the photo inside the shape.
That's it — your shape is filled with your picture, and you can swap the photo any time by dragging a new one in.

Method 2: Use Canva's built-in frames #
To be fair to Canva: if the shape you want is common, you may not need an app at all.
- Open Elements and search for "frames".
- Scroll the Frames section — circles, squares, hearts, letters, numbers, film strips, and some organic shapes.
- Click one to add it, then drag your photo in.
This is the fastest route when a built-in frame matches what you need. The limitation is the catalog: you can't hand Canva an arbitrary shape (your logo, an AI-generated blob, a specific arch) and get a frame back. That's exactly the gap the app methods fill.
Other ways to fill a shape, depending on your starting point #
Different tools fit different situations — here's the quick map:
| Your starting point | Best tool | Why |
|---|---|---|
| Shape already in your design | Frames Lab (Shape mode) | One-click convert, auto-fits page |
| A PNG/SVG/JPG file of a shape | Image to Frame | Uploads your file and converts it to a frame |
| Want a reusable arc/grid/burst frame | Frames Lab (other modes) | Parametric frames with precise controls |
| Just describe the shape in words | AI Frames | Type a description, AI draws the frame |
| One-off cut, no reuse needed | Clipping Mask | Masks the image to a shape directly — quick, but not a reusable frame |
| Common shape (circle, heart…) | Canva built-in frames | No app needed |
The frame-based options (Frames Lab, Image to Frame, AI Frames) give you a reusable container — drop in a different photo next week and the design updates. Clipping Mask produces a one-off cut-out, which is fine for a single graphic but means redoing the work if you change photos.
Tips for better results #
- Recheck after every edit. In Shape mode, Frames Lab only knows about shapes from its last scan — click Recheck design after adding or changing shapes.
- Set the border first. Border settings apply at the moment the frame is created; add the frame again from the Style tab if you want to restyle it with Blur, Border, or Inner Shadow effects.
- Frames auto-fit your page. Frames Lab sizes new frames to your current design, so create them in the design where you'll use them.
- Free vs Pro: free users have a limit on how many frames they can add; Pro removes it. For a one-off shape fill, free is plenty.
Wrap-up #
Shapes don't hold photos in Canva — frames do. For common shapes, Canva's built-in frames are the quickest fix. For your shape, add it to the design, let Frames Lab convert it with Shape mode, and drag your photo in. Seven steps, no Photoshop, and the frame stays reusable for every photo swap after that.
Frequently asked questions
Canva shapes from Elements are solid graphics, not containers. Only frames accept dropped photos. To fill a shape with a picture, you first need a frame in that shape — either a built-in frame from Elements, or a custom one made with an app like Frames Lab, which converts any shape in your design into a working frame.
Yes. Add the shape to your design from Elements → Shape or Graphics (Canva's AI Shape output works too), open Frames Lab, switch to Shape mode, and click Recheck design. The app detects the shape and lists it as a frame you can add with one click — then just drag your photo in.
Frames Lab is free to install and use, with a limit on how many frames free users can add. Pro removes the limit and unlocks the Style effects (Blur, Border, Inner Shadow). For occasional shape-filling, the free tier is usually enough.
Related products


More from QRdy Blog

10 Thanksgiving Design Ideas You Can Make in Canva (Printable Decor, Menus & More)
Ten Thanksgiving projects you can actually design and print at home this year — turkey-shaped photo frames, a "GRATEFUL" photo banner, menu cards, a Friendsgiving invite, a November countdown and more. Each one names the Canva app that does the hard part.
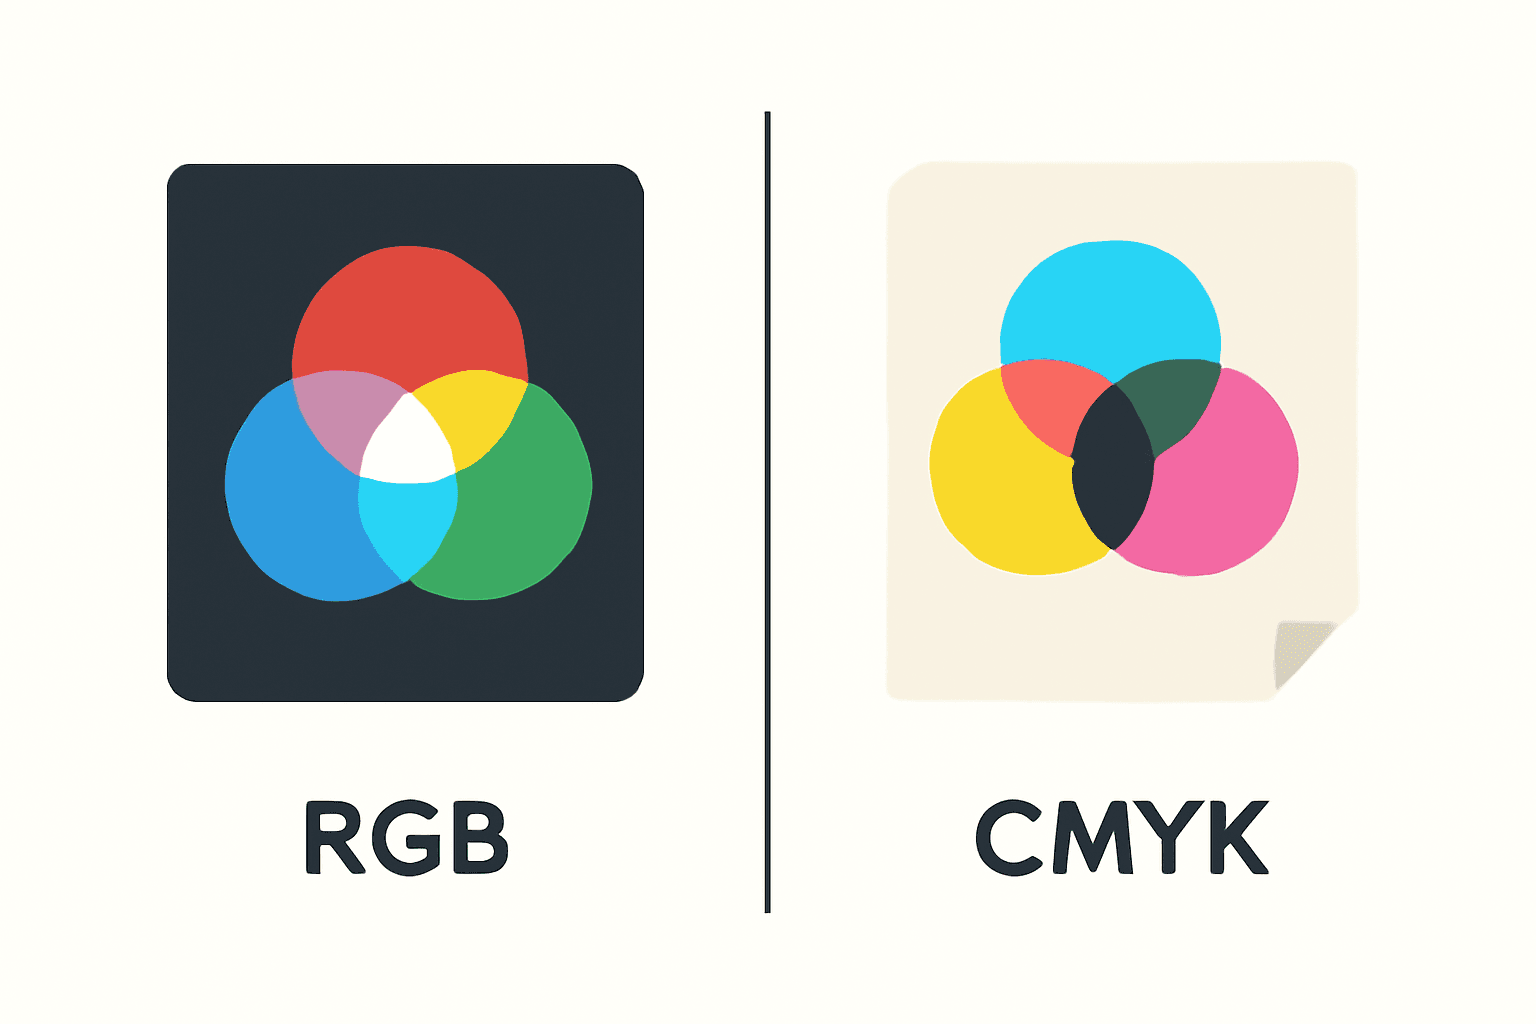
CMYK vs RGB: Which Color Mode Should You Use (and What Canva Actually Does)
RGB is light, CMYK is ink — and that one difference is why your print came back duller than the screen. Here's the plain-English comparison, plus exactly what to do about it inside Canva.
The Best Canva Apps for Photo Books & Photo Albums (2026)
A photo book is 40 pages of the same three layouts unless you give yourself better tools. These are the Canva apps that actually speed up building a photo book or album — grid spreads, custom-shape pages, a photo-filled cover — plus what Canva already does well on its own.