
How to Take Product Photos for Etsy With Your Phone (That Also Work as Mockup Templates)
Window light, rear camera at 1x, a clean print area and one untouched shot: an 8-step phone photo routine for Etsy sellers, plus how to shoot blank products so the same photos become reusable mockup templates.
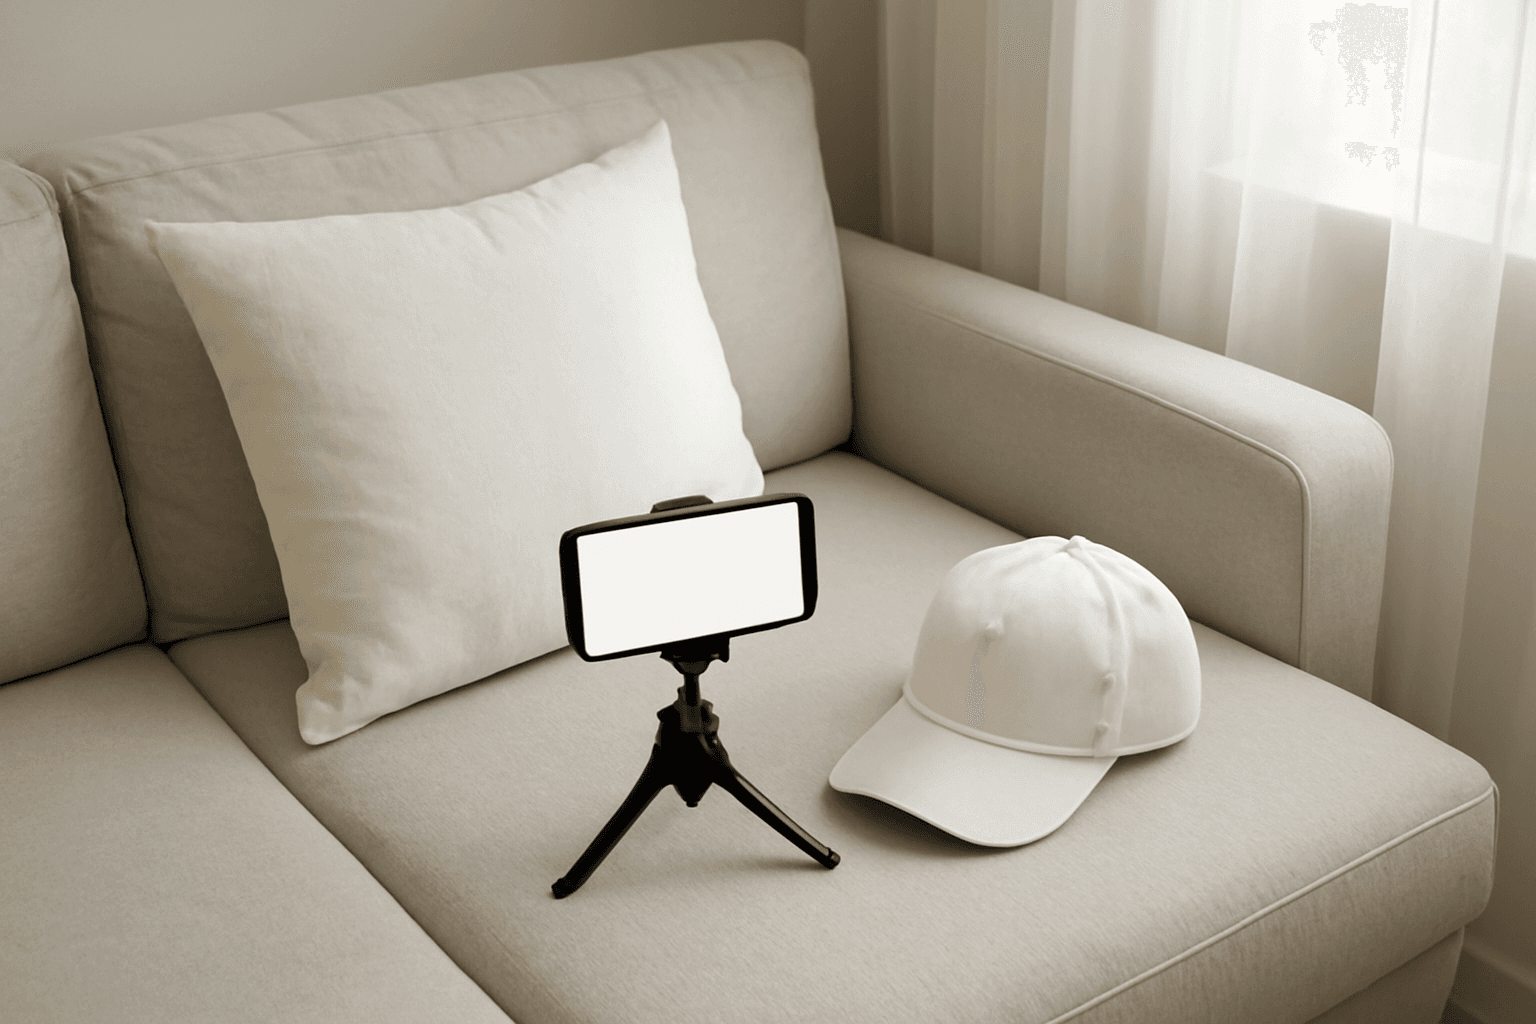
To take product photos for Etsy with your phone, shoot next to a window in soft daylight, use the rear camera at 1x zoom, put the product on a plain or real-home background, keep the print area fully visible, and take one straight-on shot plus one 3/4 angle. Leave one shot completely unedited.
That last point matters more than it used to. Etsy's updated listing image rules ask most listings to include at least one real, unedited photo of the actual item. And if you sell print-on-demand, the same phone session can give you something else: a clean photo of a blank product that you can reuse as a mockup template for every design you sell.
This guide covers both. First the photo basics that work for any Etsy product, then how to shoot blanks so they double as mockup templates.
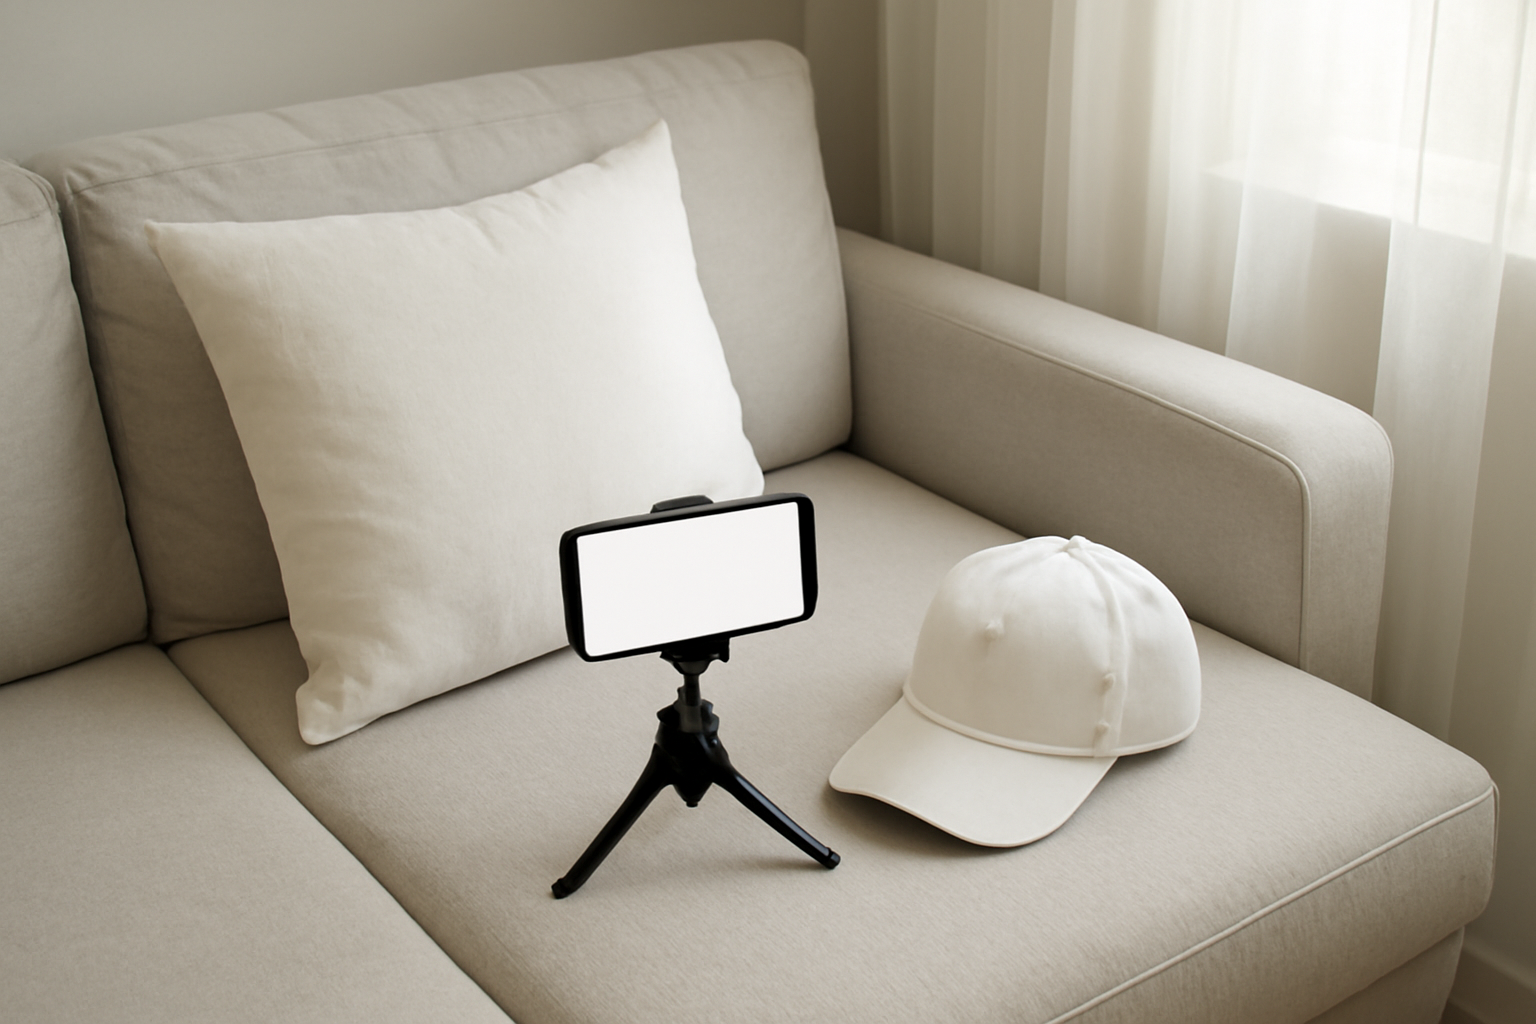
A simple home setup: soft window light, a neutral sofa, and a phone on a mini tripod.
Why one phone session can do two jobs #
Job 1: the real photo Etsy asks for. According to Etsy's Help article on how the listing image requirements apply to your listings, most listings need at least one photo of the actual item against a real background that hasn't been edited or changed. Etsy also asks that your first photo be the clearest, most realistic image of the item. Read the article itself for which listings it covers; we won't paraphrase beyond that. (For the print-on-demand exception, see our explainer on Etsy's new AI photo rules and mockups.)
Job 2: a blank you can reuse. If you photograph a plain, unprinted version of your product the same way, that photo can become a mockup template. Drop your designs onto it and you get listing images that share the lighting and setting of your real photo, so the whole listing looks like one product.
What you need #
- Any recent phone. You don't need a pro camera or a 48 MP mode.
- A window with indirect daylight (not direct sun).
- A plain surface or a real room corner: a white sheet, a wooden table, a sofa, a bed.
- Optional: a cheap mini tripod and a white foam board to bounce light into shadows.
- A blank version of your product if you sell POD: one white tee, one plain cap, one blank pillow cover.
How to take product photos for Etsy with your phone: 8 steps #
1. Shoot next to a window, with the lights off #
Place the product about one to two meters from a window, with the light coming from the side. Turn off ceiling lamps: mixing warm bulbs with daylight gives you orange and blue patches that are hard to fix. If the sun hits directly, hang a sheer curtain or tape baking paper over the glass to soften it.
2. Pick a background that tells the truth #
A plain background keeps attention on the product. A real setting (a sofa for a pillow, a shelf for a mug) helps buyers picture it at home. Both work. Avoid clutter with strong colors or busy patterns near the product, because it pulls the eye and makes it harder to separate the product from the background later.
3. Use the rear camera at 1x #
The main rear camera is the best sensor on almost every phone. Stay on 1x, or the phone's dedicated 2x/3x lens if it has one; don't pinch-zoom, which just crops and enlarges. Step closer instead. Wipe the lens with a soft cloth before you start; a fingerprint smudge is the most common cause of hazy phone photos.
4. Lock focus and exposure #
Tap on the product to focus, then hold your finger down to lock focus and exposure (most iPhone and Android camera apps support this). Drag the exposure slider down a little if white products look blown out. A white tee or cap should still show texture, not a flat white blob.
5. Keep the print area fully visible #
This is the step most sellers skip. Make sure the area where your design will go is:
- Not covered by hands, hair, straps or other products
- Not folded over itself (iron or steam fabric first)
- Not cut off by the frame edge
A clean print area makes the photo honest for buyers and makes a better mockup template later.
6. Take two angles: straight-on and 3/4 #
- Straight-on shows flat items best: posters, canvases, tote bags, folded tees, phone cases.
- 3/4 angle (turned about 30 to 45 degrees) shows the shape of curved items: mugs, tumblers, caps.
Take both. You'll pick favorites later, and each gives you a different kind of mockup template.
7. Frame square, with a border #
Etsy displays listing images in several crops, and square survives them best. Leave some empty space around the product so thumbnails don't cut off the edges. Our guide to Etsy mockup size covers the exact dimensions and file settings.
8. Keep one shot untouched #
Pick your best photo and leave it exactly as it came out of the camera: no filters, no retouching, no background swap. That's your candidate for the unedited photo. Edit copies of the others (crop, straighten, brighten) as long as they still show the item accurately.
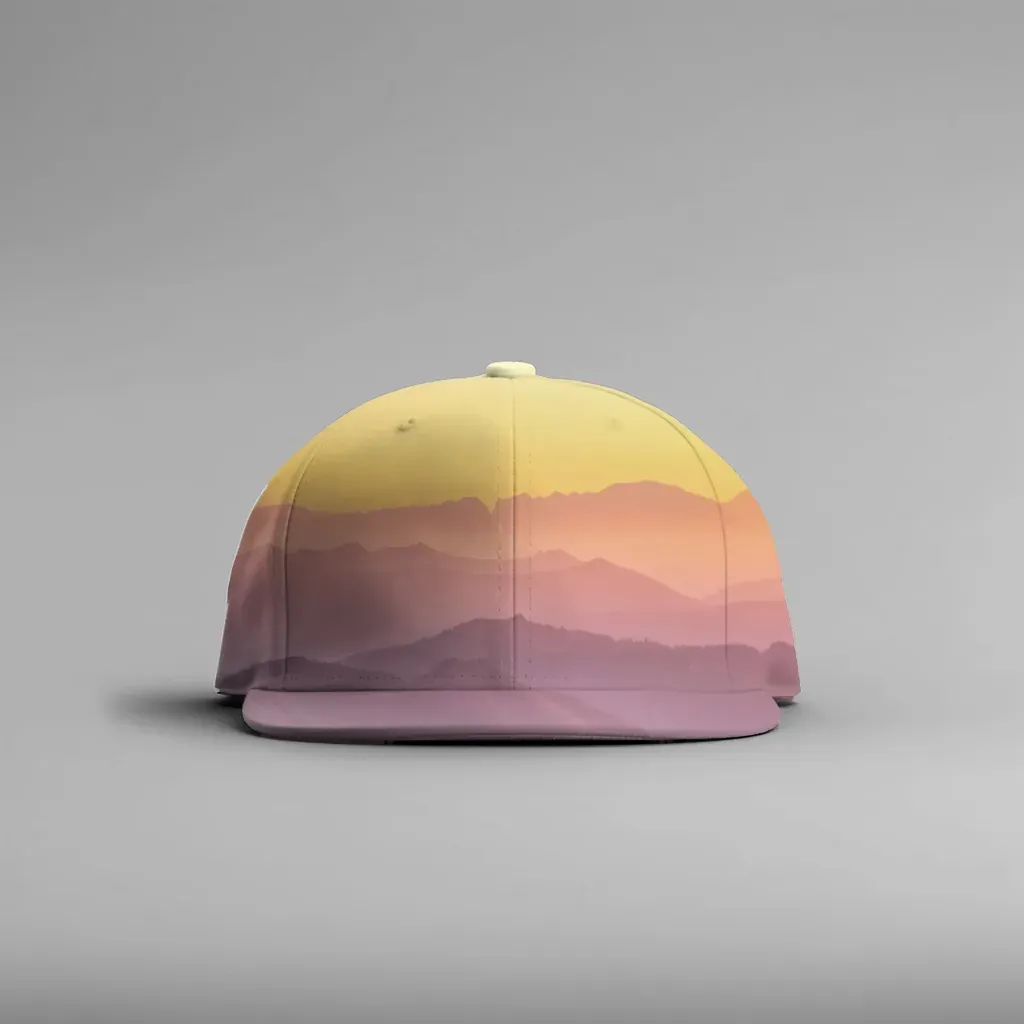
A render on a plain cap photo taken at a slight angle, so the design follows the curve of the front panel.
Turn your blank photos into mockup templates #
Once you have clean photos of blank products, you can reuse them for every design you sell. MockupPress is a browser app built for exactly this:
- Drop a photo of your blank on the Photos page.
- Drag a box around where the design will print. The app cuts the product out of the background, snaps to its edges, picks a surface shape (Flat for straight-on shots, Cylinder for mugs and caps, or a free-form mesh for fabric like pillows), and measures light and folds from your photo.
- Fix anything that looks off with the three Edit tools: Grid (drag mesh points), Add / Subtract brush (paint fingers or straps out of the print area), and Highlights / Shadows / Edge sliders.
- Save the template, then go to Bulk, drop in your designs and render. You get a ZIP of every combination plus a
manifest.csvthat lists each file.
This is where your phone habits pay off. Side window light gives the app real folds and shading to work with, so the design looks printed rather than pasted. A visible, unblocked print area means less brush work. A straight-on vs 3/4 shot decides whether the design is placed flat or wrapped around a curve.
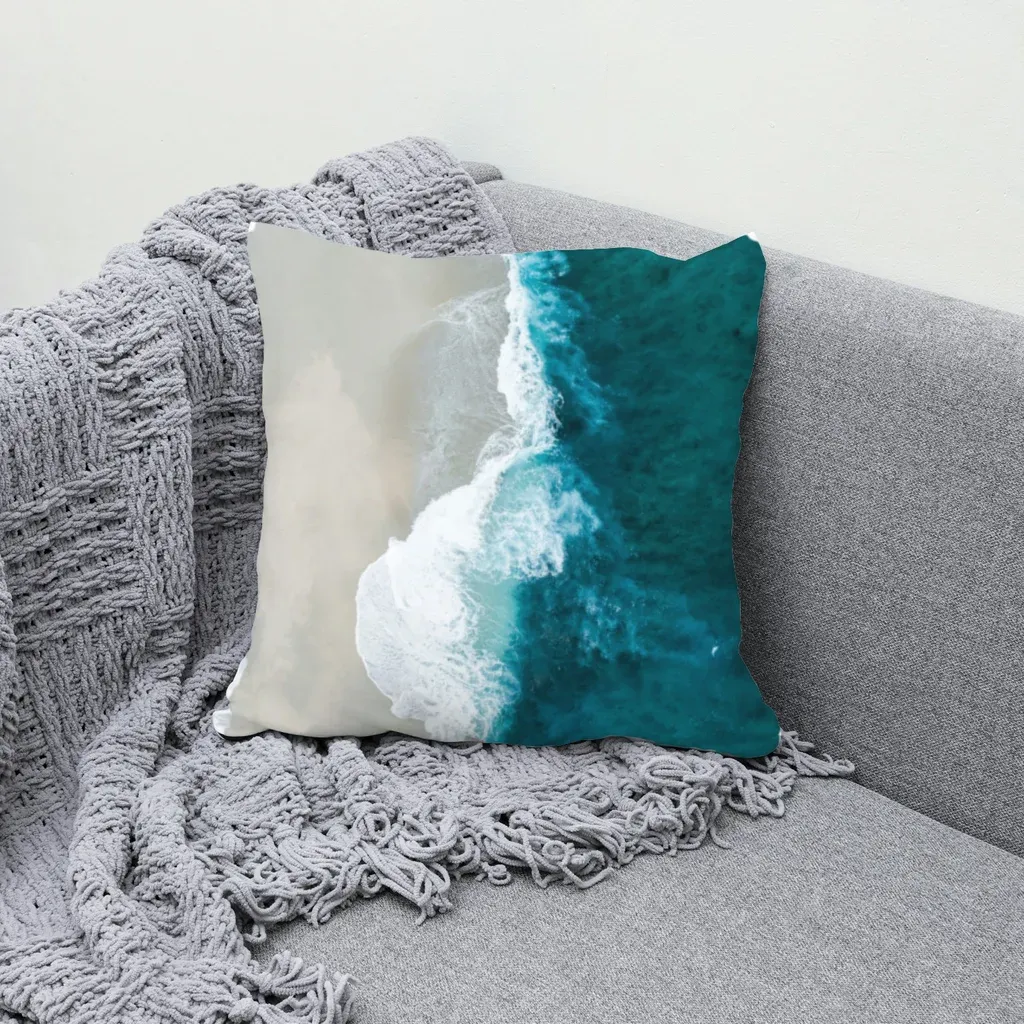
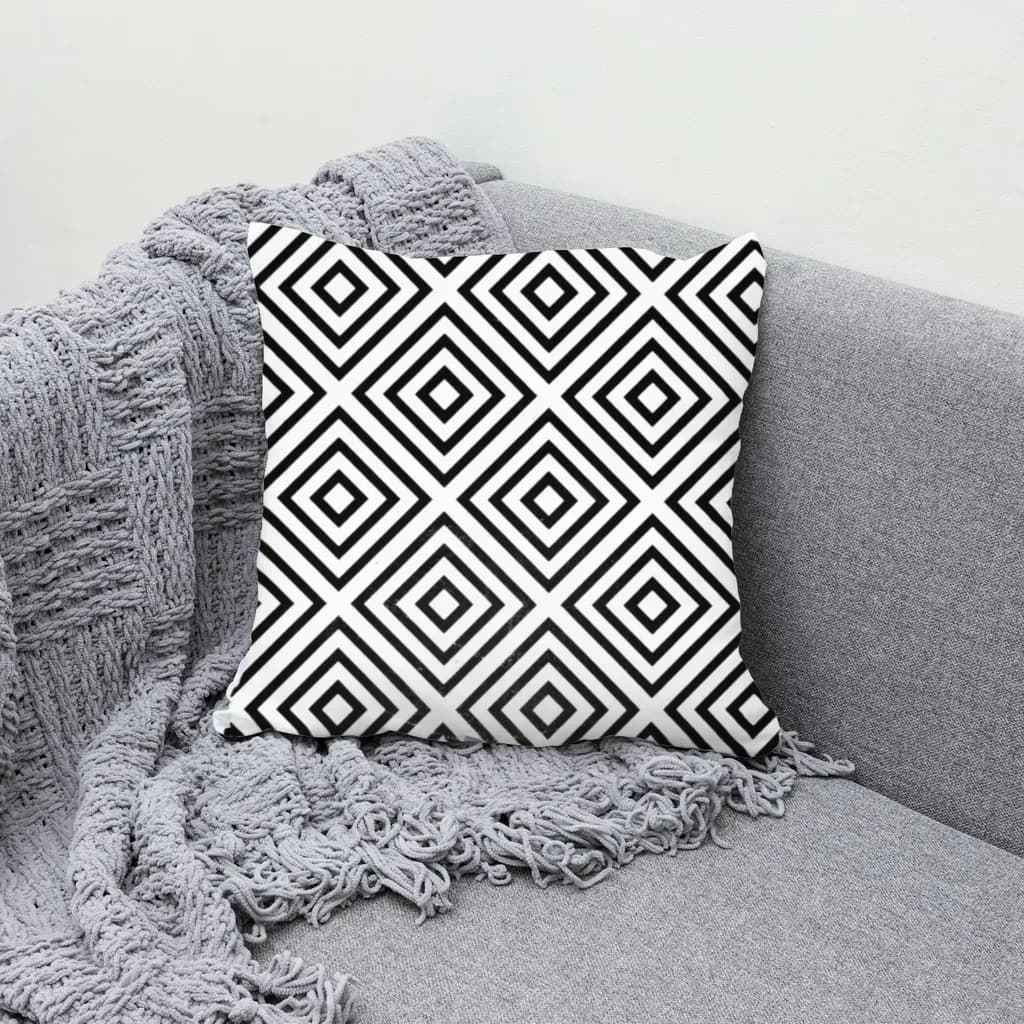
A pillow template made from one sofa photo: the print follows the cushion's existing folds and shadows.
If you've already shot your blanks, you can turn your own product photos into mockups in your browser. It's free during the open beta, with no account and no watermark, and the photos stay on your device.
Honest limits to plan around:
- Images are resized to 1536 px on the long edge. That's why you don't need your phone's highest-resolution mode for templates; it won't add detail to the mockups.
- No product recoloring. Want the design on a white, a black and a navy cap? Photograph all three.
- No built-in mockup library. The app works with your photos, which is the point of this guide.
- Your data lives in your browser. Clearing browser data or switching computers means re-adding photos.
- A mockup is an edited image. It can't be your required unedited photo. Keep that real shot of the actual printed item separate.
For the full mockup walkthrough, see how to make mockups for Etsy without AI.
Quick fixes for common phone photo problems #
| Problem | Likely cause | Fix |
|---|---|---|
| Photo looks yellow or blue | Mixed lamp and window light | Turn off indoor lights, shoot by the window only |
| White product looks gray | Phone underexposed for the bright window | Tap the product and nudge exposure up |
| White product has no texture | Overexposed | Lock exposure and drag it down slightly |
| Blurry details | Pinch zoom or shaky hands | Use 1x, step closer, use a tripod or the 3-second timer |
| Harsh dark shadow on one side | Light from one side only | Put a white board or sheet opposite the window |
| Mockup design looks pasted | Flat, shadowless lighting | Shoot with side light so folds and shading show |
| Hands or straps in the print area | Composition | Reshoot, or remove them with the Subtract brush |
A simple shot list per product #
- Hero: straight-on or 3/4, plain or real-home background (your unedited candidate).
- Detail: close-up of the print, fabric or finish.
- Scale: the product in a hand or next to a familiar object.
- Blank for templates (POD): same light and angle as the hero, no design.
- Each color you sell (POD): one blank photo per color.
Shoot all five in one session while the light is the same, and your listing images will match.
The short version #
Window light, rear camera at 1x, clean print area, two angles, square framing, one untouched shot. Do that once per product, and you have a real photo for Etsy's requirements plus blank photos you can turn into mockup templates for every design you make.
Frequently asked questions
Yes. Any recent phone works if you shoot in soft window light, use the main rear camera at 1x, lock focus and exposure on the product, and keep the background simple. Light and a steady phone matter far more than megapixels.
Etsy's updated Listing Image Requirements ask most listings to include at least one photo of the actual item against a real background that hasn't been edited or changed. Check Etsy's Help article on listing image requirements for which listings it applies to and for the print-on-demand exception.
Either a plain, light background or a real setting where the product would be used, like a sofa for a pillow. Avoid clutter and strong patterns near the product so buyers focus on it.
Yes. In MockupPress you drop the photo, drag a box around the print area and save it as a template, then render all your designs onto it in bulk. Templates and renders are capped at 1536 px on the long edge, and the app doesn't recolor products, so shoot one photo per color.
No. A mockup is an edited image. Keep a separate, untouched photo of the actual item for listings that need one, and use mockups as additional images.
More from QRdy Blog

How to Outline Text in Canva (3 Ways, Including Outlined Photo Letters)
Learn how to outline text in Canva with the built-in Outline effect, a stacked-copy trick for thick borders, and Text to Frames for outlined letters filled with photos.

What Is an Alpha Channel? Meaning, File Formats, and Why It Matters for Canva Frames
An alpha channel stores how opaque each pixel is. Learn how it works, which formats support it (PNG, WebP, not JPG), and why it lets a Canva frame follow your real shape.
How to Make a Mockup in Photoshop (Smart Object Steps) — Plus a Faster Way From a Plain Photo
Step-by-step: use a mockup PSD's smart object, or build your own Photoshop mockup from a product photo with Warp, Multiply and a displacement map. Plus when a plain-photo tool is faster for bulk.