
What Is Bleed in Printing? Bleed vs Trim vs Safe Area (and How to Set It in Canva)
Bleed is the extra artwork you print past the cut line so a trimming blade never leaves a white sliver on the edge. Here is what bleed, trim and safe area actually mean, how much bleed to use, and exactly where to turn it on in Canva.
If you have ever had cards, a calendar or a set of stickers come back from the printer with a thin white line down one edge, you have met the problem that bleed exists to solve.
It is one of those print terms that sounds technical and turns out to be almost embarrassingly simple once someone draws it for you. So here is the drawing, and then the five minutes of setup that stop it happening again.
What is bleed? #
Bleed is extra artwork that you deliberately print past the edge of the finished piece, so that when the paper is cut, the blade never runs out of ink to cut through.
That is the whole idea. Your background colour, your photo, your border pattern — anything meant to touch the edge — gets extended a few millimetres beyond where the cut will happen. Those few millimetres are then sliced off and thrown in the bin. They exist only to absorb error.
The error is real and unavoidable. Commercial printers cut hundreds of sheets in a stack at once, and paper shifts a fraction of a millimetre under the blade. Home guillotines are worse. Nobody cuts on the exact line every time, so print files are built to tolerate a miss.
Bleed vs trim vs safe area #
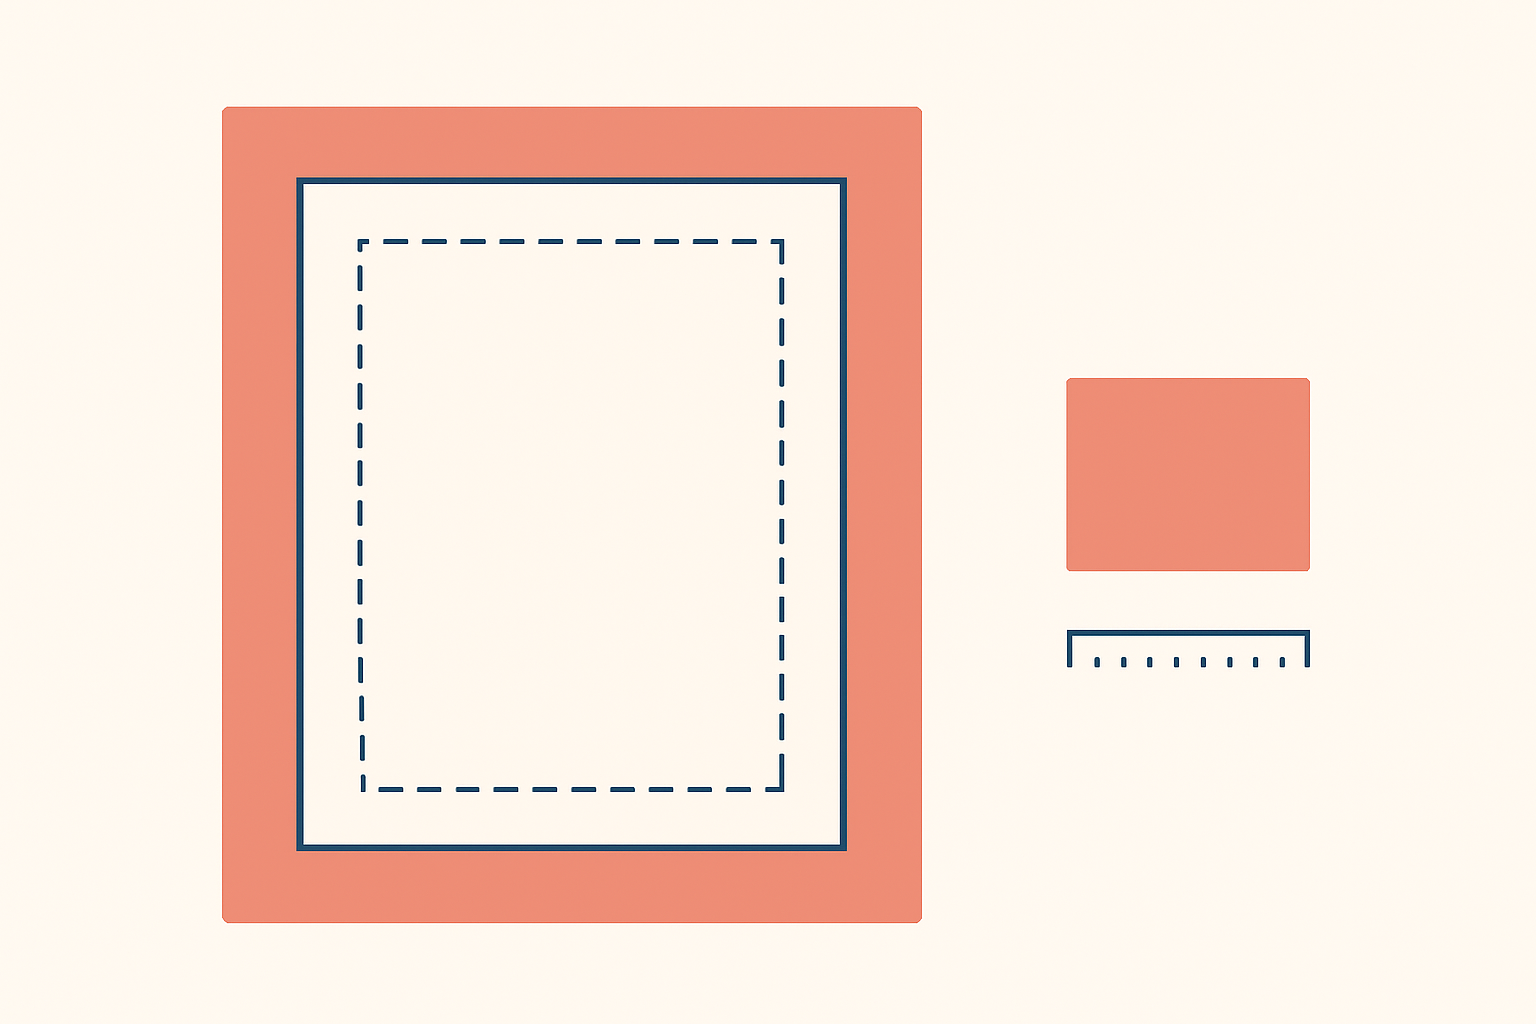
Three lines, three jobs. Everything about print setup lives in the space between them.
| Line | Where it sits | What it means | What goes there |
|---|---|---|---|
| Bleed | ~3 mm outside the cut line | The area that gets cut off | Background colour and photos only — extend them here |
| Trim | The cut line itself | The actual finished size of your card, page or sticker | Nothing specific — this is just where the blade aims |
| Safe area (margin) | ~3–5 mm inside the cut line | The "do not cross" band | Nothing important. Keep text, logos and faces inside it |
The two outer bands do opposite jobs and people mix them up constantly:
- Bleed protects your background. Too little bleed and the cut drifts outward, exposing bare paper.
- Safe area protects your content. Too little margin and the cut drifts inward, shaving the tops off your letters.
A design that is correct on both counts survives a blade that misses by a millimetre in either direction. That is the entire goal.
How much bleed do you actually need? #
3 mm (0.125 in) per side is the standard answer, and it is what Canva uses. For a 5×7 in card, that means your file is really 5.25×7.25 in, and a quarter inch of it is destined for the bin.
Two exceptions worth knowing:
- Large format — posters, banners, signage. Many shops want 0.25 in or more, because bigger sheets shift more.
- Anything folded or bound — booklets, saddle-stitched calendars, wire-bound planners. The binding eats into the page, so the printer will specify both a bleed and a wider inner margin.
The professional habit here is boring but reliable: find the printer's spec sheet before you open Canva, not after. Every print shop publishes one, and every one of them is slightly different.
Setting bleed up in Canva #
Canva handles bleed reasonably well for a tool that is not a print-production app. Two things to turn on, one thing to remember at export.
- Set your page to the finished size first. Not the size plus bleed — the actual trimmed size. Canva adds the bleed on top of whatever page size you set, so a 5×7 in page is what you want for a 5×7 in card. Doing this after the design exists means resizing everything.
- Turn on print bleed. In the editor, open the File menu and look under Settings for Show print bleed. A dashed guide appears just outside your page. Anything meant to reach the edge should be dragged out to that dashed line, not to the page edge.
- Turn on margins too. Same menu, Show margins. This draws the inner safe-area guide. Keep headlines, dates and logos inside it.
- Export as PDF Print, with crop marks and bleed. Download → PDF Print → tick Crop marks and bleed. This is the step people skip. Without it, Canva exports at the trimmed size and every millimetre of bleed you carefully set up is discarded.
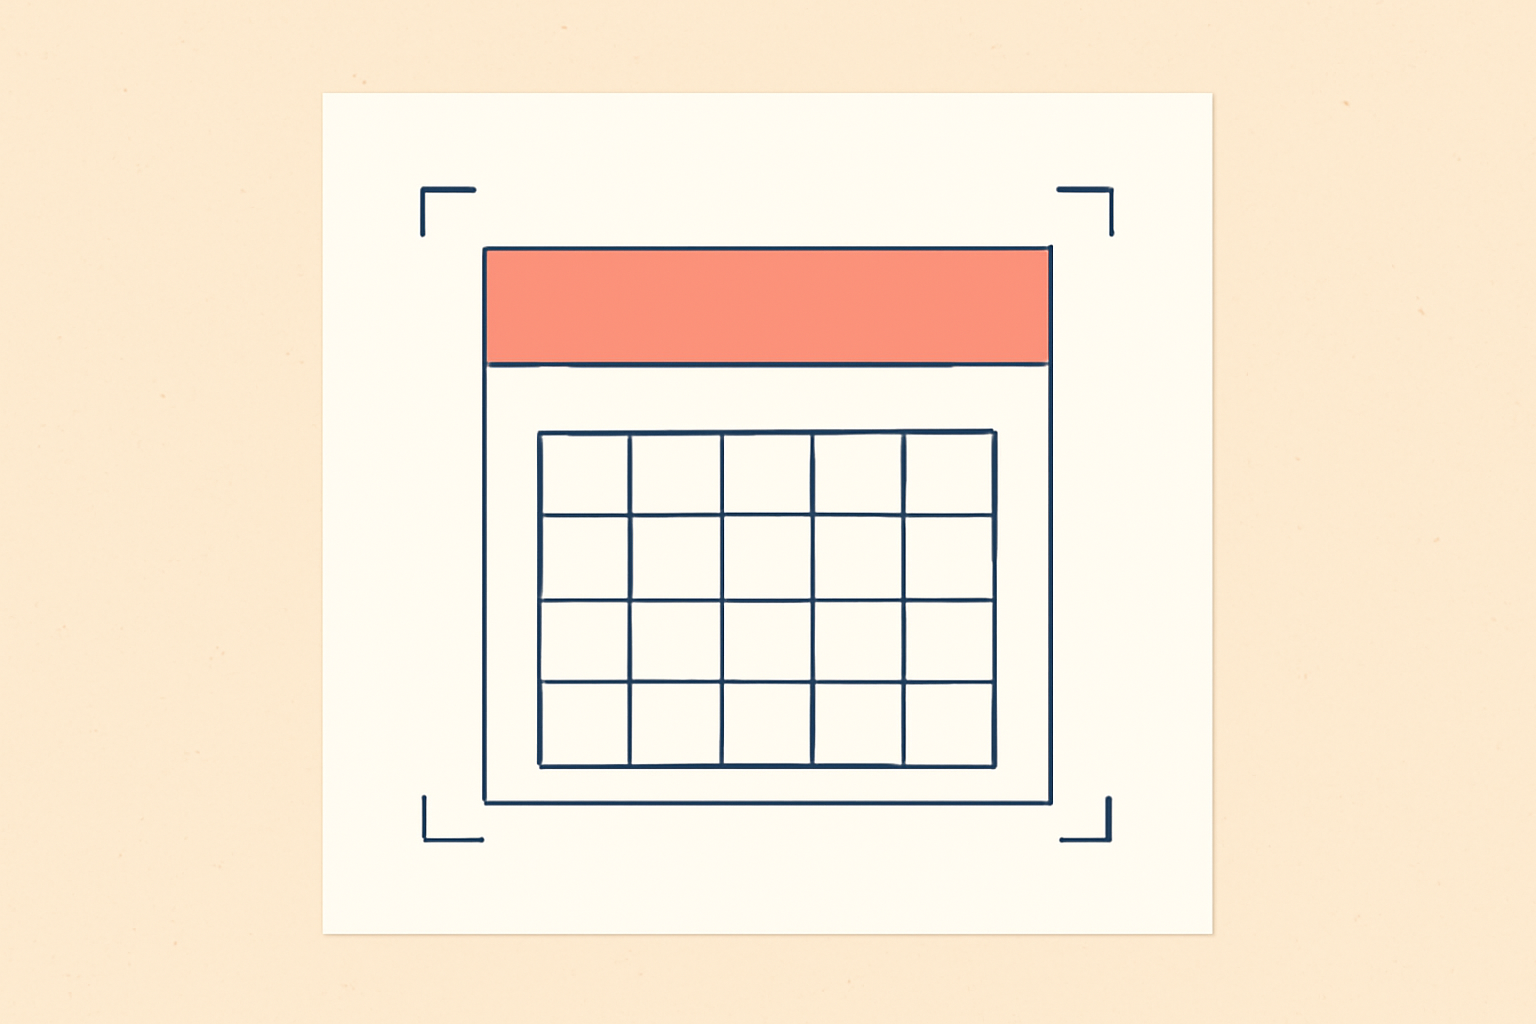
A useful sanity check before you send anything: open the exported PDF and look at the corners. You should see small corner marks sitting slightly away from the artwork, with your background colour running out past them. If the background stops exactly at the corner marks, the bleed did not export.
Where bleed usually goes wrong #
Five failure modes account for almost everything:
- A white background that "doesn't need bleed." It does. White paper and white ink are not the same white, and an edge that lands slightly off-line on a coloured stock will show it.
- Photos dragged to the page edge instead of the bleed line. Visually identical in the editor, completely different after trimming. Drag to the dashed outer guide.
- Text sitting 1 mm inside the trim. It looks intentional on screen and looks like a mistake on paper. Use the margin guide.
- Exporting PNG or standard PDF. Neither carries bleed. PDF Print with crop marks, every time.
- Designing at the bleed size. If you set your page to 5.25×7.25 in and then also add bleed, you end up with an oversized card and a printer asking you which size you actually want.
If the file also has to look sharp, bleed is only half the job — resolution is the other half. Our guide to what DPI means covers that side, and aspect ratio explains why a photo cropped to fill an edge sometimes loses more than you expected.
Bleed and the Qrdy Canva apps #
Most of what we build sits inside Canva, so the bleed workflow above applies unchanged. A few notes on where it interacts with specific apps:
Calendar Maker — calendars are printed more often than almost anything else people make in Canva, and they are the classic bleed trap. The app generates the date grid and inserts it straight into your open design, so set your page size and turn on print bleed before you hit Add to design. If you are using "Add all months" with Each month on its own page, every page inherits the same page setup, which is exactly what you want for a 12-page wall calendar. Keep the date numbers inside the margin guide — a grid that runs edge to edge is the fastest way to lose a row of dates to the blade. If you want a full-bleed photo above the grid, extend the photo out to the bleed line and let the grid sit safely inside.
Image to Frame — when a custom frame is the thing touching the edge of the page, it needs bleed like any other element. Convert your shape to a frame, drop the photo in, then drag the whole frame past the dashed guide. One thing to watch: the app's border setting only renders after the frame is added to the design, so check the border against the bleed guide once it is placed rather than in the preview.
Border Art Maker — repeating borders are the element most likely to expose a bad trim, because a border that is supposed to be a uniform 5 mm all round makes a 1 mm cutting error obvious. Either keep the border comfortably inside the safe area, or run it out to full bleed. The uncomfortable middle is where it looks broken.
Frames Lab and Text to Frames — same rule as any other artwork. Anything designed to touch the edge gets dragged to the bleed line; anything you need people to read stays inside the margin.
To be fair to Canva: the built-in print bleed and margin guides are free, they work, and for most cards and calendars they are all you need. The apps above are for making the artwork itself — none of them change how bleed behaves.
The short version #
Bleed is insurance. You print a few millimetres of extra background, the printer cuts through it, and the waste guarantees that no one ever sees bare paper on an edge that was supposed to be coloured.
Set your page to the finished size, turn on Show print bleed and Show margins, drag your backgrounds out and keep your text in, and export as PDF Print with crop marks and bleed. That is the whole discipline, and it takes about a minute per file.
Next up, if you are heading toward a printed project: how to make a free printable calendar with holidays, or the best Canva apps for Christmas and holiday photo cards, both of which assume you have your bleed sorted.
Frequently asked questions
3 mm (about 0.125 in) on every side is the standard for cards, flyers, calendars and stickers, and it is what Canva adds when you turn on print bleed. Some print shops ask for 0.25 in on large-format work like posters and banners, and book printers often want more on the spine side. When in doubt, open your printer's own spec sheet before you design — matching their number costs nothing, guessing costs a reprint.
Only if your design has colour or photos running to the edge. A home inkjet or laser printer cannot print edge to edge on most paper anyway, so the usual home workflow is the opposite of bleed: keep a white margin, print on oversized paper, and trim down with a guillotine or craft knife. In that case you still want bleed in the file, because you are the one holding the blade.
One of two things. A print shop will either reject the file or, more often, scale your artwork up slightly to fill the bleed — which shifts everything and can clip text near the edges. If it goes through untouched, you get thin white slivers on one or two sides where the cutting blade drifted off the trim line. Neither is fixable after printing.
No, they are opposites. Bleed is extra artwork outside the cut line that gets thrown away. Margin, or safe area, is the empty band inside the cut line where you must not put anything important. Bleed protects your background; safe area protects your text.
Related products


More from QRdy Blog
Canva Monthly Calendar: Template vs Table vs Calendar Maker (Which Is Fastest?)
Three ways to make a monthly calendar in Canva: a ready-made template, a hand-built table, or the Calendar Maker app. We compare setup time, flexibility and 12-month projects, with a clear verdict.

How to Make a Hat Mockup From a Photo (So the Design Curves With the Cap)
Turn one photo of a blank cap into realistic hat mockups: drag a box around the front panel, let the design wrap the curve with the photo's real shading, then render all your designs at once in your browser.
The Best Canva Apps for Family Reunions (2026): Invites, Banners, Photo Walls and Calendars
Planning a family reunion in Canva? Here are the five Qrdy apps that actually help: shaped photo invitations, photo-letter banners, photo-wall grids, a countdown calendar and a QR link that can change after printing.