
10 Place Card Ideas You Can Make in Canva (Thanksgiving, Weddings & Dinner Parties)
Place cards are the cheapest way to make a table look considered. Here are 10 ideas you can design in Canva — photo-filled names, leaf-shaped photo cards, escort displays, QR cards — plus the print sizes that actually work.
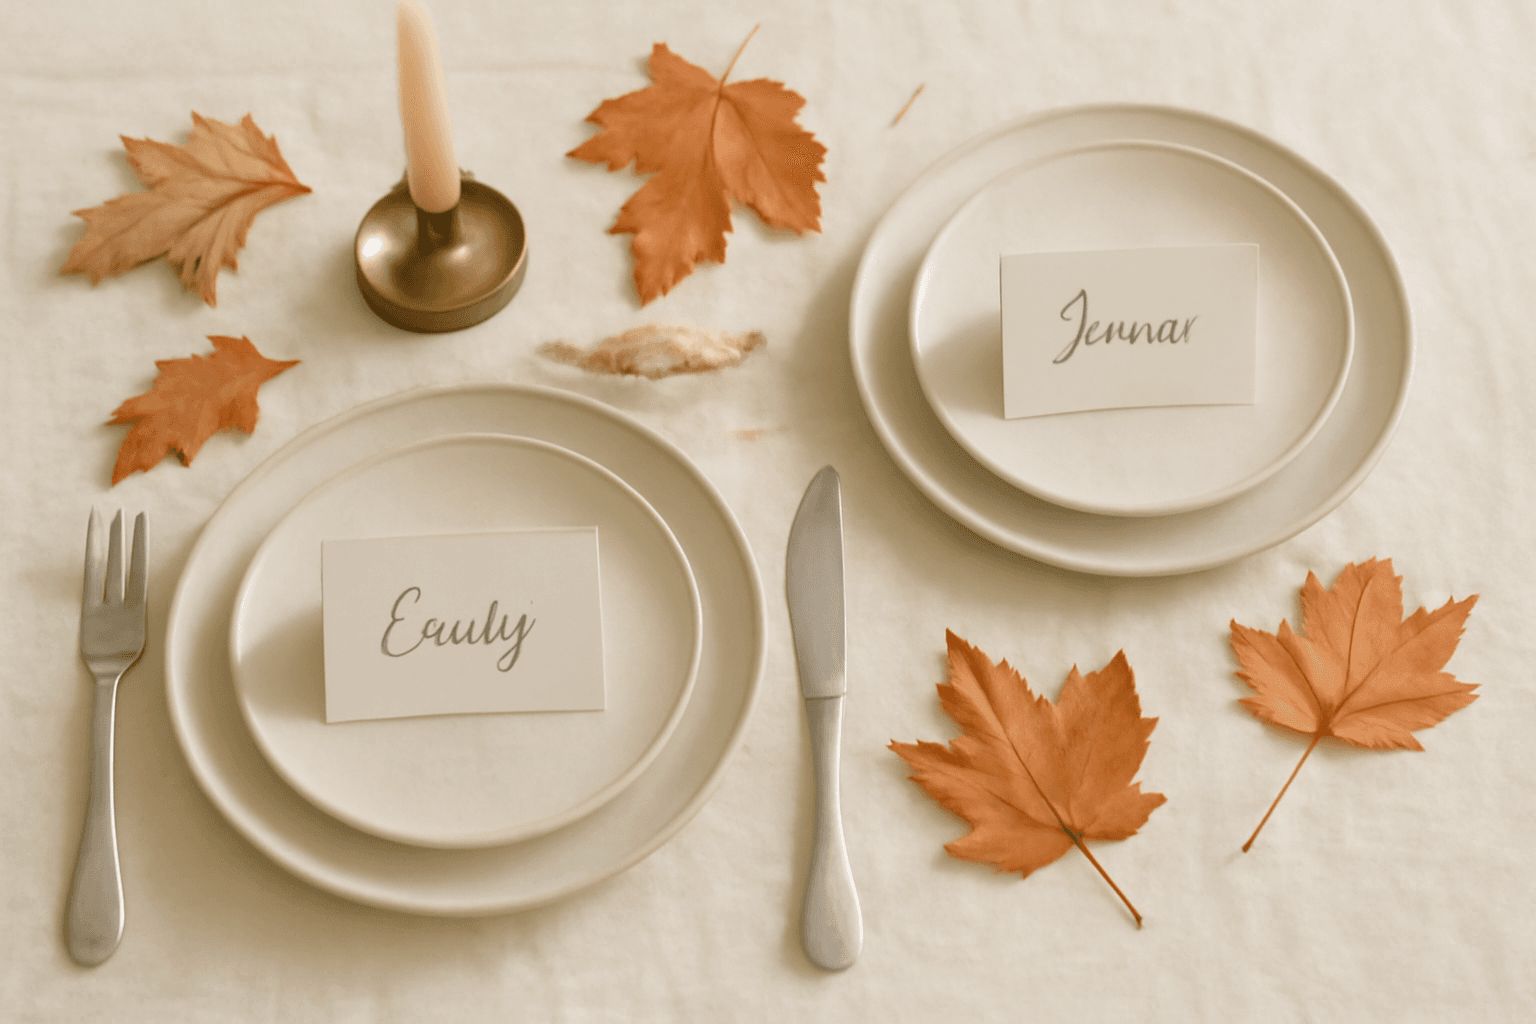
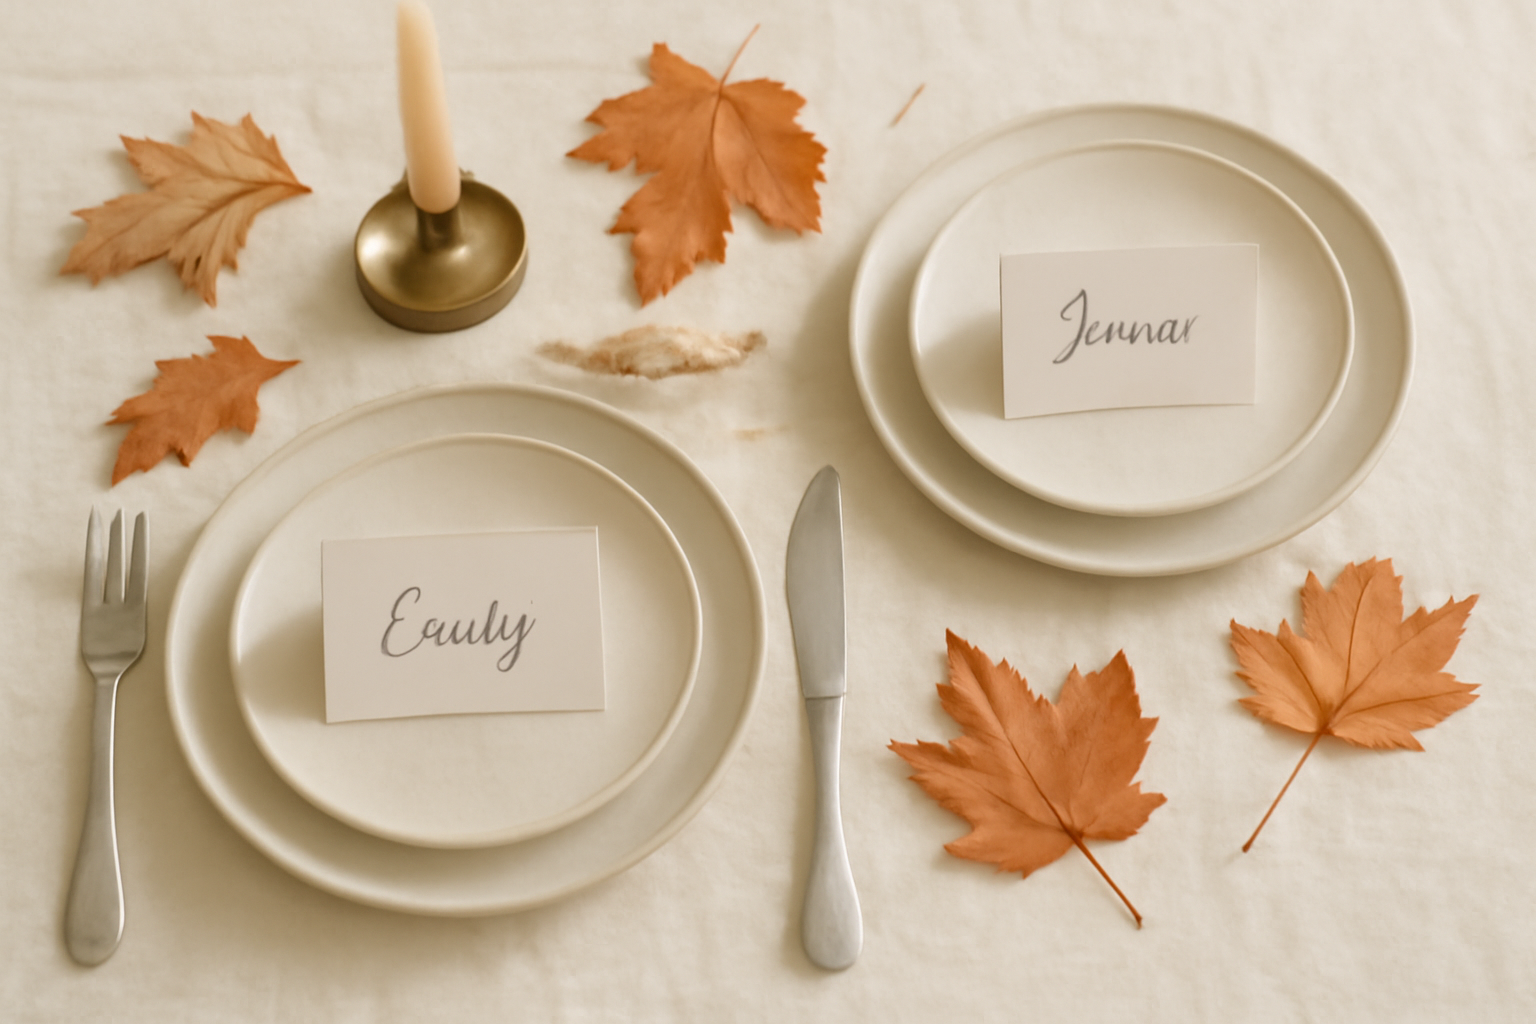
A place card is the smallest thing on the table and the one people pick up first. It also does real work: it stops the awkward hovering, it seats the two people who should not sit together apart, and — for about the cost of a sheet of card stock — it makes a table look like someone thought about it.
The good news is that place cards are almost entirely typography and one small shape. That is exactly the kind of design Canva is good at, and exactly the kind of design where a few QRdy Canva apps save you the fiddly part.
Here are ten ideas, from "twenty minutes before guests arrive" to "I have a weekend and a printer."
1. The guest's name filled with a photo of the guest #
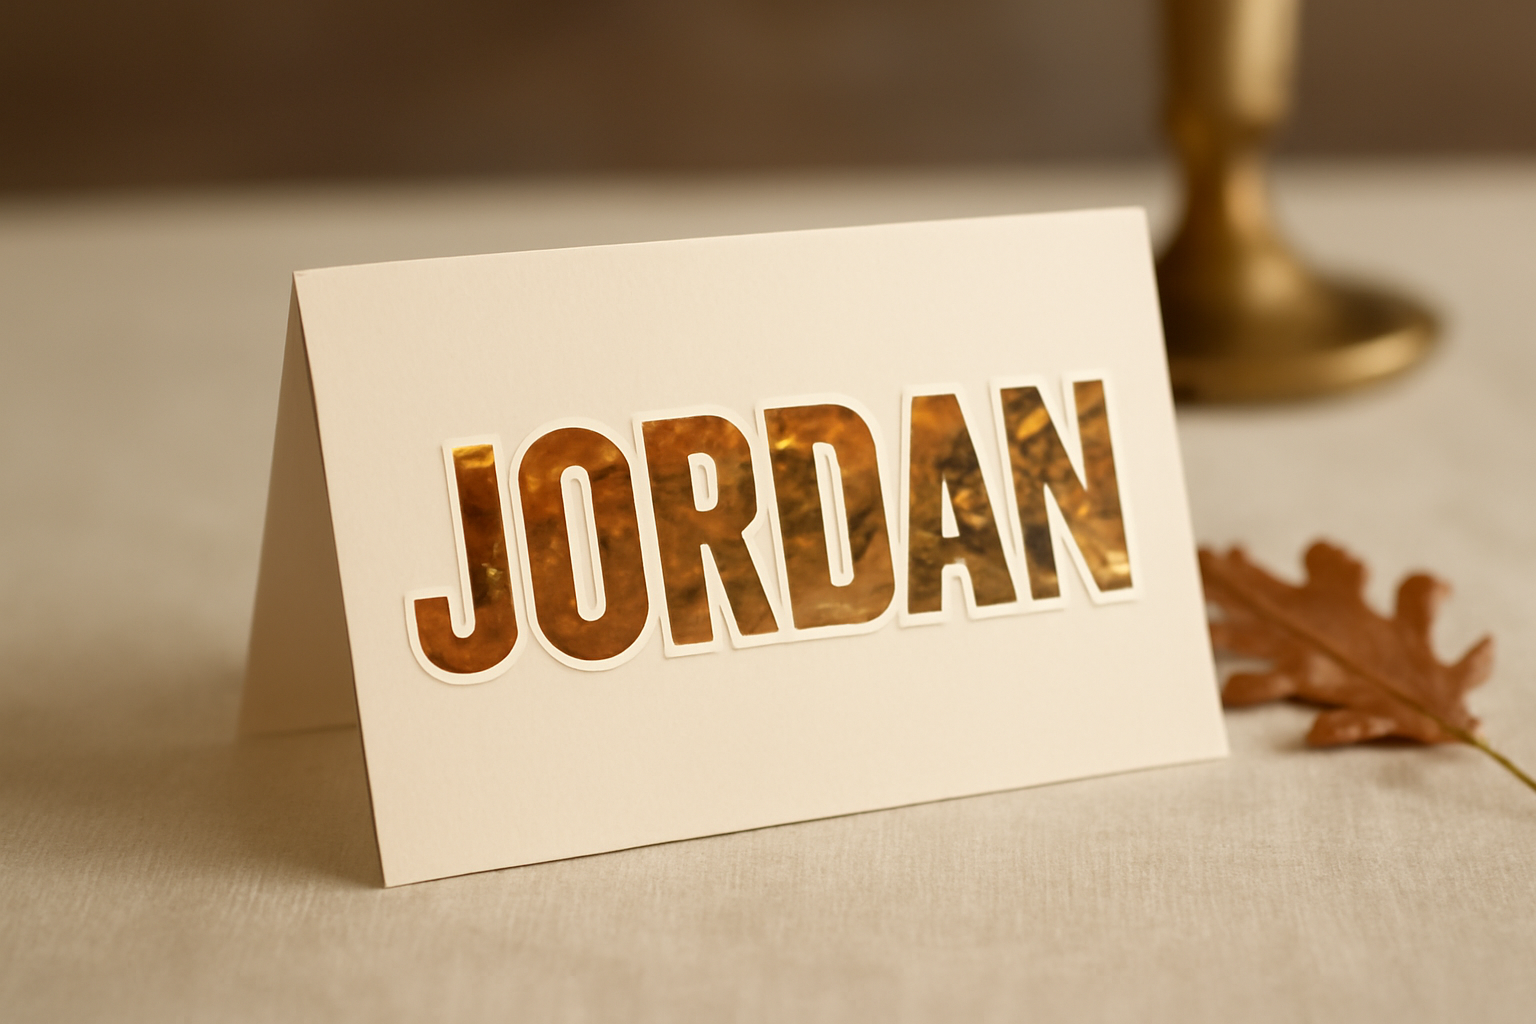
This is the one people photograph. The name is set in heavy type and each letter is a window onto a picture — a photo of that person, a shot from the last time everyone was together, the couple's engagement session.
How to make it: Text to Frames turns typed text into real Canva frames — one frame per letter if you want it. Type the name (the box takes up to 200 characters, which is far more than any name needs), pick a font, and turn on Split into letters so each character becomes its own frame. Hit Add to design, then drag photos in. Because they are genuine Canva frames, you can reposition and zoom the photo inside each letter afterwards, the same way you would with any frame.
The two things that decide whether this looks good:
- Use a heavy font. A thin serif leaves letter openings too narrow to read the photo through — you get texture, not a picture. The free set includes Roboto, Open Sans, Lato, Playfair Display and Pacifico; Roboto set bold is the safe pick, and Pro unlocks 100+ more. If the B and I buttons look greyed out, that font simply has no real bold or italic cut, and the app is refusing to fake one for you.
- Add a border. A photo-filled name printed on cream card stock tends to sink. The Pro Border slider (0–50, with your own colour) traces each letterform and lifts it back off the card. Blur and Inner shadow are there too, but on something this small, border is the one that matters.
2. One photo running through the whole name #
The quieter cousin of idea 1. Instead of a different picture per letter, a single image — an autumn field, linen texture, a watercolour wash — shows through all the letters at once.
How to make it: Clipping Mask cuts one image to the shape of your text in a single step. Use this when the photo is a texture rather than a subject; use Text to Frames when each letter needs to hold its own picture. If you want the difference explained properly, we wrote it up in what is knockout text.
3. A leaf, pumpkin or heart-shaped photo card #
Instead of a rectangle, the card carries a small shaped photo: a maple leaf for Thanksgiving, a heart or monogram for a wedding, a star for New Year.
How to make it: Image to Frame converts a PNG, SVG or JPG (up to 5MB) into a real Canva frame in the shape of that image, which you then fill with a photo. Grab a leaf silhouette, drop it in, click Add frame to design, drag a photo in.
Two things worth knowing before you try:
- The source has to have a transparent background. A leaf on a white background produces a rectangular frame, every time. Remove the background first — Canva's own Background Remover is the fastest route — then convert. Our PNG vs SVG vs JPG explainer covers why a JPG can never carry transparency at all.
- The border renders after you add the frame, not in the preview. The thickness (0–50) and colour controls are there, but the preview will not show them. That is expected behaviour, not a bug.
Simple outlines convert most reliably. A clean SVG leaf will beat a scanned, tangled one.
4. The gratitude card #
A Thanksgiving-specific trick that costs nothing: name on the front, and on the back a printed line — "This year I'm thankful for ____" — plus a pen at each setting. By dessert you have a table's worth of handwriting, and people read them out.
Design it as a folded tent card so the prompt is hidden until someone turns it over.
5. Menu on the back #
Same principle, different job. Front: name. Back: three lines of menu. It removes a second piece of paper from the table and it quietly warns the guest with the shellfish allergy.
Keep the menu type small and left-aligned. A place card is not a poster, and centring four lines of food inside a 3.5-inch card makes it look like a wedding invitation from 2011.
6. An escort-card display instead of cards on plates #
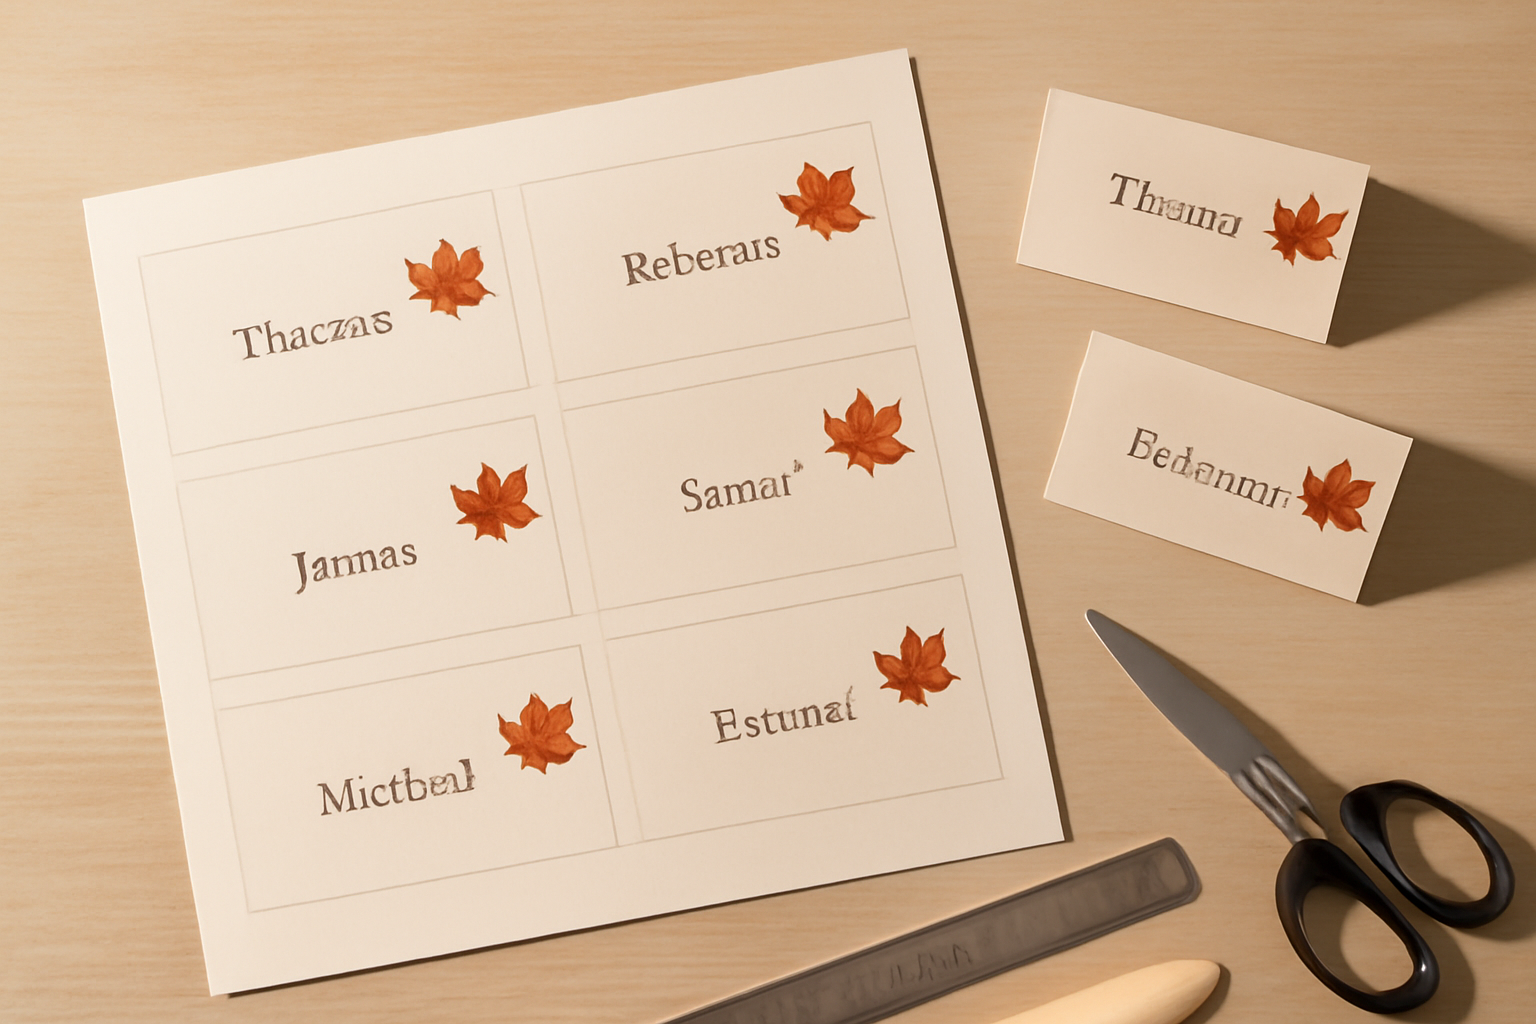
For anything over about twenty people, put the cards on a board or table near the entrance rather than on the plates. Guests find their name, carry the card in.
How to make it: Frames Lab builds the layout for the board — the Grid mode gives you columns, rows and gap control, with rounded corners and a border in the Advanced options, so the printed backing sheet has evenly spaced slots. Design the board and the cards in the same palette and it reads as one piece.
If you have more than about thirty names, split them across two grids rather than fighting one enormous one.
7. A repeating border that ties the whole table together #
Sometimes the name is just a name and the card needs one decorative move. A repeating border — dots, small icons, a tiny repeated photograph — around the edge is that move.
How to make it: Border Art Maker generates borders from dots, preset icons (stars, hearts, flowers, geometric shapes) or an image you upload, distributes them evenly, and lets you adjust spacing and rotation instead of copy-pasting one element thirty times.
Print note: go lighter than looks right on screen. A dense border that looks rich on a monitor becomes a solid band of ink on paper — and you are printing it forty times.
8. Kids' table cards that are also an activity #
Print the name in outline and let children colour it in. Or make the card slightly oversized, put the name at the top and leave the bottom two-thirds blank with a small prompt: draw the dinner.
It buys the adults roughly eleven minutes, which is the entire point of the kids' table.
9. Table numbers that match #
If you are doing numbers as well as names, make them obviously siblings. The easiest way: run the digits through Text to Frames with the same font and the same photo treatment as the names, scaled up. One design system, two sizes.
10. A QR place card #
A small code on the back, linking to a shared photo album, a song-request form, the wedding livestream, or the recipe for the thing everyone asks about.
How to make it: Bulk QR generates a batch of codes at once from a list — useful if each guest or table gets a different link. Note that Canva's own QR generator changed in 2026; we covered what moved and every workaround in how to make a QR code in Canva.
Test one printed code, at final size, with an actual phone, before printing the rest. Small QR codes on textured card stock fail more often than you would expect.
The print settings that actually matter #
Everything above is wasted if the cards come out of the printer wrong. Four numbers:
| Setting | What to use |
|---|---|
| Folded tent card | 3.5 × 2 in finished — design a 3.5 × 4 in flat rectangle, fold in half |
| Flat card | 3.5 × 2 in as designed |
| Per US Letter sheet | ~8–10 flat cards, or 4 folded tent cards |
| Export | PDF Print, not PDF Standard or PNG |
A few more, learned the hard way:
- PDF Print is 300 DPI; PDF Standard is screen resolution. On a 3.5-inch card the difference between them is the difference between crisp type and slightly furry type. If DPI is a fog to you, we explained it here.
- Keep names at least 5mm from the edge. Home printers and guillotines both drift.
- Print one full sheet first and cut it. Not a proof on screen — an actual sheet, actually cut, actually folded, standing next to an actual plate. Then print the other seven sheets.
- Card stock, not paper. Around 250–300gsm. A tent card in ordinary printer paper will not stand up, and it will look exactly as cheap as it was.
What Canva already does well #
Being honest about this saves you time:
- The template library is large and largely free. Search "place card" and you will get hundreds. If one of them is close to what you want, use it and skip most of this article. These apps earn their place at exactly one point: when the shape or effect in your head is not in the library.
- Bulk Create is the underused feature here. Forty guests, forty cards, one design: paste a column of names from a spreadsheet and Canva generates a page per guest. It is a Pro feature, and it is far more useful for place cards than any app on this list. Build the card first, bulk-create the names last.
- Background Remover is the single most useful thing for idea 3, and it is Canva's, not ours.
- Grids and Frames are free, built in, and fine for a plain rectangular photo on a card.
- Magic Resize is the cleanest way to turn a folded card design into a flat one, or a place card into a matching table number.
Which app for which idea #
| You want | Use |
|---|---|
| Each letter of the name holding a different photo | Text to Frames (Split into letters) |
| One photo showing through the whole name | Clipping Mask |
| A leaf, heart or monogram-shaped photo | Image to Frame |
| An evenly spaced escort-card board | Frames Lab (Grid) |
| A repeating decorative edge | Border Art Maker |
| A different QR code per guest | Bulk QR |
| Forty names, one design | Canva Bulk Create |
Start with one card #
The failure mode with place cards is designing all forty and discovering at 4pm that the names are unreadable across the table. Make one. Print it. Put it on a plate. Walk to the other end of the room and look at it.
If you can read the name from where you are standing, print the rest.
Related reading: What are photo letters? · How to fill each letter with a different photo in Canva · The best Canva apps for weddings · 10 fall design ideas for Canva
Frequently asked questions
The standard folded tent card is 3.5 × 2 inches finished, which you design as a 3.5 × 4 inch flat rectangle and fold in half. Flat cards that lean against a plate or sit in a holder are usually 3.5 × 2 inches as-is. Both are safe defaults — a card much bigger than that starts competing with the plate.
Flat 3.5 × 2 inch cards fit about eight to ten per US Letter sheet with sensible margins. Folded tent cards take up 3.5 × 4 inches flat, so you get four per sheet. Templates advertised as "6 per sheet" are almost always flat cards, not folded ones — check before you print 40 copies.
Yes, and there are a lot of them, free ones included. If you find one you like, use it — most of this article is for the moment when the template library does not have the thing in your head, like a guest's name filled with a photo of that guest.
Canva's Bulk Create is the answer, not an app. Paste or upload a spreadsheet column of guest names and Canva generates one page per name from a single design. It is a Pro feature. Build the card first, then bulk-create the names last.
Related products


More from QRdy Blog
10 Family Planner and Calendar Ideas You Can Make in Canva
Ten printable family planner ideas you can build in Canva with Calendar Maker: a fridge calendar, chore chart, birthday calendar, meal plan, carpool grid and more. Honest notes on where Canva's built-ins are enough.

Image to Frame vs Trace to Frame: Which Canva App Makes Your Custom Frame?
Need a custom-shaped frame in Canva? Image to Frame converts a PNG, SVG or JPG; Trace to Frame lets you click points to draw a polygon. Here is when each one wins, with a side-by-side table.
Ứng dụng Canva tốt nhất để làm thiệp Valentine (2026)
Chọn app Canva nào để làm thiệp Valentine có ảnh? So sánh Image to Frame, Text to Frames và Frames Lab: ảnh trong khung trái tim, tên người thương bằng chữ ảnh, lưới kỷ niệm.