
How to Fill Each Letter with a Different Photo in Canva (Step by Step)
Learn how to fill text with images in Canva so each letter holds its own photo — a name where every letter is a different memory, or a word like BEACH with a scene in each character. A step-by-step Text to Frames tutorial.

You've seen those eye-catching titles where every letter holds a different photo — a kid's name where each letter is a separate birthday memory, or a word like "BEACH" with waves in the B, a sunset in the E, a palm tree in the A. It looks like hours of Photoshop work. It isn't. In Canva you can do it in a couple of minutes.
This tutorial shows you exactly how, using the Text to Frames app by QRdy. We'll also be honest about what Canva's built-in tools can and can't do here.

First, why Canva alone can't quite do it #
Canva has a photo-in-text trick: you can place an image and use a clipping/frame approach so a picture shows through your letters. The catch is that it shows one single image spread across the whole word — the same photo flows behind every letter. That's great for a unified look, but it can't give each letter its own separate photo.
To do that, every single letter has to become its own frame — the same kind of fillable container Canva uses for profile pictures and rounded photos. That's exactly what Text to Frames creates. Type a word, and it converts each character into a real, independent Canva frame you can fill separately.
What you'll need #
You'll be working in the Canva editor on desktop. The Text to Frames app installs from Canva's Apps panel. The free version includes 5 fonts and the "Split into letters" feature, so you can follow every step below without upgrading. (Pro unlocks 100+ fonts plus three premium effects — more on that at the end.)
Step 1 — Open Text to Frames in Canva #
Open or create a design that supports frames — a Presentation, Poster, or Instagram Post all work well. In the left sidebar, click Apps, search for Text to Frames, and open it. It loads in a second or two.
Tip: some Canva design types don't allow frames. If you see the message "Frames can't be added to this design type," just open the app inside a Presentation or Poster instead.
Step 2 — Type your word #
In the Text box, type the word or name you want (up to 200 characters). Keep it fairly short for this effect — names and single words look best, because each letter needs enough width to show a recognizable photo. A 4–7 letter word is the sweet spot.
Step 3 — Pick a bold font #
Open the Font menu and choose your style. For photo-filled letters, thick, bold fonts work far better than thin ones — chunky letters give each photo room to breathe. On the free plan you get Roboto, Open Sans, Lato, Playfair Display, and Pacifico; Roboto and Lato are both solid, bold choices to start with.
Step 4 — Turn on "Split into letters" #
This is the whole trick. Find the Split into letters toggle and switch it on. This tells the app to make each letter its own separate frame instead of one frame for the entire word. Without this toggle you'd get a single container (like the native Canva method); with it on, you get one fillable frame per character.
While you're here, nudge two more sliders if needed:
- Letter spacing — widen the gap between letters (range −100 to 100) so the photos don't crowd each other.
- Font size — set your overall size.
Step 5 — Check the preview, then add to design #
The Preview at the top updates about half a second after each change. What you see there is exactly what gets placed — no surprises. When it looks right, click Add to design. The photo-ready letters drop onto your Canva page, auto-sized to fit.

Step 6 — Drop a different photo into each letter #
Now the fun part. From your Uploads or the Photos tab, drag an image and drop it onto the first letter. It snaps inside that character's shape. Repeat for each letter, dropping a different photo into each one. Because these are real Canva frames, everything you already know still works:
- Reposition inside the letter — double-click a letter and drag the photo around until the important part is centered.
- Zoom in or out — scale the photo within the letter so the subject fits nicely.
- Swap it — drop a new image on top to replace one instantly.
Step 7 — Polish the composition #
Treat the finished word like any Canva element. Resize the whole group, add a background color or texture behind it, and give the letters a little breathing room. If a photo makes a letter hard to read, a subtle drop shadow on the group (or the app's Border effect) sharpens the edges.

Fun ways to use photo-filled letters #
- Birthday & anniversary banners — spell a name, one photo memory per letter.
- Travel recaps — "PARIS" or "BEACH" with a scene inside each character.
- Event and film-style titles — every letter reveals a different highlight.
- Brand or team pages — the company name with a product or person in each letter.
- Social covers — drop a short video into each letter (frames accept video too) for an animated title.
A note on Pro features #
Everything above works on the free plan. If you want more range, Text to Frames Pro unlocks all 100+ fonts and three stackable effects you can color individually:
- Blur — a soft glow behind the letters, great for a neon or floating look.
- Border — a clean outline hugging each letter so busy photos don't muddy the shape.
- Inner shadow — inner depth so the letters feel carved or three-dimensional.
If you toggle a Pro font or effect on the free plan, the main button switches to "Try Text to Frames Pro." You can still finish the free-tier version anytime by turning those off.
The honest bottom line #
Canva's native photo-in-text trick is perfect when you want one image across a whole word. But when you want a different photo in every letter — the effect that turns a name into a photo album or a word into a travel story — you need each letter to be its own frame, and that's precisely what Text to Frames adds. Toggle "Split into letters," drop your photos, and you're done in minutes.
Frequently asked questions
Not with Canva's built-in tools alone — a native clipping trick shows one single image across all the letters at once. To give each letter its own separate photo you need each character to be its own frame. The Text to Frames app does this: turn on 'Split into letters' and every letter becomes an independent Canva frame you can drop a different image into.
Yes. The free plan includes 5 curated fonts (Roboto, Open Sans, Lato, Playfair Display, and Pacifico) and lets you split text into letters and add it to your design. Pro unlocks all 100+ fonts and the three premium effects (Blur, Border, and Inner shadow).
Yes. Because each letter becomes a genuine Canva frame, it accepts video the same way it accepts images. Drag a video clip onto a letter and it plays inside that character — handy for social covers and animated titles.
Related products


More from QRdy Blog
10 Thanksgiving Design Ideas You Can Make in Canva (Printable Decor, Menus & More)
Ten Thanksgiving projects you can actually design and print at home this year — turkey-shaped photo frames, a "GRATEFUL" photo banner, menu cards, a Friendsgiving invite, a November countdown and more. Each one names the Canva app that does the hard part.
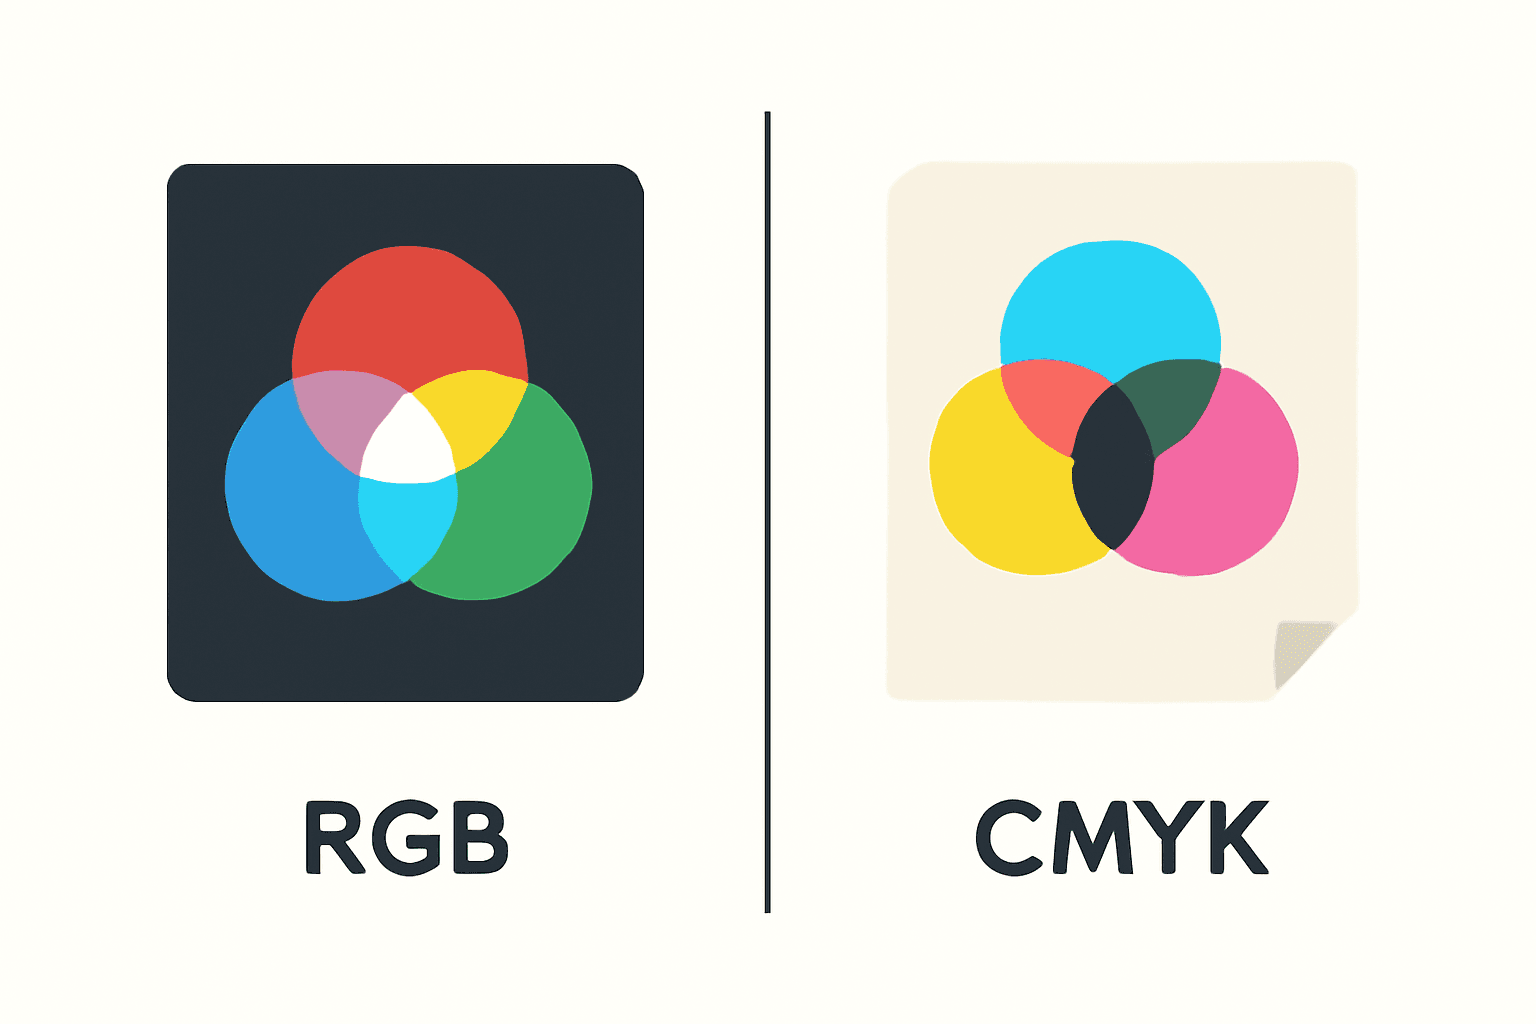
CMYK vs RGB: Which Color Mode Should You Use (and What Canva Actually Does)
RGB is light, CMYK is ink — and that one difference is why your print came back duller than the screen. Here's the plain-English comparison, plus exactly what to do about it inside Canva.
The Best Canva Apps for Photo Books & Photo Albums (2026)
A photo book is 40 pages of the same three layouts unless you give yourself better tools. These are the Canva apps that actually speed up building a photo book or album — grid spreads, custom-shape pages, a photo-filled cover — plus what Canva already does well on its own.