
Image to Frame vs Trace to Frame: Which Canva App Makes Your Custom Frame?
Need a custom-shaped frame in Canva? Image to Frame converts a PNG, SVG or JPG; Trace to Frame lets you click points to draw a polygon. Here is when each one wins, with a side-by-side table.

Canva's built-in frame library is big, but sooner or later you want a frame that is your shape: a logo, a paw print, a lopsided polygon cut around one object in a photo. Two Qrdy apps solve this from opposite directions, and people often pick the wrong one first. Image to Frame converts an image you already have. Trace to Frame lets you draw the outline yourself by clicking points. Here is how to choose.

Quick answer #
- You have a picture of the shape (PNG, SVG, JPG, a logo, a silhouette) → Image to Frame.
- You have no file and only need a straight-edged polygon, or want to crop a photo around a freehand region → Trace to Frame.
- You need smooth curves and have no file → describe it in AI Frames, or build it in Frames Lab.
Side-by-side comparison #
| Image to Frame | Trace to Frame | |
|---|---|---|
| How you make the shape | Upload a file, pick an image already in your design, or export a page | Click to place points, or trace over a reference image |
| Input needed | PNG, SVG or JPG, up to 5MB | None (free draw) or an optional reference image |
| Curves | Yes, follows the outline of the image | No, straight lines between points only |
| Holes inside the shape | Follows the image alpha, so hollow areas in a transparent PNG are kept as the image defines them | Not supported (no letters like A or O) |
| Fine detail | As good as your source image | Limited by zoom, tiny details can be imprecise |
| Crop a photo instead of making a frame | No | Yes, a crop mode cuts the current image to your shape |
| Border control | Border thickness (0-50) and color, applied once the frame is in your design | Frame exported as a standard Canva frame |
| Best for | Logos, silhouettes, icons, puzzle pieces | Quick polygons, freehand crops, simple outlines |
When Image to Frame is the better pick #
Image to Frame is a Canva app that lives in the left-hand panel of the editor. You give it an image, it converts it into a real Canva frame, and you drag photos or video into it like any other frame.
- You already have the shape. A logo, a clip-art star, a scanned hand-drawn letter: upload it (SVG, PNG or JPG, max 5MB) and press "Add frame to design."
- The outline is curved or detailed. Because it reads the actual image, curves come through. This is the main thing Trace to Frame cannot do.
- You want a branded frame. Product photos inside your logo shape is the classic use.
- You want a border. There is a thickness slider and a color picker. The border only shows after the frame is placed in your design, not in the preview.
One tip matters more than any other: remove the background first. If the image still has a white or colored background, the generated frame will be a plain rectangle. Use a transparent PNG and the frame hugs the shape.
When Trace to Frame is the better pick #
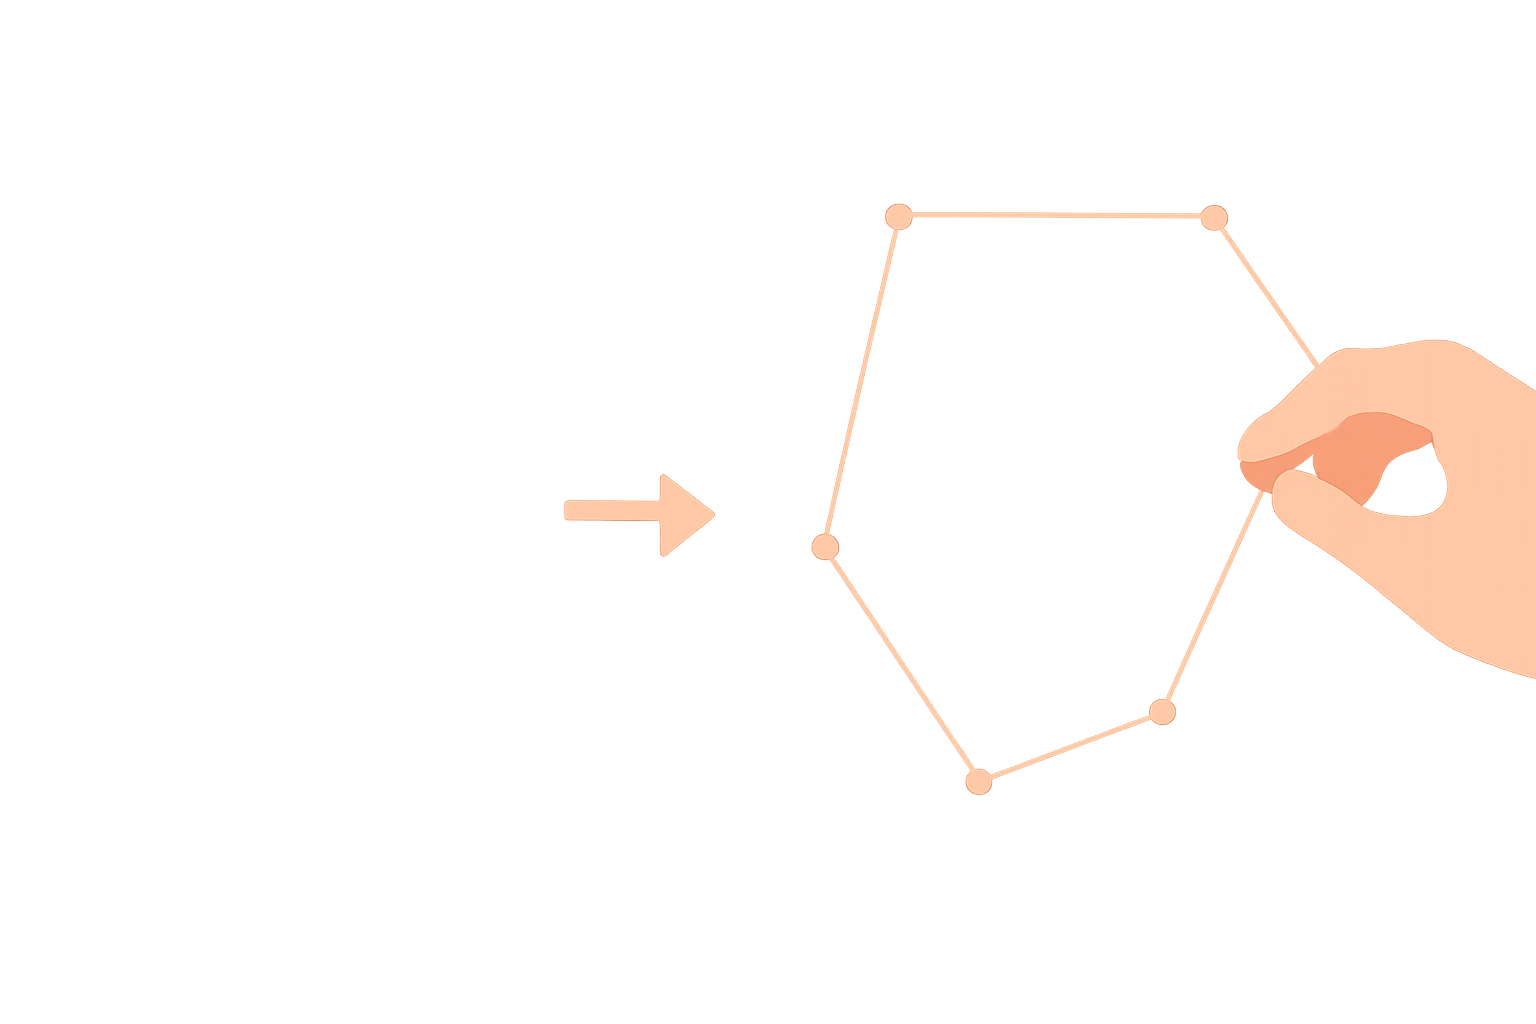
Trace to Frame is the "no file needed" option. You click to place points, the app joins them into a closed shape, and the result is exported to Canva as a standard frame.
- Quick polygons. Need a lopsided hexagon or an arrow-like shape? A few clicks is faster than hunting for an image. You need at least 3 points, and you can click and drag any point to adjust.
- Trace over a reference. Upload a picture and click around its outline. Good for simple silhouettes such as an animal or a mountain, where straight edges are acceptable.
- Crop mode. Instead of making a frame, you can crop an image already in your design to the shape you drew. Handy for cutting out one region of a photo.
- Free draw. No reference at all, just sketch a shape.
Be aware of the limits so you are not surprised: only straight lines between points (no Bezier curves), no shapes with holes (letters like A and O will not work), and tracing very small details can be imprecise because zoom is limited.
Using both together #
They are not rivals so much as two steps. A common workflow: trace a rough silhouette in Trace to Frame, export it, then if you need rounded edges, draw or find a smoother version and run it through Image to Frame. For text-shaped frames, use Text to Frames instead, and for arcs, grids and parametric shapes see Frames Lab.
What about Canva's built-in options? #
Canva can fill an element with a photo, and its own frames cover circles, squares, hearts and many stock shapes. If one of those already matches, use it, there is no reason to add an app. The Qrdy apps matter when the shape you want is not in Canva's library, which is exactly the case this article is about.
Verdict #
If you can get hold of an image of the shape, Image to Frame gives you a more accurate, smoother frame and handles curves. If you just need a fast straight-edged polygon or want to crop a photo to a freehand region, Trace to Frame gets you there in seconds with no file. Pick by the shape you have in hand, not by the app's name.
Frequently asked questions
Yes. Image to Frame takes a PNG, SVG or JPG (up to 5MB) and converts it into a valid Canva frame. Use a transparent-background image so the frame follows the real outline instead of a rectangle.
No. Trace to Frame only draws straight lines between the points you place, and it needs at least 3 points. For curved outlines use Image to Frame with an SVG or PNG, or describe the shape in AI Frames.
No. It cannot create shapes with a hollow hole inside, such as the letters A or O. Text to Frames or Image to Frame are better choices for letters.
Related products


More from QRdy Blog
Ứng dụng Canva tốt nhất để làm thiệp Valentine (2026)
Chọn app Canva nào để làm thiệp Valentine có ảnh? So sánh Image to Frame, Text to Frames và Frames Lab: ảnh trong khung trái tim, tên người thương bằng chữ ảnh, lưới kỷ niệm.
How to Make an Arch Photo Frame in Canva (Arch and Rainbow Curved Frames)
Arch and rainbow photo frames are everywhere in nursery art and boho posters. Here is how to make one in Canva step by step, using an arch shape or Frames Lab's Arc mode, with tips for sizing and spacing.
What Is a Bento Grid? Definition, Examples, and How to Make One in Canva
A bento grid is a layout of rounded tiles in mixed sizes, named after the Japanese lunch box. Learn what it is, how it works, and how to build one with photos in Canva.