
How to Make Stickers in Canva: Print-at-Home, Die-Cut, and Digital
A step-by-step guide to designing stickers in Canva — the white die-cut border, the right canvas size, the export settings that actually print sharp, and where Canva's free tier stops.
Stickers are one of those things that look trivial until you actually try to make one. You draw something nice, print it, and it comes out fuzzy, or the edges are impossible to cut, or it turns out the "transparent" background was white all along.
None of that is a design problem. It's a handful of technical decisions made in the wrong order.
This guide walks through the whole thing in Canva: choosing the sticker type, setting up the canvas, building the white die-cut border that makes a sticker look like a sticker, and exporting a file that prints sharp. It also says plainly which parts of the process are free and which ones hit the Canva Pro wall.
First, decide which kind of sticker you're making #
The four types need genuinely different setups, so pick before you start designing.
| Type | What it is | What you need |
|---|---|---|
| Die-cut | Cut around the artwork's own outline | Transparent artwork, white offset border, a cutting machine or steady scissors |
| Kiss-cut | Cut through the vinyl but not the backing paper | Same as die-cut, plus a machine that can set cut depth |
| Sheet | Several stickers on one printed page, cut by hand | Just sticker paper and scissors |
| Digital | PNG or WebP for Telegram, WhatsApp, Instagram | Transparent PNG export, no printing at all |
If this is your first time, make a sheet of stickers. It's the only version that needs no equipment beyond a printer, and everything you learn transfers to the other three.
Step 1 — Set the canvas in inches, not pixels #
This is the step people skip, and it's the one that causes blurry prints.
In Canva, choose Create a design → Custom size, then switch the unit dropdown from px to in. For a single die-cut sticker, 3 x 3 in is a good default. For a sheet, use 8.5 x 11 in (US Letter) or 210 x 297 mm (A4).
Setting the size in inches tells Canva the physical dimensions, so when you export at print quality it works out the pixel count for you. Setting it in pixels leaves that to chance.
One honest caveat: Canva's Resize tool is Pro-only. If you set the wrong canvas size on a free account, you can't convert it later — you'd rebuild the design. So get this right at creation time. There's more on why the pixel maths matters in our guide to DPI.
Leave a margin of at least 0.25 in from the edge of a sheet. Home printers can't print edge to edge, and commercial printers need bleed — a different thing, covered separately.
Step 2 — Get artwork with a genuinely transparent background #
A sticker's shape is its outline. If the background isn't transparent, you don't have a sticker outline — you have a rectangle.
Three ways to get there:
- Start with a shape or illustration from Canva Elements. Search for graphics rather than photos; most illustrated elements already have transparency baked in. This is free.
- Remove the background from a photo. Canva's Remove Background is under Edit photo → Pro only. Free alternatives exist outside Canva; upload the result as a PNG.
- Draw it yourself with Canva's shapes, lines and text, grouped together. Free, and it's transparent by construction.
If you're working with a logo or line art, an SVG will hold up better than a PNG at any print size. The difference is worth understanding — we broke it down in PNG vs SVG vs JPG.
A small thing that saves a lot of time: if your artwork is a transparent PNG in the wrong colour, One Color recolours the whole thing to a single flat colour while keeping the soft anti-aliased edges intact. Much cleaner than trying to paint over it.
Step 3 — Build the white offset border #
Here's the detail that separates a printed picture from something that reads as a sticker: the thick white outline that traces the artwork's silhouette and sits slightly outside it.
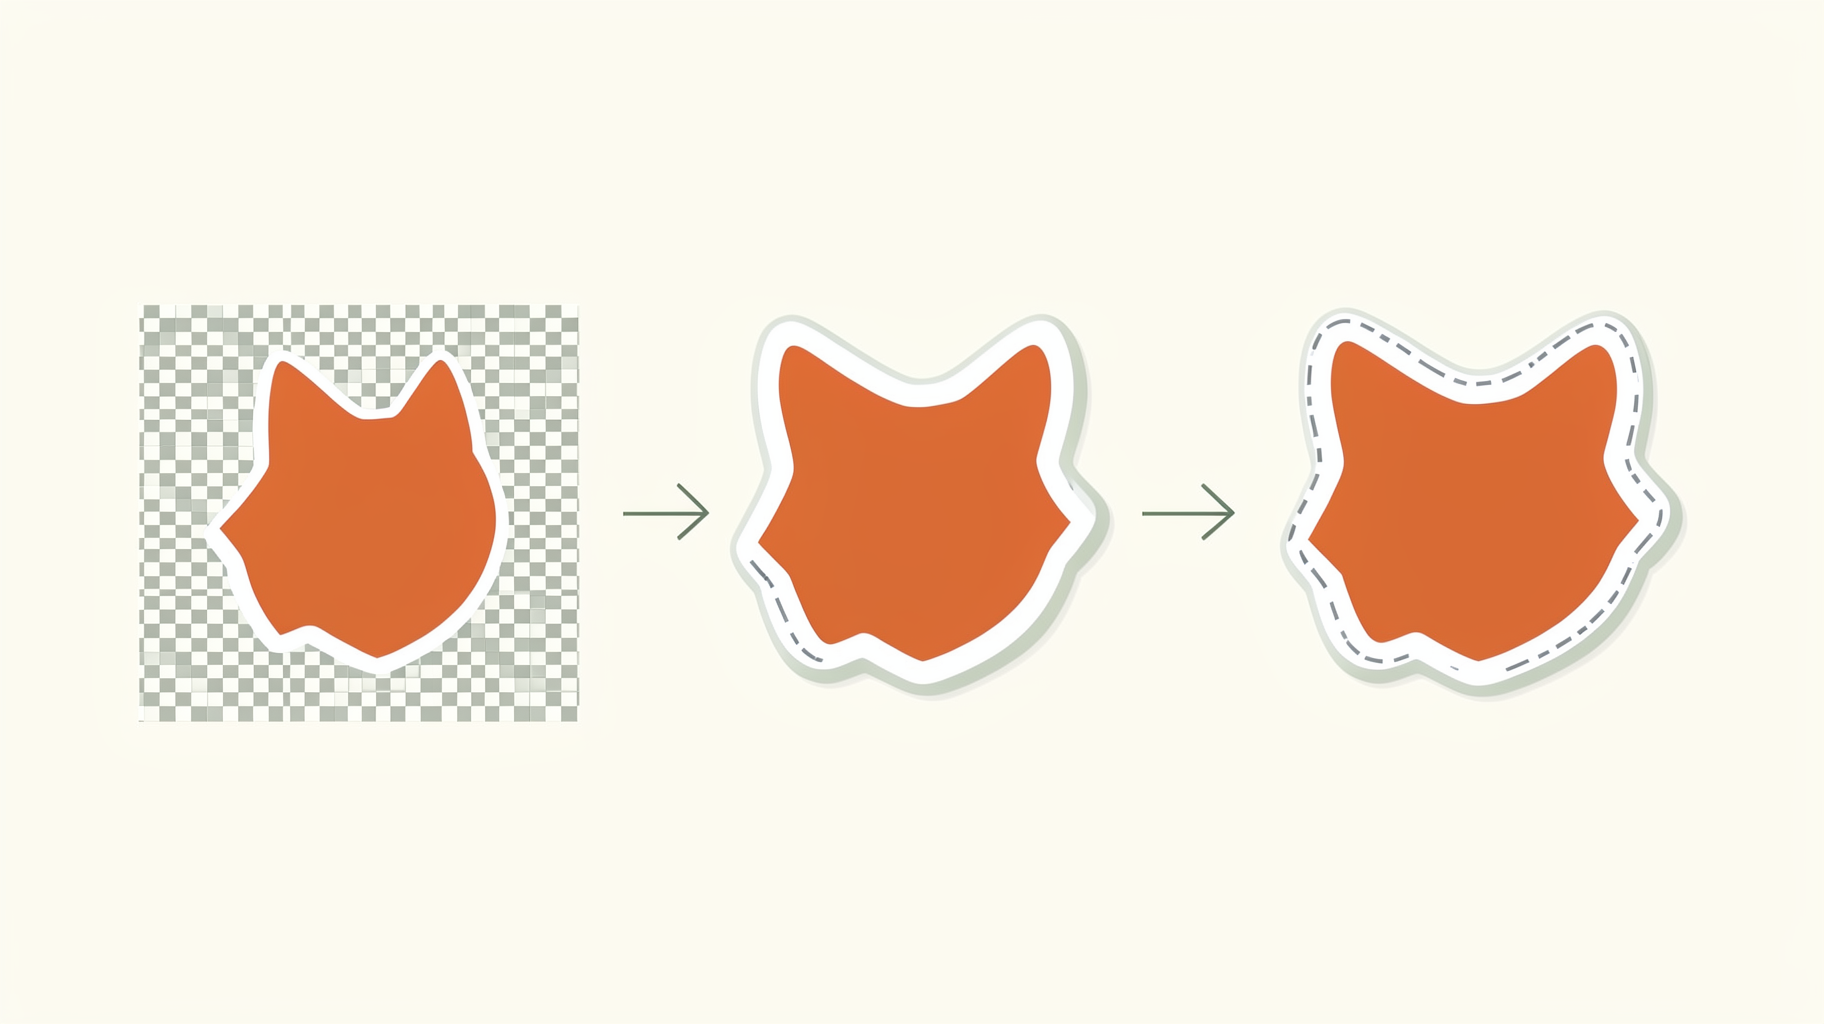
It does two jobs. It looks right, and — more practically — it gives you something forgiving to cut along. Cut slightly inside or outside the white and nobody can tell. Cut along bare artwork and every wobble shows.
Canva has no built-in offset-path tool, so you have a few options:
- The duplicate-and-scale trick (free). Duplicate the artwork, recolour the copy solid white, scale it up about 5-8%, and send it behind the original. Works well for chunky, simple shapes; falls apart on thin or spindly ones, because scaling isn't a true offset — it grows the middle as well as the edges.
- Shadow with zero blur. Select the element → Edit photo → Shadows → Glow, set blur to 0, colour to white, and push the size up. This traces the real outline rather than scaling it, so it holds up on more detailed art.
- Border Art Maker. Builds decorative borders out of dots, icons or repeated images with even spacing and rotation. Worth knowing what it does not do, though: it decorates an edge, it doesn't cut one. Use it for a patterned frame around a square sticker, not for a die-cut silhouette.
If your sticker is a photo inside a shape #
Common request: a pet, a face, a product photo, cut into a star or an arch or a custom outline.
The reusable way to do it is to turn the shape into an actual Canva frame, then drop the photo in. **Image to Frame converts a PNG, SVG or JPG (up to **5 MB) into a real frame you can fill by dragging any photo onto it, and it has a border control with adjustable thickness and colour — which is exactly the white offset outline you want.
Two honest limits. The frame follows the outline of the image you feed it, so the source must already have a transparent background — feed it a photo with a white background and you'll get a rectangular frame. And very intricate outlines sometimes fail to convert, in which case the app points you at its Frame Store instead. The full app is Pro.
If you only need a one-off crop rather than a reusable frame, Clipping Mask is the lighter tool — we compared the two directly. And for arcs, grids and polygon shapes there's Frames Lab.
Step 4 — Lay out the sheet #
If you're printing more than one sticker, arrange them on a single page rather than printing one per sheet. Sticker paper is expensive.
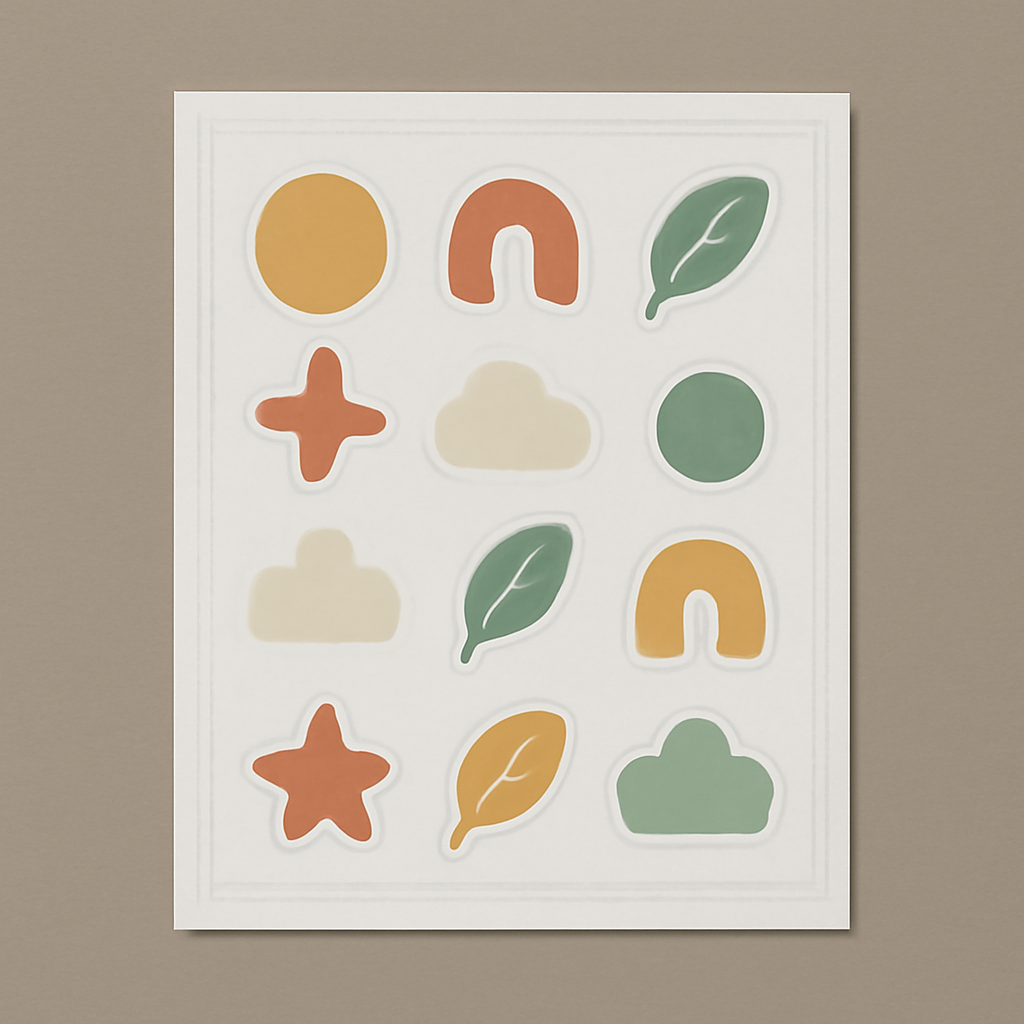
A few things that make the sheet easier to cut:
- Leave at least 0.25 in between stickers. Tight packing looks efficient and is miserable to cut.
- Keep everything 0.25-0.5 in inside the page edge so nothing lands in the printer's unprintable margin.
- Use Canva's rulers and guides (View → Show rulers, then drag a guide out) to keep rows aligned.
- Mix sizes deliberately rather than randomly — a couple of large anchors plus a scatter of small ones fills a page better than a uniform grid.
Common sticker sizes, if you want somewhere to start:
| Use | Size |
|---|---|
| Planner and journal | 0.5 - 1.5 in |
| Laptop and water bottle | 2 - 3 in |
| Envelope seals | 1.5 - 2 in |
| Bumper and window | 4 - 6 in |
| Packaging and thank-you seals | 2 in circle |
Step 5 — Export properly #
For printing: Share → Download → PDF Print. Tick Crop marks and bleed only if a commercial printer asked for it — for home printing, leave it off.
For digital stickers or for feeding into a cutting machine: PNG, with Transparent background ticked. That checkbox is Pro-only. On a free account, export the PNG on a white background and remove it in whatever tool you use next.
If you're using a Cricut or Silhouette, note that Print Then Cut needs registration marks, and Canva can't add them. You export the artwork from Canva and place it inside Cricut Design Space or Silhouette Studio, which adds the marks itself.
A few things worth knowing before you print #
- Test on plain paper first. Every time. Print one sheet on normal paper, hold it against your laptop or planner, and check the size is what you pictured. Sticker paper costs too much to learn this on.
- Matte paper hides printer banding; glossy makes colours pop but shows every fingerprint.
- Laminate anything that will get wet. Water-bottle and outdoor stickers need vinyl plus a laminate sheet, or they'll run the first time they get damp.
- Turn off "fit to page" in your printer dialogue. It quietly rescales your carefully sized artwork. Print at 100% / Actual size.
- Colours print darker than they look on screen. If a colour matters, print a test swatch before committing to a full sheet.
Start with one sheet #
The temptation is to design twenty stickers before printing anything. Don't. Design three, put them on one sheet, print on plain paper, and cut them out.
You'll learn more about your printer, your scissors and your preferred size in those ten minutes than in an afternoon of designing. Then scale up.
If you're heading toward selling them, the packaging and mockup side has its own set of tools — we covered those in the best Canva apps for Etsy sellers.
Frequently asked questions
Mostly, yes. Setting a custom canvas size, designing the artwork, arranging a sticker sheet and exporting a PDF Print file are all free. Two things are not: Remove Background and transparent-PNG export are Canva Pro features. If you are on the free plan, either start from artwork that already has a transparent background, or design your sticker on a solid coloured shape so you never need to cut out a photo.
For laptop and water-bottle stickers, 2-3 inches on the longest side is the usual sweet spot. Planner and journal stickers run 0.5-1.5 inches. Whatever size you pick, set the canvas to that size in inches at the moment you create the design — Canva's Resize tool is Pro-only, so resizing later is not free.
Almost always because the artwork was small and got scaled up. A 2-inch sticker needs roughly 600 pixels across to hit 300 DPI. Design on a canvas set in inches rather than pixels, use SVG or high-resolution PNG source art, and export as PDF Print rather than a screen-sized PNG.
No. Sheet stickers and hand-cut stickers only need printable sticker paper and scissors — that is why the white offset border matters, since it gives you a forgiving line to cut along. A Cricut or Silhouette adds Print Then Cut, which needs registration marks that Canva cannot add; you export the artwork from Canva and place it inside the machine's own software.
Related products


More from QRdy Blog
How to Make a Hat Mockup From a Photo (So the Design Curves With the Cap)
Turn one photo of a blank cap into realistic hat mockups: drag a box around the front panel, let the design wrap the curve with the photo's real shading, then render all your designs at once in your browser.
The Best Canva Apps for Family Reunions (2026): Invites, Banners, Photo Walls and Calendars
Planning a family reunion in Canva? Here are the five Qrdy apps that actually help: shaped photo invitations, photo-letter banners, photo-wall grids, a countdown calendar and a QR link that can change after printing.
How to Make a Birthday Calendar in Canva (Family Birthday Tracker, Step by Step)
Build a printable family birthday calendar in Canva: 12 months, one page each, with names added in minutes. A step-by-step tutorial using Calendar Maker, plus honest notes on what Canva does on its own.