
Image to Frame vs Clipping Mask: Which Canva App for Putting a Photo in a Shape?
Image to Frame and Clipping Mask both put a photo inside a shape in Canva — but one makes a reusable frame and the other makes a finished cut-out. Here's which to use, with a side-by-side table and clear verdict.
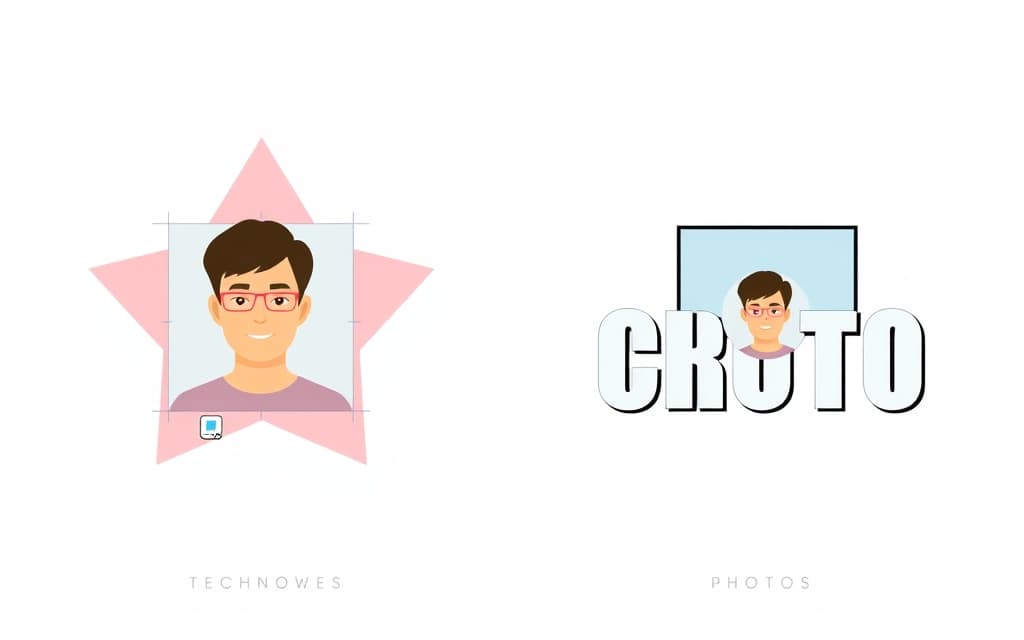
Image to Frame vs Clipping Mask: Which Canva App for Putting a Photo in a Shape?
If you've ever wanted a photo to sit inside a star, a heart, a logo, or a word in Canva, you've probably run into two QRdy apps that both seem to do it: Image to Frame and Clipping Mask. They look similar in the panel, but they solve the problem in two genuinely different ways — and picking the wrong one means extra work later.
Here's the short version: Image to Frame makes a reusable frame you fill; Clipping Mask makes a finished cut-out. Below is when each one wins.
The core difference in one line #
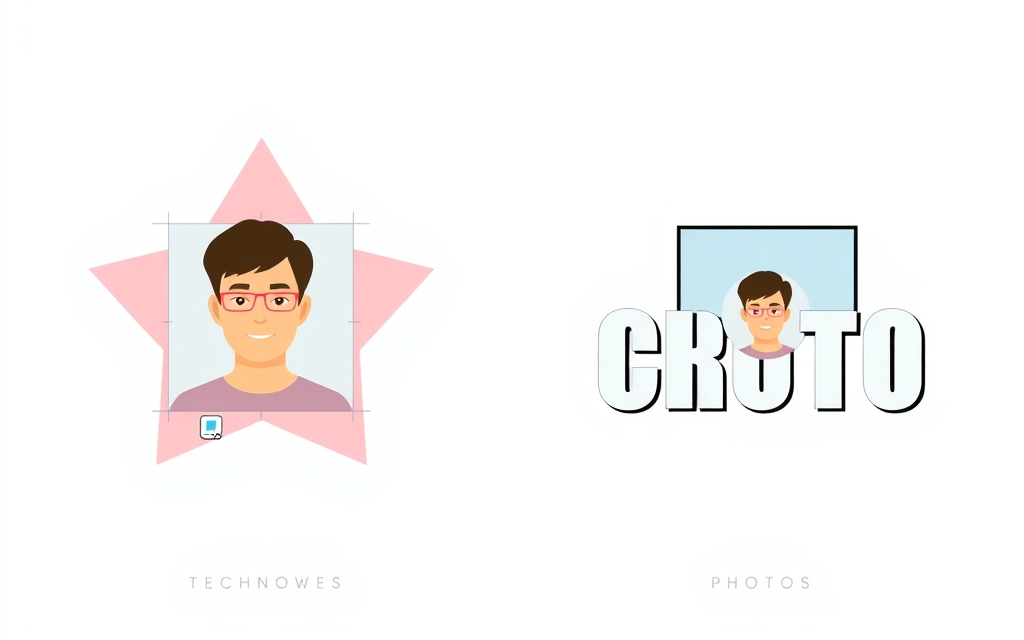
- Image to Frame takes your shape (a PNG, SVG, or JPG up to 5MB) and turns it into a real Canva frame — an empty, shaped drop-zone. You then drag any photo or video into it, reposition, zoom, or swap the photo as many times as you like. It behaves exactly like Canva's native frames because it is one.
- Clipping Mask takes one specific photo and cuts it to the outline of a shape, a custom design, or text. The result is a finished, masked image. To use a different photo, you run the mask again.
Think of Image to Frame as making an empty picture frame you can re-hang any photo in, and Clipping Mask as printing one photo already trimmed to shape.
Side-by-side comparison #
| Image to Frame | Clipping Mask | |
|---|---|---|
| What you get | An empty Canva frame in your shape | A finished photo cut to the shape |
| Swap the photo later? | Yes — just drag a new one in | No — redo the mask |
| Reposition photo inside | Yes, anytime (native frame behavior) | Adjust before applying |
| Source of the shape | Upload PNG/SVG/JPG, pick an on-canvas image, or export your design | Text, a Canva shape, or your own uploaded design |
| Works with video | Yes (frames accept video) | Best for images |
| Border control | Thickness 0–50 + color | — |
| Best for | Reusable, editable shaped photo slots | Quick one-off typography and composite art |
When to use Image to Frame #
Reach for Image to Frame when the shape is something you'll fill more than once, or when you want to keep editing:
- Templates you'll reuse — a branded star or logo frame that a whole team drops different product shots into.
- Photo books and scrapbooks where you place the frame first and audition several photos.
- Custom shapes Canva doesn't stock — turn a PNG icon, a hand-drawn silhouette, or an exported design into a frame.
One tip that makes or breaks the result: remove the background first. If your source image still has a white or colored background, the frame comes out as a plain rectangle. Strip it to a transparent PNG so the frame hugs the true outline. If you'd rather not make your own, Image to Frame's Frame Store has ready-made frames to grab.
When to use Clipping Mask #
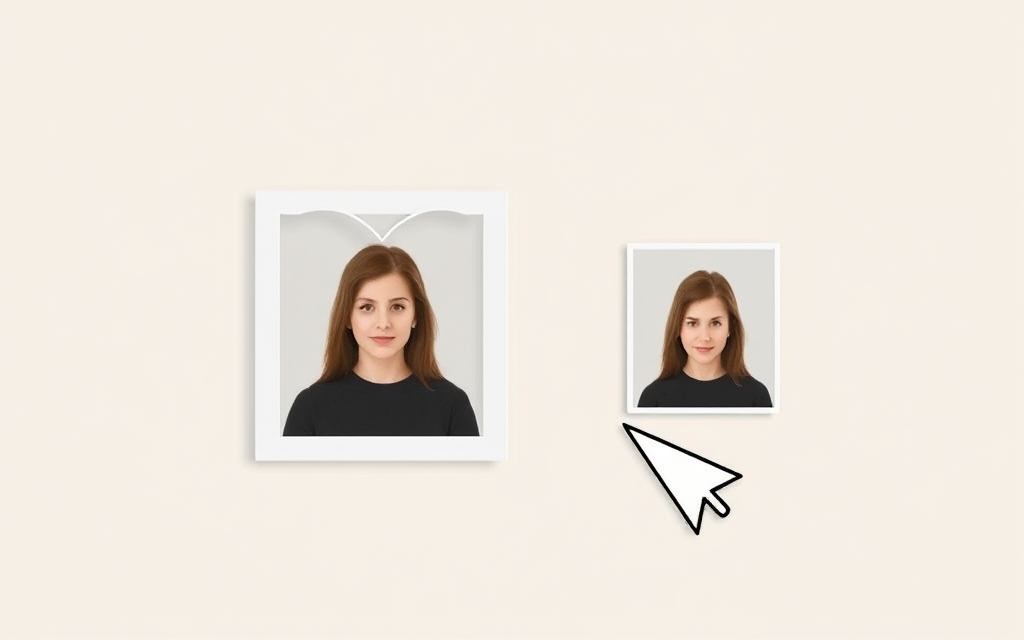
Reach for Clipping Mask when you want a finished graphic now and don't need to swap the photo:
- Photo-filled text — a quote or headline with one image showing through all the letters.
- Social thumbnails and covers where you want a striking composite fast.
- One-off shape crops — a single photo trimmed to a circle, hexagon, or your own custom outline.
Because Clipping Mask flattens the photo into the shape, it's the faster path when you know the exact image you want and won't be changing it.
A quick word on Canva's built-in tools #
To be fair to Canva: it does have native Frames (Elements → Frames), but only in preset shapes, and there's no true built-in way to clip a photo into your own custom shape or into live text. That's the gap these apps fill — Image to Frame extends the frame system to any shape, and Clipping Mask handles the masked-image side.
Related picks #
- Text to Frames — if you want a different photo inside each individual letter (every character becomes its own frame), this beats a single clipping mask.
- Frames Lab — if you need parametric frames like arcs, grids, and bursts rather than a single silhouette.
The verdict #
Use Image to Frame when you want an editable, reusable shaped slot you'll fill and re-fill — templates, photo books, custom-shape branding. Use Clipping Mask when you want a quick, finished cut-out of one specific photo, especially photo-filled text. Most designers end up keeping both installed: one for the frames they reuse, one for the composites they knock out fast.
Frequently asked questions
Image to Frame turns your shape into a real, empty Canva frame that you drop a photo into and can swap or reposition anytime. Clipping Mask cuts a specific photo into a shape or text and gives you a finished graphic — to change the photo you redo the mask.
Canva's built-in Frames (Elements > Frames) only offer preset shapes, and there's no true native way to clip a photo into your own custom shape or into text. That gap is exactly what Image to Frame and Clipping Mask fill — one as a reusable frame, one as a one-off cut-out.
For a single photo showing through a whole word, Clipping Mask is quickest. For a different photo inside each letter, use Text to Frames, which makes every character its own frame.
Related products


More from QRdy Blog
How to Make a Hat Mockup From a Photo (So the Design Curves With the Cap)
Turn one photo of a blank cap into realistic hat mockups: drag a box around the front panel, let the design wrap the curve with the photo's real shading, then render all your designs at once in your browser.
The Best Canva Apps for Family Reunions (2026): Invites, Banners, Photo Walls and Calendars
Planning a family reunion in Canva? Here are the five Qrdy apps that actually help: shaped photo invitations, photo-letter banners, photo-wall grids, a countdown calendar and a QR link that can change after printing.
How to Make a Birthday Calendar in Canva (Family Birthday Tracker, Step by Step)
Build a printable family birthday calendar in Canva: 12 months, one page each, with names added in minutes. A step-by-step tutorial using Calendar Maker, plus honest notes on what Canva does on its own.