
How to Make Photo Ornaments in Canva (Print at Home, Any Shape)
A print-at-home photo ornament is one shape, one photo and one punched hole. Here is the full Canva workflow — page size first, custom shapes into real frames, a full sheet laid out at once, and the print settings that stop you reprinting.
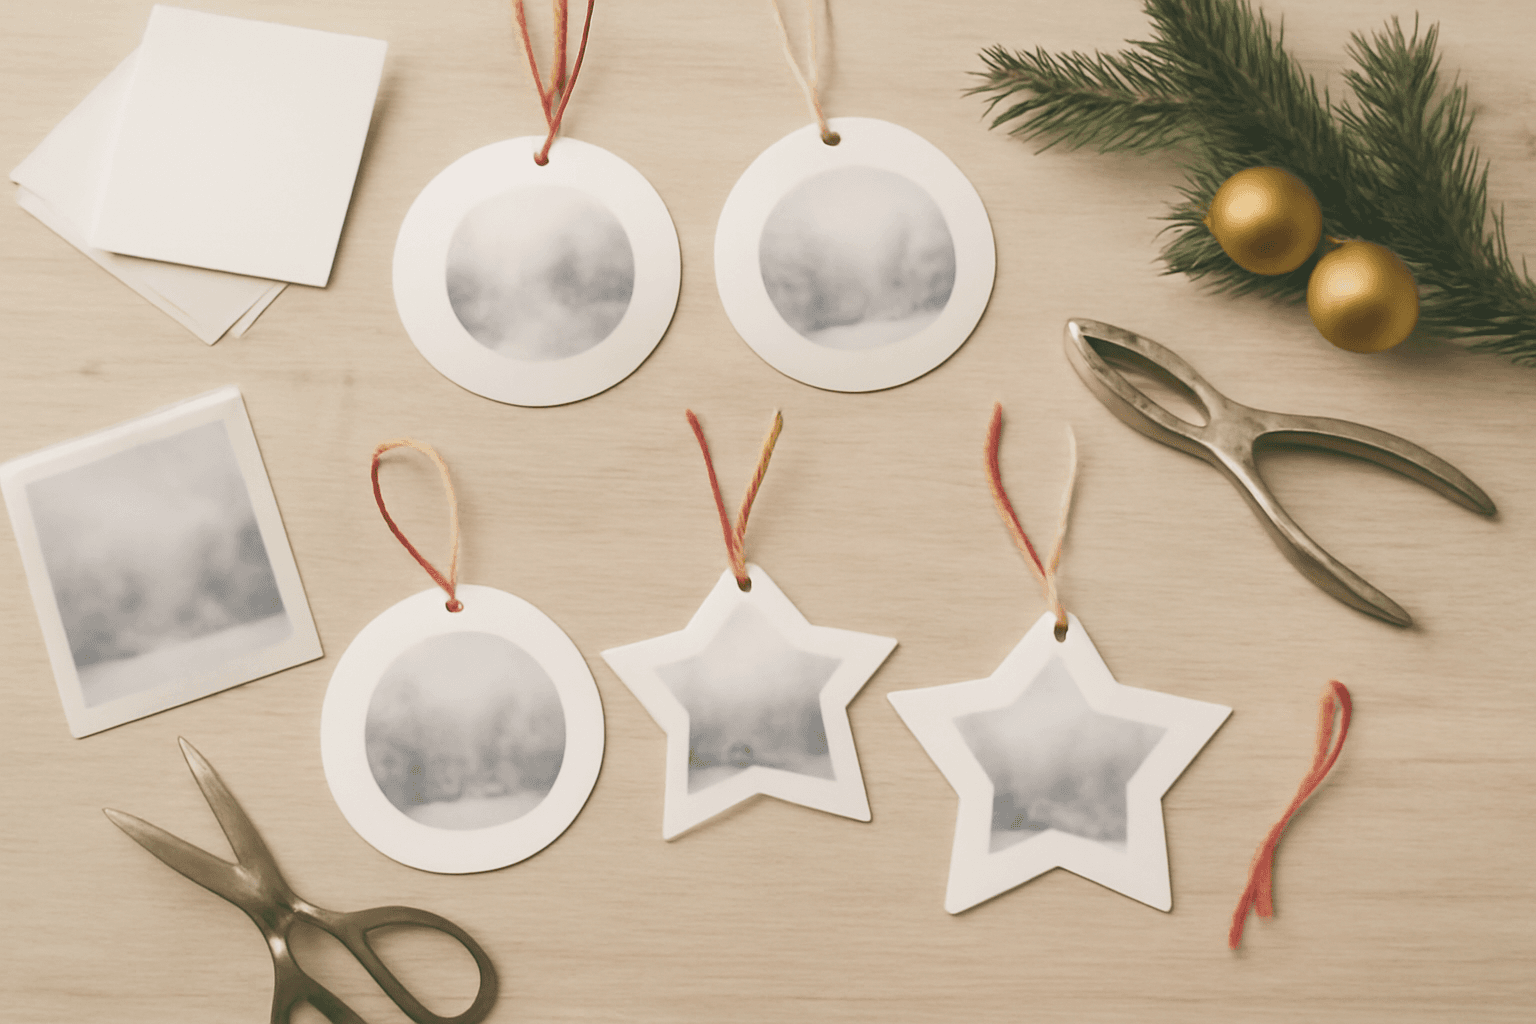
A printed photo ornament is a deceptively simple object: one shape, one photo sitting inside it, one hole punched at the top, one ribbon. Everything that makes it look bought rather than improvised happens before it reaches the printer — the shape being a genuine frame instead of a photo with a mask floating over it, the border being even the whole way round, the sheet being laid out so you cut twelve at once instead of one at a time.
This is the full Canva workflow, in the order that actually saves you reprints.
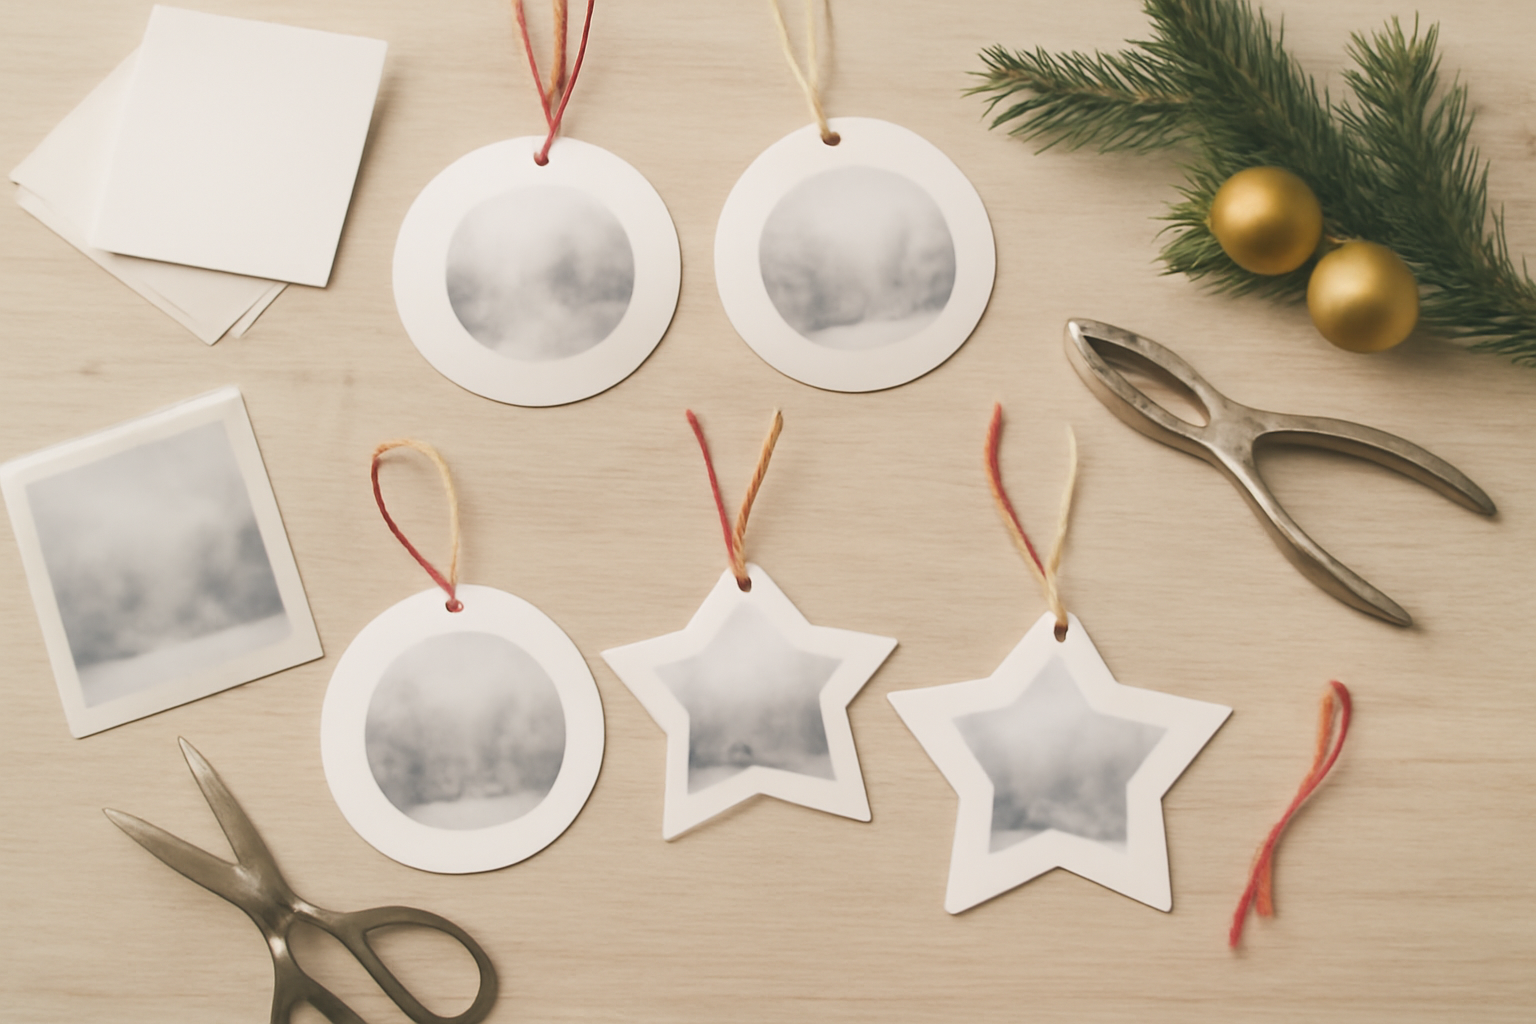
What you need before you open Canva #
| Thing | What works | Why it matters |
|---|---|---|
| Photos | Sharp, high-resolution, subject roughly centred | A 3-inch circle crops hard; anything near the edge gets cut |
| Paper | Cardstock around 200-300gsm | Thin paper curls under ribbon tension within a day |
| Shape source | A Canva element, or a transparent PNG/SVG you upload | Transparency is what makes a custom shape possible at all |
| Tools | Scissors or a craft knife, a single hole punch, thin ribbon or baker's twine | A single punch is far tidier than a standard office punch |
| Printer setting | Borderless or bleed-aware, best quality, cardstock media type | The default "plain paper, normal" setting will look muddy |
Step 1 — Set the page size before you do anything else #
This is the step people skip and then redo. Create the Canva design at the size you will actually print — Letter or A4 for a full sheet of ornaments, or a custom square if you are making a single large one.
The reason is mechanical: frames generated by the Qrdy frame apps auto-scale to fit the design that is currently open, and they only ever scale down, never up. Build a shape on a small Instagram-sized page and then resize to A4, and you get a frame that is stranded in the middle of a big sheet at the wrong proportions. Set the page first and the frame arrives correctly sized.
Step 2 — Decide where the ornament shape comes from #
There are three honest routes, and which one you pick depends entirely on how custom you want to get.
- Canva's own frames. Elements has a Frames section with circles and a small set of other shapes. Drop a photo in and you are done. This is genuinely the fastest option for a plain round ornament, and there is no reason to reach for an app if a circle is all you want.
- A shape already in your design. Add something from Elements → Shapes or Elements → Graphics, then use the Shape mode in Frames Lab to convert it. Press "Recheck design" and the app lists the shapes it can see; click one and it lands in your design as a frame.
- A shape of your own. A bauble silhouette, a pine tree outline, a gingerbread shape, your own logo. Canva has no way to turn an arbitrary image into a frame — this is exactly the gap Image to Frame exists to fill.
Step 3 — Turn your own shape into a real frame #
Image to Frame takes PNG, SVG or JPG files up to 5MB, and gives you three ways in: upload a file, select an image already sitting on the page, or use "Export design" to flatten a whole page of stacked elements into one shape.
The one rule that decides whether this works: the source needs a transparent background. Feed it a shape on a white background and you will get a rectangular frame, because as far as the converter is concerned the white is part of the picture. Remove the background first (Canva's own Background Remover is a Pro feature and does the job), then convert. SVG files work best for clean, simple outlines; very intricate outlines can fail to convert, and when that happens the app points you at the Frame Store rather than leaving you stuck.
Two small behaviours worth knowing so you do not mistake them for bugs:
- The border thickness and colour controls exist in the panel, but the border only renders after you press "Add frame to design". It will not appear in the preview.
- If nothing happens on adding, check what kind of Canva design you are in — a few design types do not accept frames at all.
Step 4 — Drop the photo in and reposition it #
Once the frame is in the design, this is ordinary Canva. Drag a photo onto the frame and it snaps to fill the shape. Double-click to reposition and zoom the photo inside the frame until the subject sits where you want it.
Worth doing deliberately: ornaments are viewed from six feet away on a tree, not at arm's length. Crop tighter than feels comfortable on screen. A face that fills two thirds of a 3-inch circle reads; a full-body photo shrunk into the same circle does not. If a frame refuses to accept an image, our guide to common Canva frame problems covers the usual causes.
Step 5 — Give it a border #
The white rim around a photo ornament is doing real work: it hides the slight wobble in your cutting line and stops the photo bleeding into the paper edge. Give yourself 4-6mm of it.
You can get there three ways — the border slider inside Image to Frame, a slightly larger shape sitting behind the frame as a backing layer, or a decorative edge from Border Art Maker if you want dots or repeating icons rather than a plain rim. For anything that will be printed, go a shade lighter than looks right on screen; ink sits heavier on cardstock than a backlit monitor suggests.
Step 6 — Lay out the whole sheet at once #
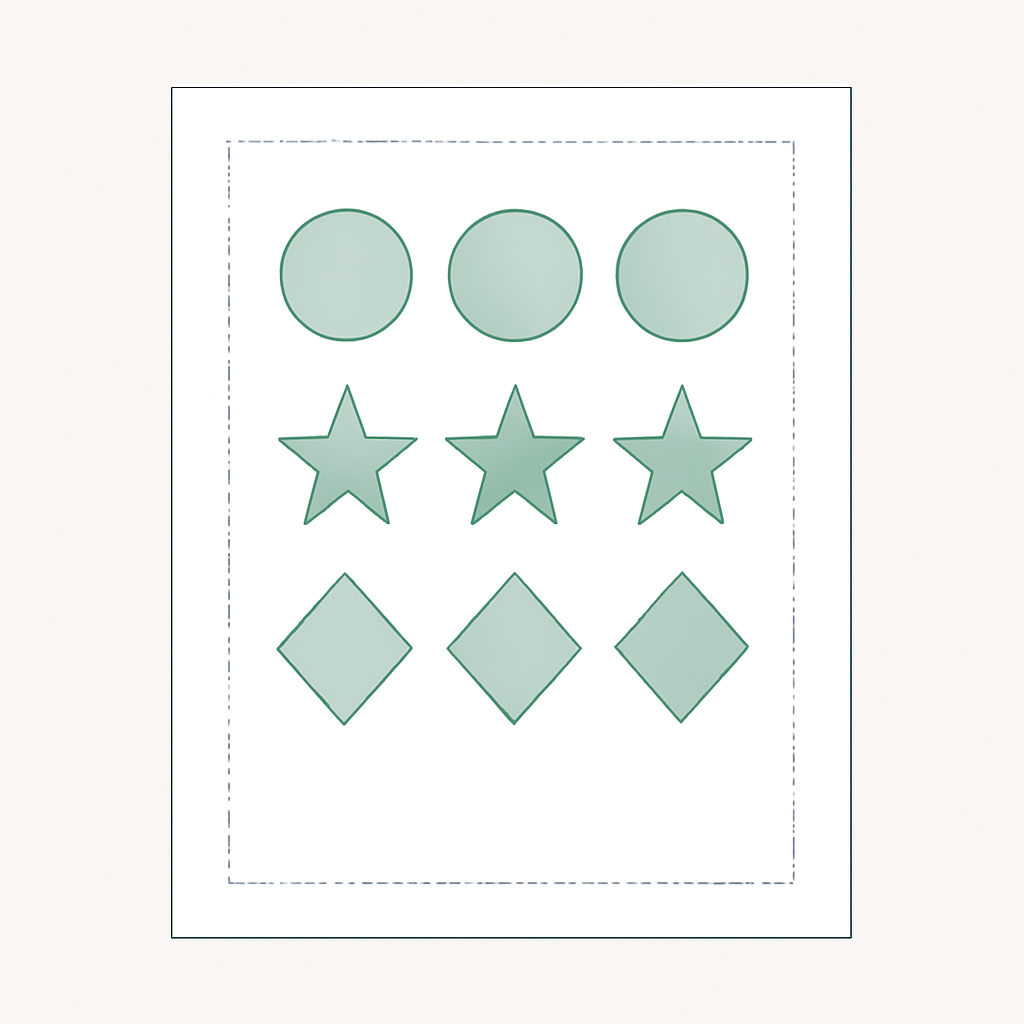
One ornament per sheet is a waste of cardstock. Nine to twelve fit comfortably on Letter or A4 at 3 inches each.
The Grid mode in Frames Lab builds this for you: set columns and rows, set the gap between cells, and every cell arrives as a separate frame you can fill with a different photo. Under Advanced you can add rounded corners or a straight border, and there is a ceiling of roughly 30 cells — go past it and the app will refuse the layout rather than produce something broken.
Two layout habits that pay off at the cutting stage:
- Leave at least 8mm of gap between shapes. Scissors need somewhere to go, and a crowded sheet means every cut risks the neighbour.
- Keep everything a few millimetres inside the printable margin. Home printers do not print to the paper edge, and a shape that runs off the margin comes back clipped. If you are having the sheet printed commercially instead, set up bleed properly.
Step 7 — Add a name or a year #
This is what turns a printed photo into a keepsake, and it is where a second app earns its place. Text to Frames converts each letter of a word into its own Canva frame, so a name can be filled with the same photo, or with a different photo per letter.
Practical notes from using it: the text field caps at 200 characters, the free tier includes five fonts (Roboto, Open Sans, Lato, Playfair Display and Pacifico) with the rest behind Pro, and letter spacing runs from -100 to 100. Turn on "Split into letters" if you want a different image in each character. Pick a heavy font — a thin serif filled with a photo at ornament scale turns into visual noise, because there is simply not enough area inside each stroke for the image to read.
If you only want plain lettering, plain Canva text over the border is perfectly fine and quicker. Use the frame version when the lettering itself is meant to carry the photo.
Step 8 — Export so it actually prints well #
- Download as PDF Print, not PNG or PDF Standard. PDF Print is the export that preserves print-grade resolution.
- Aim for 300 DPI at final size. A photo that looks crisp on screen can still be too low-resolution for a 3-inch print — our explainer on DPI covers how to check before you commit paper to it.
- In the printer dialogue, set media type to cardstock or heavy paper and quality to best. This changes how much ink is laid down and how slowly the paper feeds; on the default setting cardstock comes out flat and dull.
- Print one test sheet on ordinary paper first, cut one shape out, and hold it up at arm's length. This catches crop mistakes and size mistakes for the cost of one sheet.
Step 9 — Cut, punch, thread #
Cut just inside the printed edge rather than on it, so no white shows on the cut line. Punch the hole 5-8mm down from the top edge — punch too close and the paper tears out the first time the ornament swings.
Thread thin ribbon or baker's twine and tie the knot on the back rather than at the top, so the front stays clean. If the ornament will hang somewhere warm or near a window, a matte finish holds up better than gloss, which shows every fingerprint and catches light in a way that hides the photo. We compared the two in more depth in matte vs glossy photo prints.

Five things that save a reprint #
- Set the page size first. Worth repeating, because it is the single most common cause of a shape that arrives at the wrong scale.
- Remove the background before converting a custom shape, or you will get a rectangle and wonder why.
- Crop tighter than feels right. Ornaments are seen from across a room.
- Print one test sheet on cheap paper. Every reprint costs more than this does.
- Punch the hole before you decide the design is finished. Sometimes the hole lands somewhere that ruins the composition, and it is much easier to nudge the photo than to re-punch.
Where to take it next #
The same three steps — shape, frame, photo — cover a surprising amount of the printable-gift category. Gift tags are ornaments without the ribbon loop. Place cards are ornaments that stand up. Photo magnets are ornaments on adhesive sheet. If you want more of these, our roundups of personalised photo gift ideas and Christmas design ideas for Canva go wider, and what is a frame in Canva explains the underlying mechanic properly if any of the frame language above was new.
One last practical note on timing: if these are going to people by post, the cutting and threading takes longer than the designing. Budget an evening for a set of twelve, not an hour.
Frequently asked questions
Heavy cardstock, roughly 200-300gsm, is the sweet spot. Normal copy paper curls the moment a ribbon pulls on it, and photo paper is often too glossy and too thin to hold a punched hole. If you want a two-sided ornament that looks finished from the back as well, print two copies on 200gsm and glue them back to back — that is stiffer and cheaper than one sheet of 350gsm board.
Between 2.5 and 3.5 inches (roughly 65-90mm) across is the range that reads well on a tree without overwhelming a branch. Below about 2 inches the photo inside stops being recognisable from a few feet away. Set the shape size in Canva before you print, not after — resizing at the printer stage is where margins and bleed get lost.
Yes, for simple shapes. Canva has built-in frames under Elements, including circles and a handful of other shapes, and you can drop a photo straight into one. The limit is that you cannot turn an arbitrary shape of your own — a pine tree outline, a bauble silhouette, a monogram, your logo — into a frame. That is the gap Image to Frame fills: it converts an uploaded PNG, SVG or JPG into a real Canva frame you can then fill.
Related products


More from QRdy Blog
10 Thanksgiving Design Ideas You Can Make in Canva (Printable Decor, Menus & More)
Ten Thanksgiving projects you can actually design and print at home this year — turkey-shaped photo frames, a "GRATEFUL" photo banner, menu cards, a Friendsgiving invite, a November countdown and more. Each one names the Canva app that does the hard part.
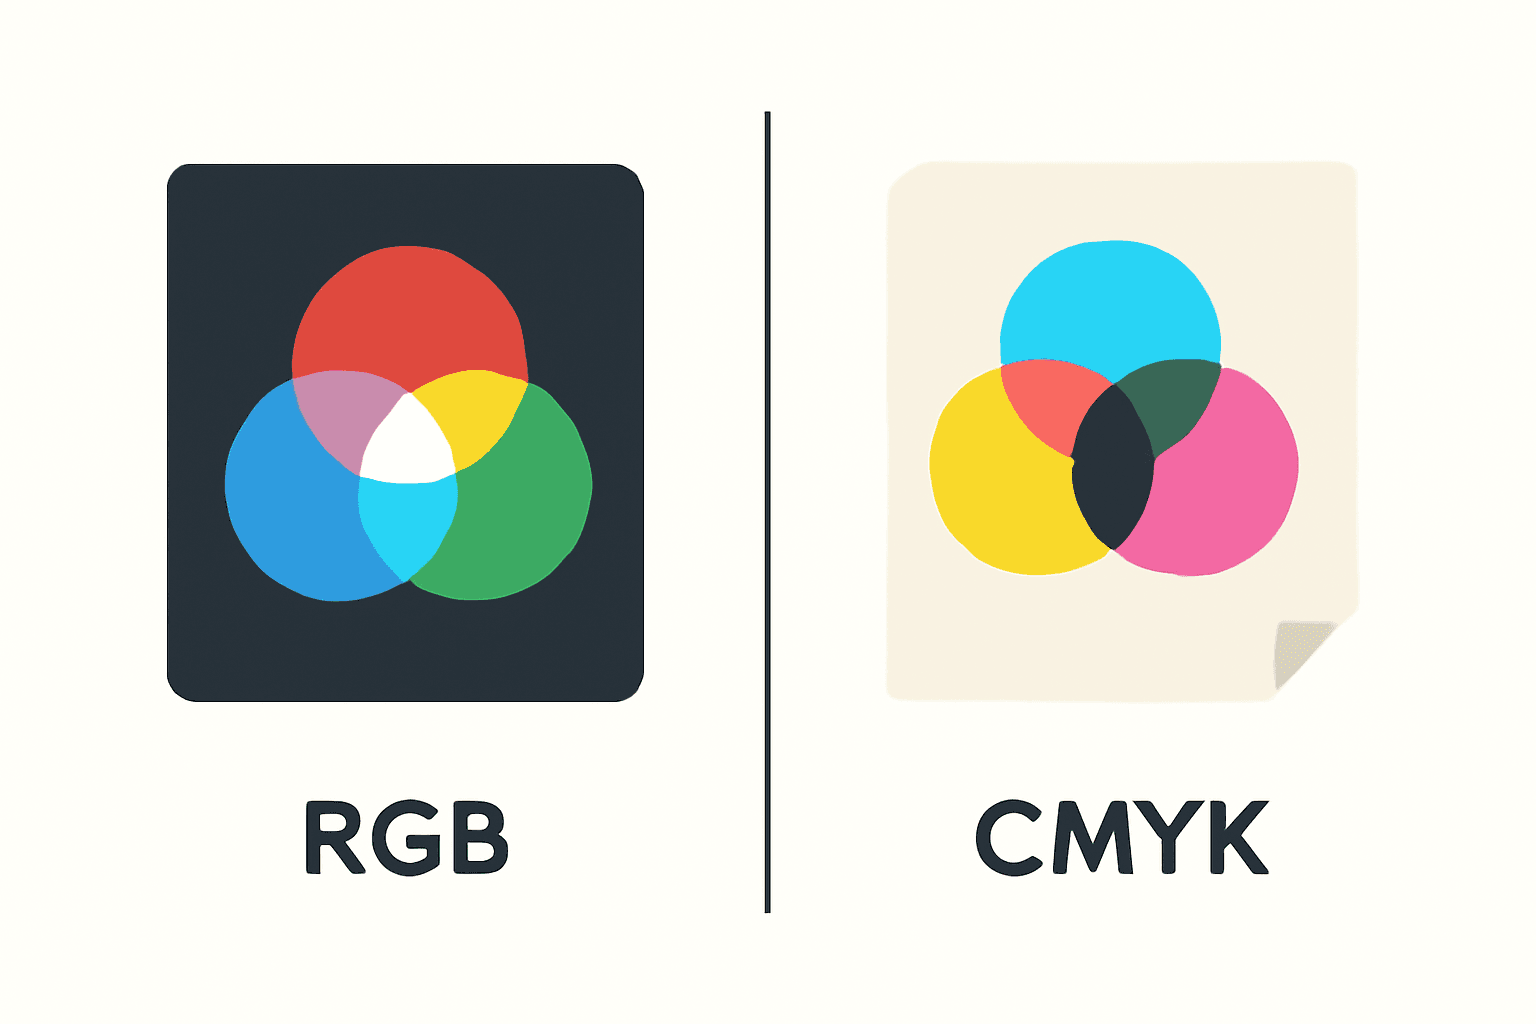
CMYK vs RGB: Which Color Mode Should You Use (and What Canva Actually Does)
RGB is light, CMYK is ink — and that one difference is why your print came back duller than the screen. Here's the plain-English comparison, plus exactly what to do about it inside Canva.
The Best Canva Apps for Photo Books & Photo Albums (2026)
A photo book is 40 pages of the same three layouts unless you give yourself better tools. These are the Canva apps that actually speed up building a photo book or album — grid spreads, custom-shape pages, a photo-filled cover — plus what Canva already does well on its own.