
Canva Frame Not Working? 9 Fixes for Every Common Frame Problem
Photo won't drop into your frame? Custom frame came out rectangular? Here are the nine things that actually go wrong with Canva frames — and the exact fix for each one, including the errors you'll hit inside frame apps.

Frames are the single most useful thing in Canva and also the thing that quietly breaks the most. A photo refuses to go inside. A frame you just made comes out as a plain rectangle. An app throws an error you have never seen before.
Almost all of it comes down to nine specific causes. Here they are, with the fix for each.
Start here: the 30-second checklist #
Before you troubleshoot anything specific, run through these four. They catch most cases.
- Click the element you are trying to fill. If the toolbar says Shape or shows a colour swatch, it is not a frame — that is the whole problem.
- Drag your photo slowly over the element and watch it. A real frame highlights and previews your photo the moment you hover over it.
- If your photo landed on top instead of inside, undo, then drag again and release only once you see that highlight.
- If nothing highlights at all, refresh the Canva tab. Frames occasionally stop responding after a long editing session, and a reload fixes it.
Still stuck? Find your symptom below.
Fix 1 — Your photo lands on top of the frame instead of inside it #
This is the most common complaint by a wide margin, and it is a drag-and-drop timing issue rather than a bug.
Canva only drops a photo into a frame if you release the mouse while the frame is highlighted. Release a few pixels early and the photo becomes a separate layer sitting on top, which looks almost identical at a glance.
The fix: undo, then drag the photo from the sidebar and hover directly over the centre of the frame. Wait until you see the frame outline light up and your photo preview snap into the shape, then let go. If the photo is already on the canvas, drag it from the canvas into the frame the same way.
Once it is in, double-click the frame to reposition and zoom the photo inside the shape. That inner editing mode is where most people give up too early — the initial crop is almost never the one you want.
Fix 2 — You are using a shape, not a frame #
Shapes and frames look similar in the Elements panel but behave completely differently. A shape is a coloured object. A frame is an empty container.
The fix: go to Elements > Frames and use an item from that section. If you specifically want your shape to accept photos, you need to convert it:
Open Frames Lab, add your shape from Elements > Shapes or Graphics first, then hit Recheck design inside the app. It scans the page, finds the shapes it recognises, and lets you click one to drop it back in as a working frame. If the app says it found nothing, make sure the shape came from Elements > Shape or Graphics, then press Recheck design again — it does not auto-refresh when you change the page.
Fix 3 — Your custom frame came out as a rectangle #
You uploaded a star, a logo, a hand-lettered word. You got back a rectangle.
This one has a single cause: the source file still had a background. Image to Frame traces the outline of whatever is actually in the file. If your star sits on a white square, the outline it finds is the square.

The fix: remove the background before converting, then upload. PNG and SVG both carry real transparency; JPG never does, so a JPG will always give you a rectangle no matter what the image looks like. This is the tip the app itself leads with, and it solves the majority of disappointing conversions.
Fix 4 — "Frames can't be added to this design type" #
If you see this warning, nothing is broken. Certain Canva design types do not accept frame elements at all, and the frame apps check for that before they try.
The fix: open the app inside a different design. Presentation, Poster, Instagram Post and most standard document sizes all take frames fine. Build your frame there, and copy it across if you need it elsewhere.
Fix 5 — Image to Frame won't accept your file #
There are four hard limits worth knowing before you blame the app:
- File size — anything over 5MB is rejected. Downscale the image and try again.
- Format — PNG, SVG and JPG only.
- Export design — this path only accepts a single page exported as a transparent PNG. Multi-page exports or other formats will be refused.
- Complexity — very intricate outlines with tangled curves sometimes cannot be traced. The app will tell you and point you at the Frame Store instead.
For that last one, SVG usually beats PNG. A clean vector shape converts reliably where a detailed raster silhouette does not. If your design genuinely needs that complex shape, simplify it a little and convert again — a few fewer curves is usually all it takes.
Fix 6 — Your border isn't showing in the preview #
You set a border thickness and colour, the preview looks exactly the same, so you assume the setting did not take.
The fix: nothing. This is expected behaviour in Image to Frame — the border only renders after the frame is added to your design, not in the preview thumbnail. Add it to the page and the border will be there. Border thickness runs from 0 to 50, so if you genuinely see nothing after adding, check the slider is not still at 0.
Fix 7 — Frames Lab refuses to add your grid #
Grid and Diagonal frames have a complexity ceiling. Push past roughly 30 cells, or crank the wave effect too high, and the app blocks the add rather than producing something broken.
The fix: reduce your rows and columns, or dial the wave strength back down, then add again. If you need a genuinely large collage, build it as two smaller grids side by side — it is easier to lay out and much easier to swap photos in later.
Fix 8 — It works on desktop but not on your phone #
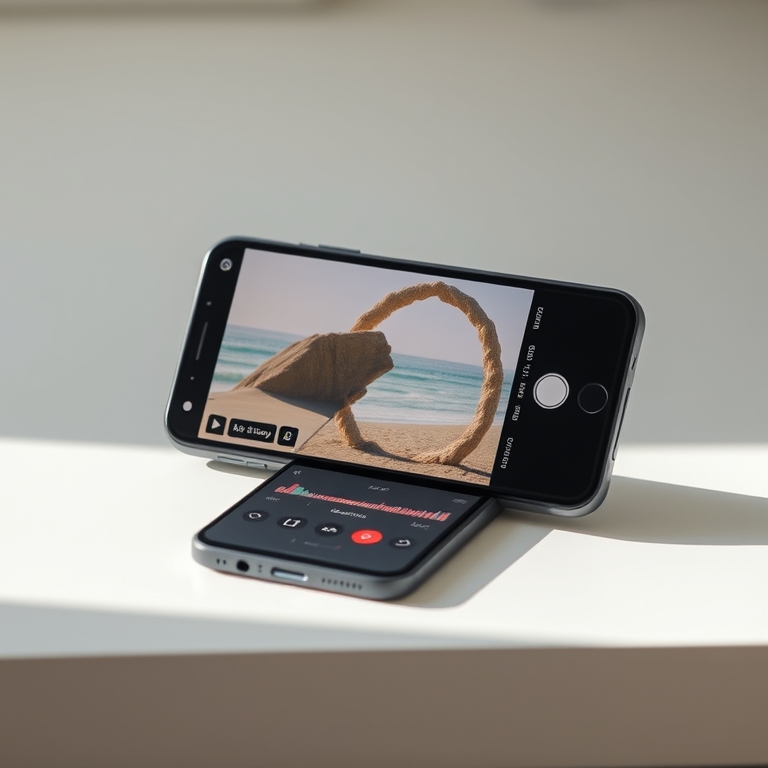
Worth being clear about this, because it trips people up: Canva's own frames work fine in the mobile app. Tap a frame, tap Replace, pick your photo, double-tap to crop.
What does not run on mobile is the apps that create custom frames. Image to Frame, Frames Lab and Text to Frames all live in the sidebar of the desktop editor.
The fix: make your custom frames once on a computer and save that design. After that you can open it on your phone and fill, swap and reposition photos inside those frames like any other frame.
Fix 9 — The app won't load, or forgot you upgraded #
Two small ones that look alarming and are not.
If an app hangs on the loading spinner or says it cannot fetch your account, it is a network or sign-in hiccup. It retries automatically; if it still fails, reload the Canva page and open the app again.
If you just bought Pro in another browser tab and the app still shows the free limits, do not close and reopen it. Use the Restart button inside the app — "Restart Image to Frame", "Restart Text to Frames" — which re-checks your account without a full reload.

Four habits that prevent most frame problems #
- Remove backgrounds first. Transparency is what makes a custom frame follow a real outline. Everything else is downstream of this.
- Press Recheck design after every change. Frames Lab reads your page on demand, not continuously.
- Double-click to adjust, don't resize the frame. Dragging the frame handles changes the shape; double-clicking changes the photo inside it. People reach for the wrong one constantly.
- Keep a frame you like. Custom frames are reusable. Once a shape works, copy it to a spare page and pull from there instead of rebuilding it.
Which tool for which problem #
| What you want | Use |
|---|---|
| Turn an image or logo you already have into a frame | Image to Frame |
| Turn a shape already on your page into a frame | Frames Lab (Shape mode) |
| Grid, arc, burst or diagonal collage frames | Frames Lab |
| Every letter of a word as its own frame | Text to Frames |
| Describe a frame in words and have it drawn | AI Frames |
| One image showing through a whole word or shape | Clipping Mask |
And to be fair to Canva: its built-in Frames section covers circles, hearts, arches, film strips and plenty more, and Grids handle rectangular collages well. If a standard shape does what you need, use it — the apps exist for the shapes Canva does not ship.
Frequently asked questions
Nine times out of ten you are dragging onto a shape, not a frame. A real Canva frame shows a dashed placeholder outline with a small image icon inside it before anything is dropped in, and it highlights when you hover a photo over it. Shapes from Elements just sit there as coloured objects. Delete the shape, add an actual frame from Elements > Frames, or convert your shape into a frame with an app like Frames Lab or Image to Frame.
Because the source image still had a background. Image to Frame traces the outline of whatever is actually in the file, so a star on a white square becomes a rectangular frame. Remove the background first so the file has real transparency, then convert. PNG and SVG keep transparency; JPG never does.
Some Canva design types simply do not accept frame elements, and frame apps show this warning when they detect one. It is a Canva restriction, not an app bug. Open the app inside a design type that does support frames — Presentation, Poster, Instagram Post and most standard sizes all work — and add your frame there.
The frames themselves do. Once a custom frame is sitting in your design you can open that design on your phone, tap the frame and drop photos in as normal. The apps that generate the frames run in the sidebar of the desktop editor, so build your custom frames once on a computer, then fill and swap photos from your phone.
Related products


More from QRdy Blog
What Is a Triptych? Meaning, Types, and How to Make One in Canva
A triptych is art or a photo split across three panels meant to be seen as one piece. Here's where it came from, how it differs from a diptych, the sizing and spacing rules, and how to lay one out in Canva.
10 Bulletin Board Ideas You Can Make in Canva (Fall, Classroom and Calendar Boards)
10 printable bulletin board ideas for fall and the classroom: monthly calendar boards, photo-filled headline letters, Meet the Class grids, leaf photos, countdowns and more, all designed in Canva.

Serif vs Sans Serif: What's the Difference, and Which Font Should You Use?
Serif fonts have small strokes at the ends of their letters; sans serif fonts don't. Here's what that changes for readability, print, screens and pairing — and why heavy sans serifs win when you put photos inside letters.