
Custom Photo Calendar: Print Service vs Making Your Own in Canva
Order a personalised photo calendar from a print service, or build one yourself in Canva and print it? An honest comparison of control, cost, effort and finish — plus exactly how to make the whole 12-month set in Canva with Calendar Maker.
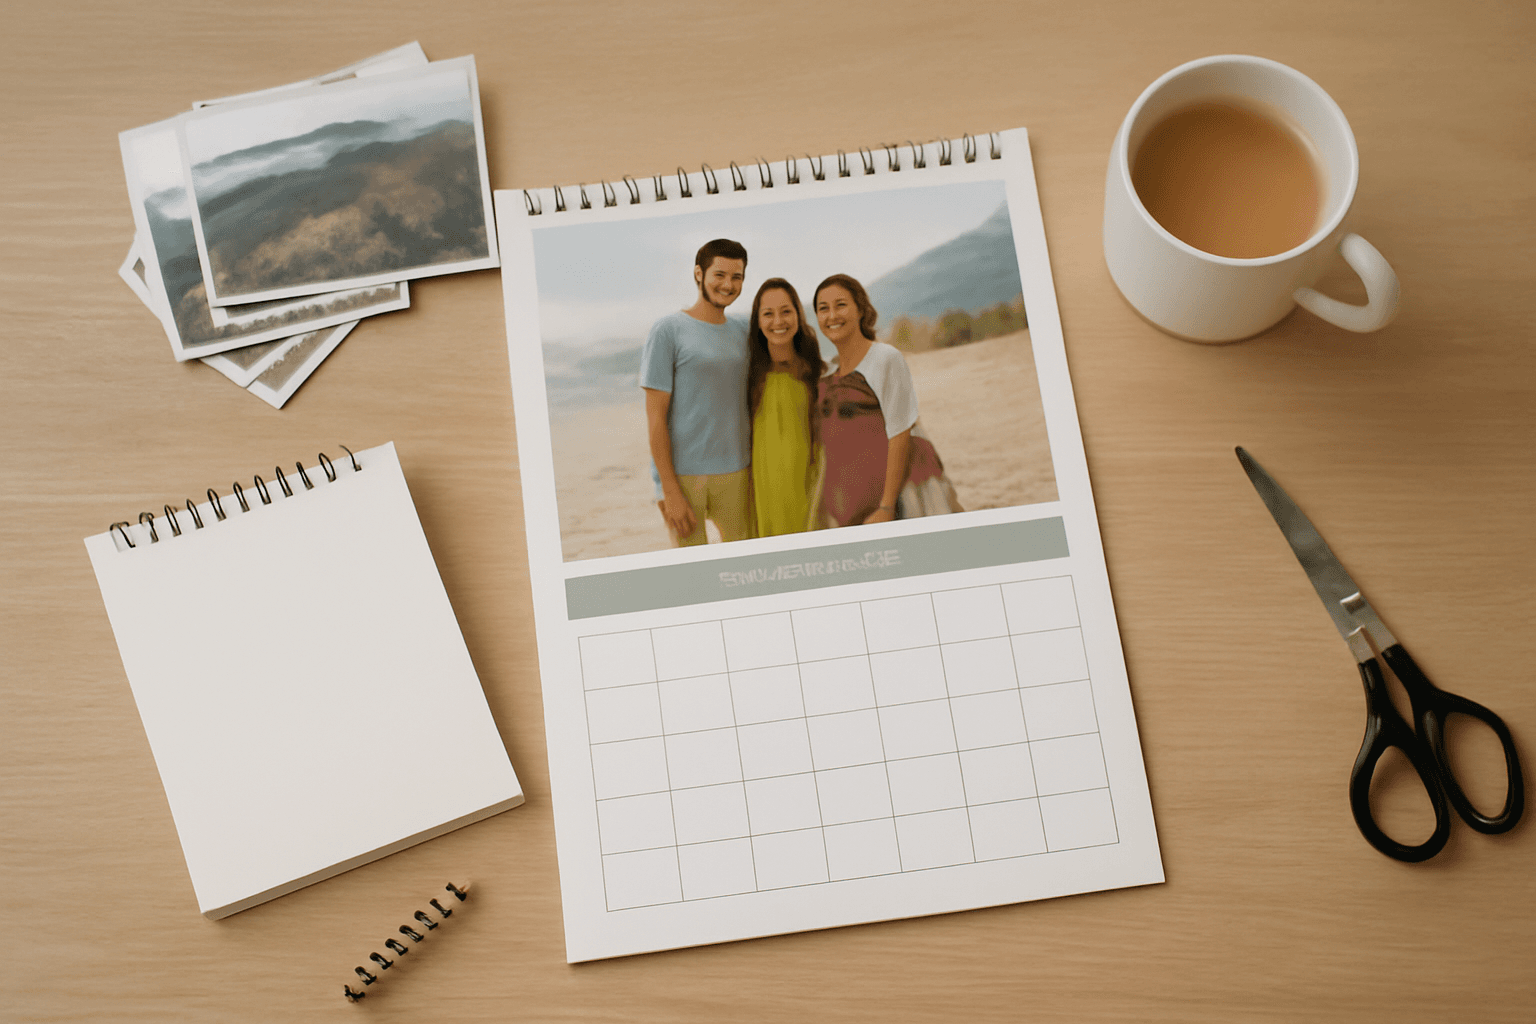
Every autumn the same question comes round: order a personalised photo calendar from one of the big photo services, or make your own and print it?
Both answers are reasonable. They just fail in different places. A print service is fast and the finish is genuinely good — but you are designing inside their box. Doing it yourself gives you total control over the layout and a file you own forever — but nobody is going to bind it for you.
Here is the honest split, and then exactly how to build the whole twelve-month set yourself if that is the way you land.
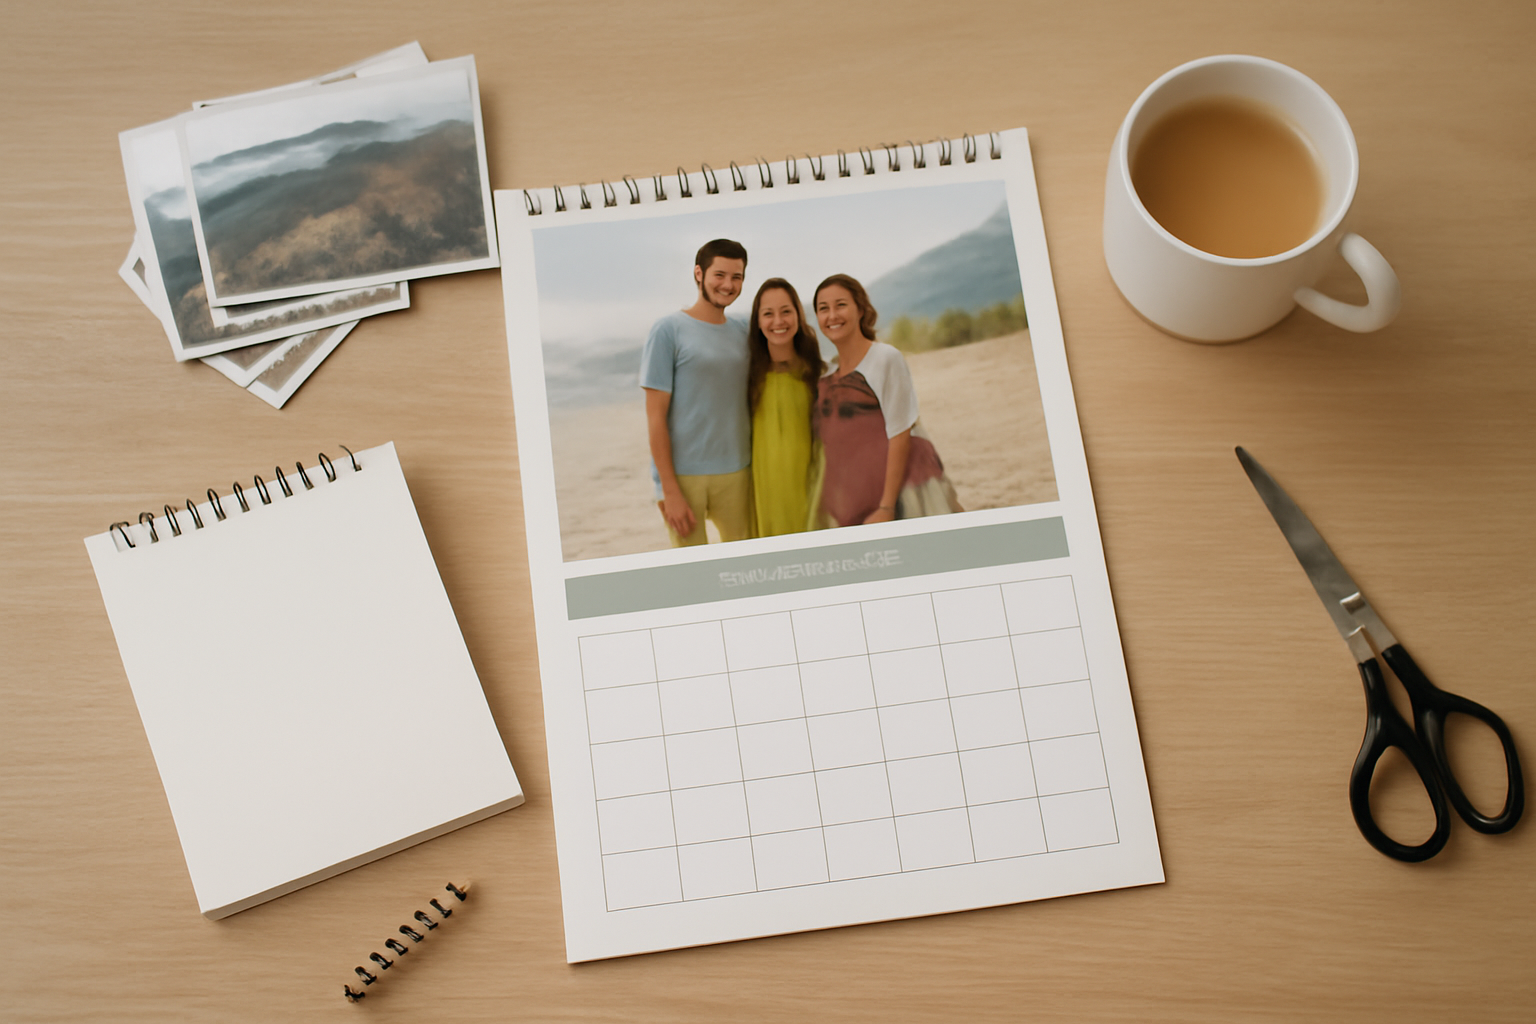
Quick comparison #
| Photo print service | Design it yourself in Canva | |
|---|---|---|
| Time to a finished file | 30–60 minutes | 1–3 hours the first time, ~20 minutes after that |
| Layout freedom | Fixed slots in their templates | Anything you can draw |
| Photo shapes | Rectangles, sometimes rounded | Any shape — arches, circles, letters, a silhouette |
| Fonts & colours | A short in-house list | Every font and colour in your Canva account |
| Dated grid | Generated for you, always correct | Generated by an app, or typed by hand |
| Binding & holes | Done for you, professionally | Your print shop's job, or a hole punch |
| Paper quality | Reliable, heavy photo stock | Whatever your printer or print shop offers |
| Cost per copy | Fixed per calendar, drops with volume | Paper and ink, or a print-shop quote |
| Reuse next year | Start again in their editor | Change the year, re-export |
| You own the file | No — it lives in their account | Yes — a PDF you keep |
When a print service is the right answer #
Be fair about this: for a lot of people, ordering is the correct choice.
You want it to arrive finished. Wire binding, a punched hanging hole, a stiff backing board, heavy semi-gloss stock. Nobody designs that at home. If the calendar is a gift and needs to look bought, buy it.
You have twelve nice photos and no strong opinions. Their template will crop them into rectangles, put a month grid underneath, and the result will look tidy. That is exactly what most photo calendars are.
Time is short. Drag twelve photos in, click through the months, checkout. An hour, done.
You need several copies. Per-copy price drops with quantity, and every copy comes out identical. Printing twelve pages at home eleven times is not a plan.
The trade is that you are working inside their editor. The photo goes in a rectangle. The month name uses their font. The colour of the header row is one of six they offer. If that is fine, order it and go do something else.
When designing it yourself is the right answer #
The moment you want something their template cannot do, the calculation flips.
The photo isn't a rectangle. An arch above the grid, a circle, a heart, six photos in a fan, the child's initial filled with a photo of them. No photo service does this, because their layouts are fixed slots.
It has to match something. A brand palette, a wedding's colours, a nursery's wallpaper. You need real font and colour control, not a dropdown of six.
It is not a plain month grid. A habit tracker down the side, a weekly schedule instead of a month, a 90-day countdown, birthdays and anniversaries pre-printed in a second colour, blank note rows under each week.
You want to reuse or sell it. A design file can be re-exported at a new size, re-dated next year, or listed as a printable. An order placed in someone else's editor cannot.
Multiple copies, one print shop. Once you have a print-ready PDF, a local printer will do short runs on good stock, and you can compare quotes.
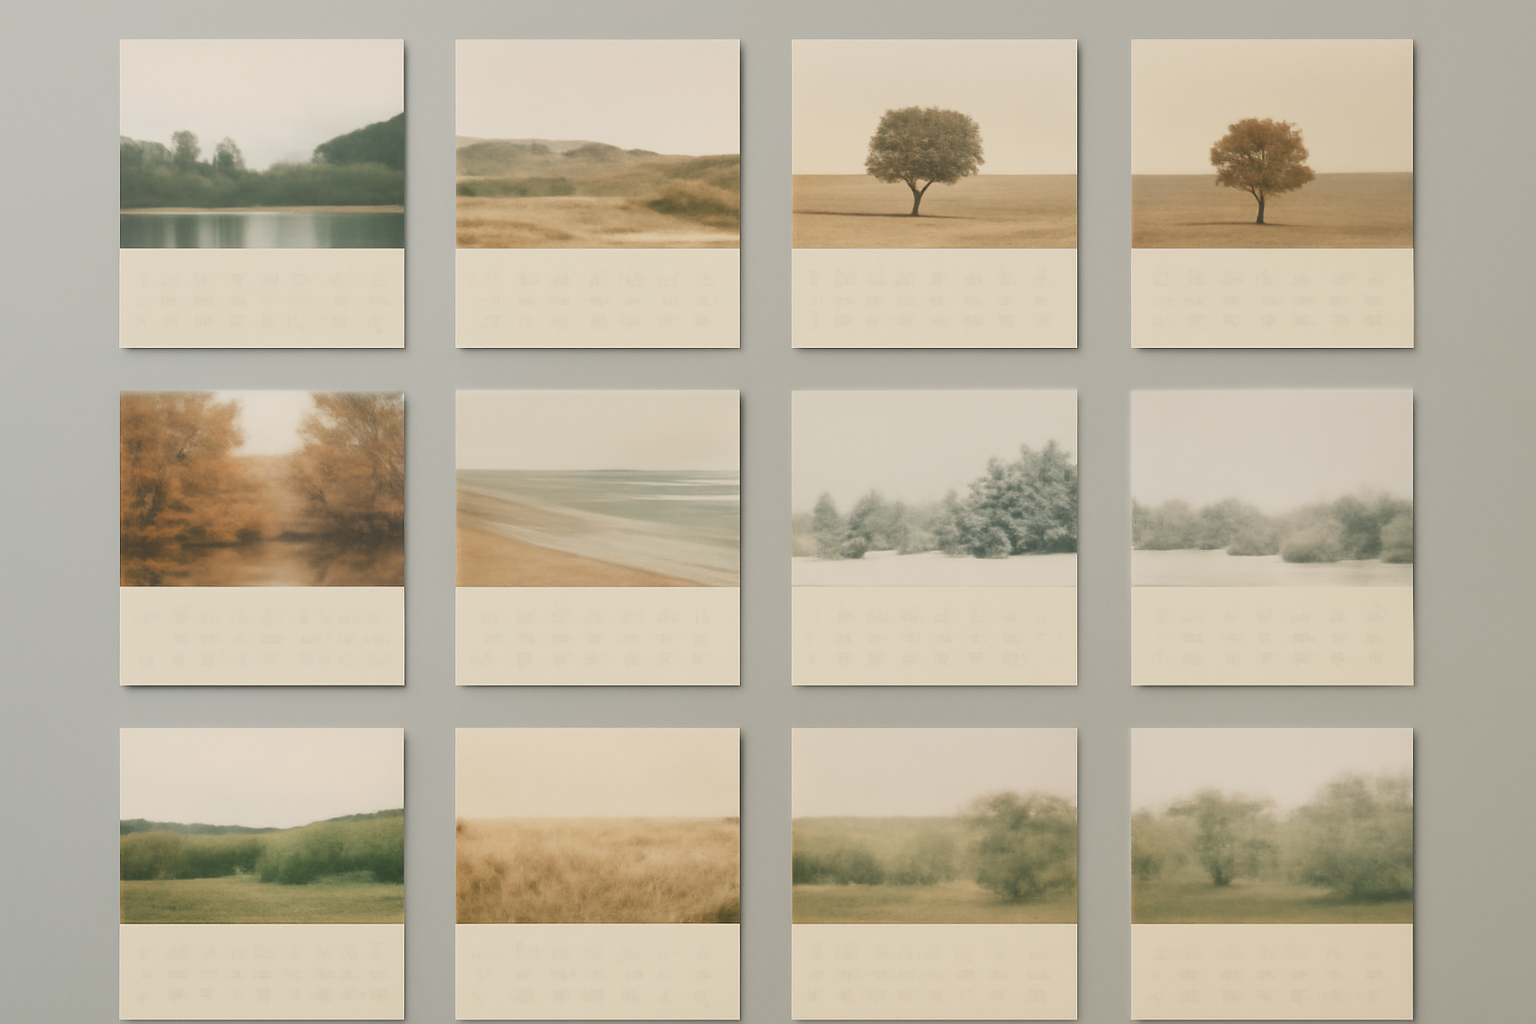
The part nobody warns you about: the dates #
Here is where the DIY route usually stalls, and it is worth being clear about it.
Canva has hundreds of beautiful calendar templates — but the dates in them are typed text. A 2026 template cannot become a 2027 template unless you retype all 365 numbers, and moving them is why people give up around March. Canva's blank Table element draws a grid, but it has no idea which day the 1st falls on, so you are still typing.
That gap is the whole reason Calendar Maker exists as a Canva app: you pick a month and a year and it draws a correct dated grid straight into the design you have open.
What it actually does #
It opens with three tabs.
Month builds the familiar month grid. Pick the month, pick the year (roughly ten years back and ten years forward), and — the setting that matters here — turn on Add all months with Each month on its own page to generate the entire twelve-month set in one pass, each page named for its month. Start week with Sunday flips the week to the US convention; the app guesses from your language settings. There are also around fourteen decorative page templates (Botanical, Watercolor, Scandi Minimal, Midcentury, Coastal, Vintage Postcard and others) that lay down a styled page and drop the grid on top.
Week builds a weekday table instead — tick which days appear, set 1 to 27 rows so there is writing space under each day, and use Shorten labels to turn "Monday" into "Mon". This is the tab for a family command centre or a term planner.
Custom takes a start date and an end date, up to 150 days apart, for a countdown or a project run that ignores month boundaries.
All three share the same styling panel: the header text and the day numbers are styled separately (font, bold/italic/underline, alignment, size on a 1–100 slider, colour), plus a header bar colour and two alternating row colours. There are over thirty ready-made palettes in a carousel, and a live preview so you are not guessing. Tick Save settings after adding successfully and each tab keeps roughly your last thirty setups, so December's page can be styled identically to January's in one click.
One honest note: Add to design is the paid part. Without the app's Pro unlock you get Unlock to use and a Restart app button instead, and you configure everything but cannot insert it.
Building the twelve-month set #
The order matters more than you would think.
1. Set the physical page size first #
Before anything else, create the Canva design at the real printed size — A4 or A3 portrait for a wall calendar, or your print shop's spec. Calendar grids and app frames scale to the page that is open, so a page set up later means redoing the layout. Leave about 10mm of clear margin at the edges, and if it will be bound or hole-punched, leave more at the top.
2. Generate all twelve pages #
Open Calendar Maker, Month tab, choose the year, turn on Add all months and Each month on its own page, pick a palette, style the header and numbers, then add. You now have twelve correctly dated pages and have typed nothing.
3. Put the photos in #
The top half of the page is the fun part, and it is where a home-made calendar beats a template.
- A grid or arch of several photos per month: Frames Lab Grid mode gives you columns, rows and gap as numbers, with rounded corners and cell merging under Advanced so one photo can be the hero. Arc mode makes the arched top (Pill degrees plus a start angle). Keep it under about thirty cells — it is a wall calendar, not a contact sheet.
- A photo cut to a meaningful shape — your house, your state, the dog's outline: Image to Frame turns a PNG, SVG or JPG under 5MB into a real Canva frame you drop a photo into. Remove the background before converting, or you will get a rectangle back — a JPG can never carry transparency (here is why). Simple line shapes convert far more reliably than tangled curves.
- Decorative edges without buying clip art: Border Art Maker repeats a dot, icon or image evenly around the page with spacing and rotation control.
- One palette across all twelve pages so it reads as a set: Color Harmony builds a harmonious palette (complementary, analogous, triadic and others) and applies it to a page.
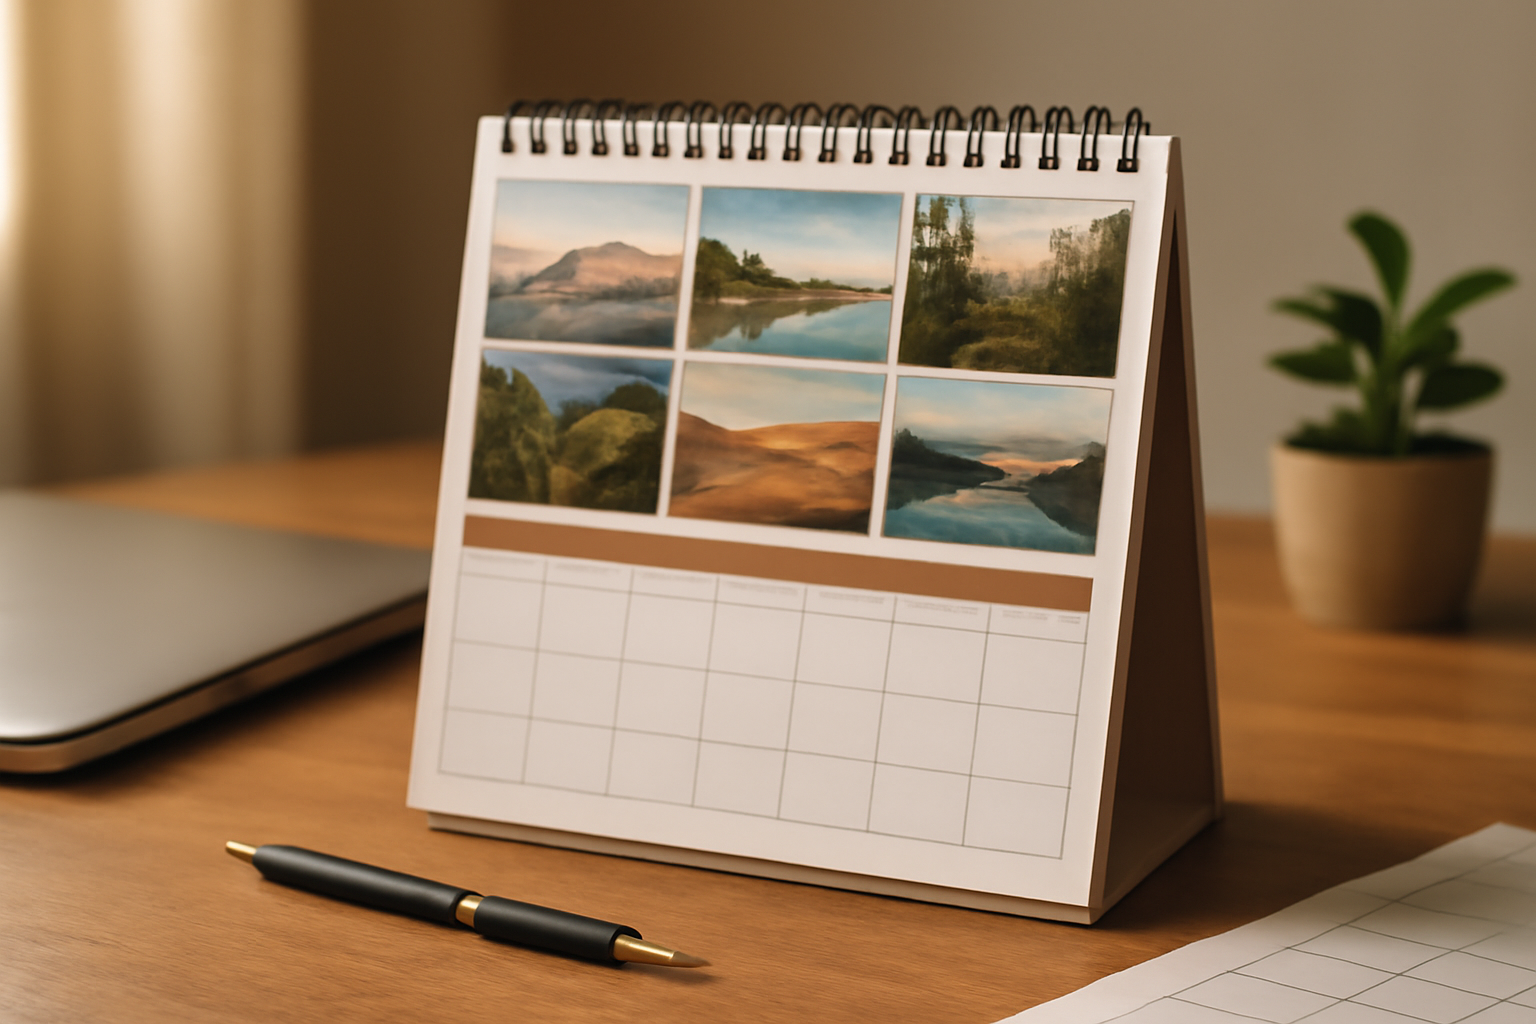
4. Proof one page, then print twelve #
Export PDF Print, then print one page at home or at the shop before committing. Screen colour and paper colour are different animals, and a header bar that looked soft sage on screen can come out grey. Check it pinned on the wall from across the room, not held at arm's length.
What Canva already does well here #
Worth saying plainly, because it changes what you actually need:
- Hundreds of calendar templates, free, that look good out of the box — if you are happy with the year they were built for, use one and skip the apps entirely.
- Native Frames and Grids under Elements, free and available in the mobile app. If your photo layout is a plain rectangle grid, that is all you need.
- Background Remover (Pro) is the single most useful feature for this whole project — it is what makes a shaped photo look cut out rather than pasted.
- Brand Kit to keep fonts and colours locked across all twelve pages.
- PDF Print export, which is what your print shop will ask for.
The apps earn their place at exactly two points: generating dates you would otherwise type, and building shapes Canva's library does not have.
The verdict #
Order it if you want twelve rectangular photos, professional binding, and to be finished tonight. There is nothing to prove by doing it the long way.
Make it if the layout is the point — shaped photos, your own palette, a schedule or tracker instead of a plain grid, or a file you want to reuse next year and the year after. The first build is the slow one. The second year is twenty minutes, because you change the year in Calendar Maker, swap the photos, and re-export.
A good middle path exists too: design the pages yourself, then take the PDF to a print shop and pay them to bind and punch it. You get your layout and their finish.
Five things that quietly ruin a printed calendar #
- Designing at the wrong page size and scaling up afterwards — everything goes soft. Set the physical size first.
- Using phone screenshots or images pulled from social media; they are screen-resolution and will print mushy. Check each photo at 100% zoom before you print.
- Dark, heavily saturated backgrounds. They eat ink, look muddy on matte stock, and you cannot write on them.
- Forgetting the writing space. If the day cells are smaller than a fingertip, nobody will use the calendar for what calendars are for.
- Printing all twelve before proofing one.
Related reading #
Frequently asked questions
It depends on how you print it. Home printing costs you paper and ink and usually gives a thinner, less saturated result. Taking a PDF to a local print shop is often comparable to a photo service, and sometimes cheaper per copy once you order more than one or two. The real saving from designing it yourself is not money — it is that you can reuse the file next year, resize it, sell it, or print it again without redoing the layout.
Canva has hundreds of calendar templates, but each one has the dates typed into it for a specific year, so you cannot switch a template from 2026 to 2027 without retyping every cell. Canva also has a blank Table element, which draws a grid but does not know what day of the week the 1st falls on. Generating a real dated grid is what an app like Calendar Maker adds.
The most common wall sizes are A4 or A3 portrait, or 11x17 inches folded. Set the Canva page to that physical size before you design anything, because frames and calendar grids scale to the page you have open. For paper, 200gsm or heavier matte or silk stock holds ink well and does not curl on a wall; ask your print shop for a single proof page before you commit to 12.
Yes. Calendar Maker's year picker covers roughly ten years either side of the current year, so you can build next year's set months in advance. Turn on Add all months and Each month on its own page and you get the whole set in one pass instead of building twelve pages by hand.
Related products


More from QRdy Blog
How to Make a Christmas Tree Photo Collage in Canva (Step by Step)
Turn your favorite family photos into a Christmas tree-shaped collage in Canva: two methods (a tree-shaped frame or a stacked grid), exact steps, print sizes, and tips so faces stay visible.
What Is a Monogram? Meaning, Styles, and How to Make a Photo Monogram in Canva
A monogram is a design built from one or more initials. Learn the definition, the classic three-letter order rule, the main styles, and how to make a photo-filled monogram in Canva with Text to Frames.
10 Ý tưởng quà Giáng sinh cho ông bà tự làm trong Canva (lịch ảnh, khung ảnh, thiệp)
10 ý tưởng quà Giáng sinh cho ông bà tự thiết kế trong Canva: lịch ảnh gia đình, khung ảnh hình trái tim, thiệp tên bằng ảnh các cháu, lịch đếm ngược. Rẻ, cá nhân hoá và in được ở nhà.