
What Is a Smart Object in Photoshop? (And Why Every Mockup PSD Uses One)
A smart object is a Photoshop layer that protects the original image while you scale, warp, and filter it. Here's why every mockup PSD is built around one, how to edit it, and how to fix the "not directly editable" error.
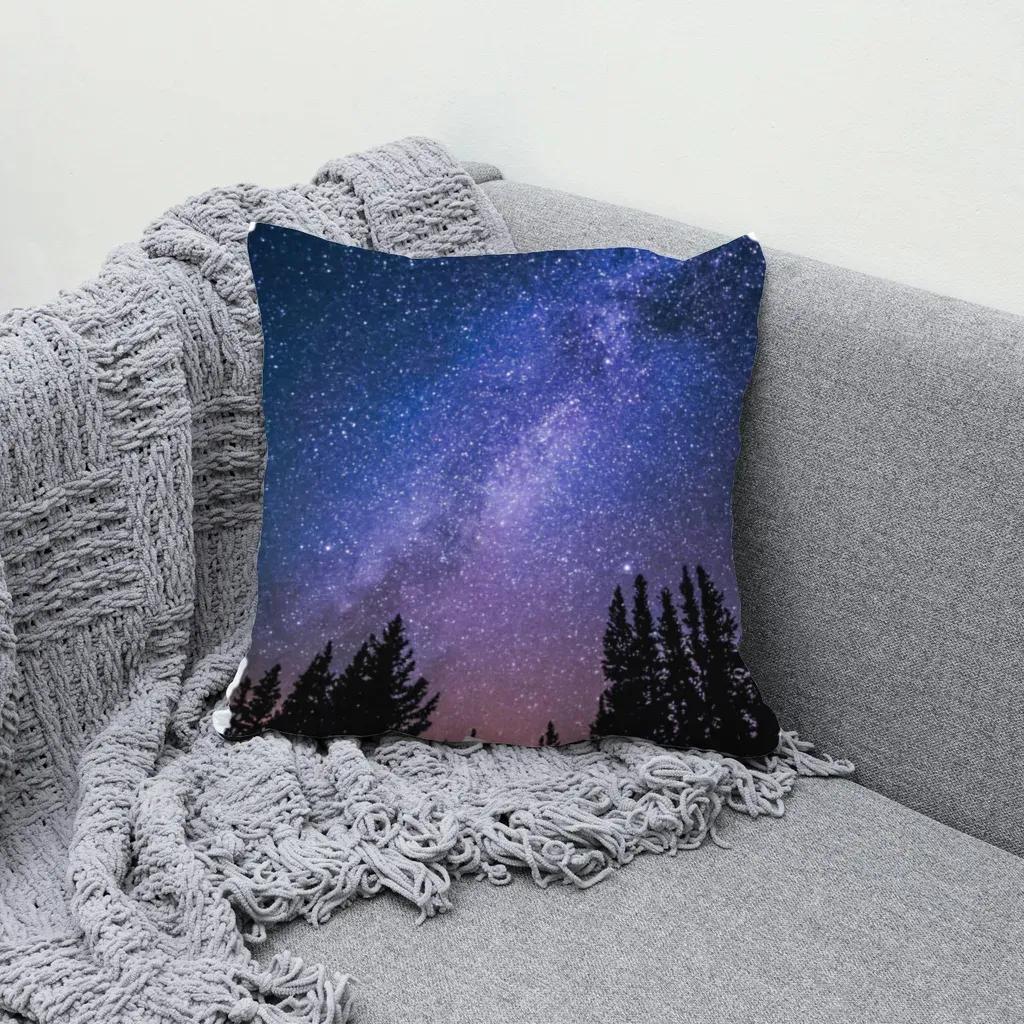
A smart object in Photoshop is a layer that holds the original image (or vector artwork) inside a protective container, so you can scale, warp, and filter it without permanently changing the pixels underneath. Mockup PSDs use one so you can double-click, paste your design, save, and watch the shadows and curves re-apply automatically.
If you sell on Etsy or through a print-on-demand supplier, you have probably opened a mockup PSD, seen a layer called something like "Your Design Here," and wondered what that little icon on its thumbnail means. This guide explains what a smart object is, why every mockup file is built around one, how to fix the errors sellers hit most often, and what to do if you would rather skip the PSD entirely.
What is a smart object, in plain words? #
Adobe describes smart objects as layers that keep the original image content and quality intact, so you can change how it looks without permanently altering it (Adobe Help: Smart Objects overview and benefits).
Think of it as a sealed envelope inside your document:
- Inside the envelope is the untouched source: your design file, a photo, or Illustrator artwork.
- Outside the envelope are the transformations Photoshop applies to it: scale, rotate, perspective, warp, filters, masks.
Because the outside never edits the inside, you can shrink a design to 20% and blow it back up without it going blurry. With a normal pixel layer, the same move throws away detail for good.
According to Adobe, smart objects let you:
- Resize, rotate, skew, distort, apply perspective, or warp a layer without losing quality.
- Keep vector artwork sharp instead of converting it to pixels.
- Apply filters you can edit later (Smart Filters).
- Update every linked copy at once by editing one source.
- Test layouts with low-resolution placeholders and swap in the final file later.
That last point is exactly what a mockup is.
Embedded vs linked smart objects #
There are two kinds. An embedded smart object stores the source inside the PSD itself. A linked smart object points to a separate file on your disk, and Photoshop updates it when that file changes. Almost every mockup PSD you buy or download uses embedded smart objects, so the file works on its own.
Why every mockup PSD uses a smart object #
A mockup designer photographs a blank product, a white cap or a throw pillow, and then builds a stack of layers on top:
- The smart object layer ("Your Design Here") with a warp or perspective transform that matches the product's shape.
- A clipping mask so the design only shows inside the print area.
- Shadow and highlight layers set to blend modes like Multiply or Screen, so the folds of the fabric show through your artwork.
- Sometimes a displacement filter that pushes the design along the wrinkles.
When you open the smart object and paste your design inside, Photoshop re-applies every one of those outside layers on save. You do the creative part once; the file does the realism.
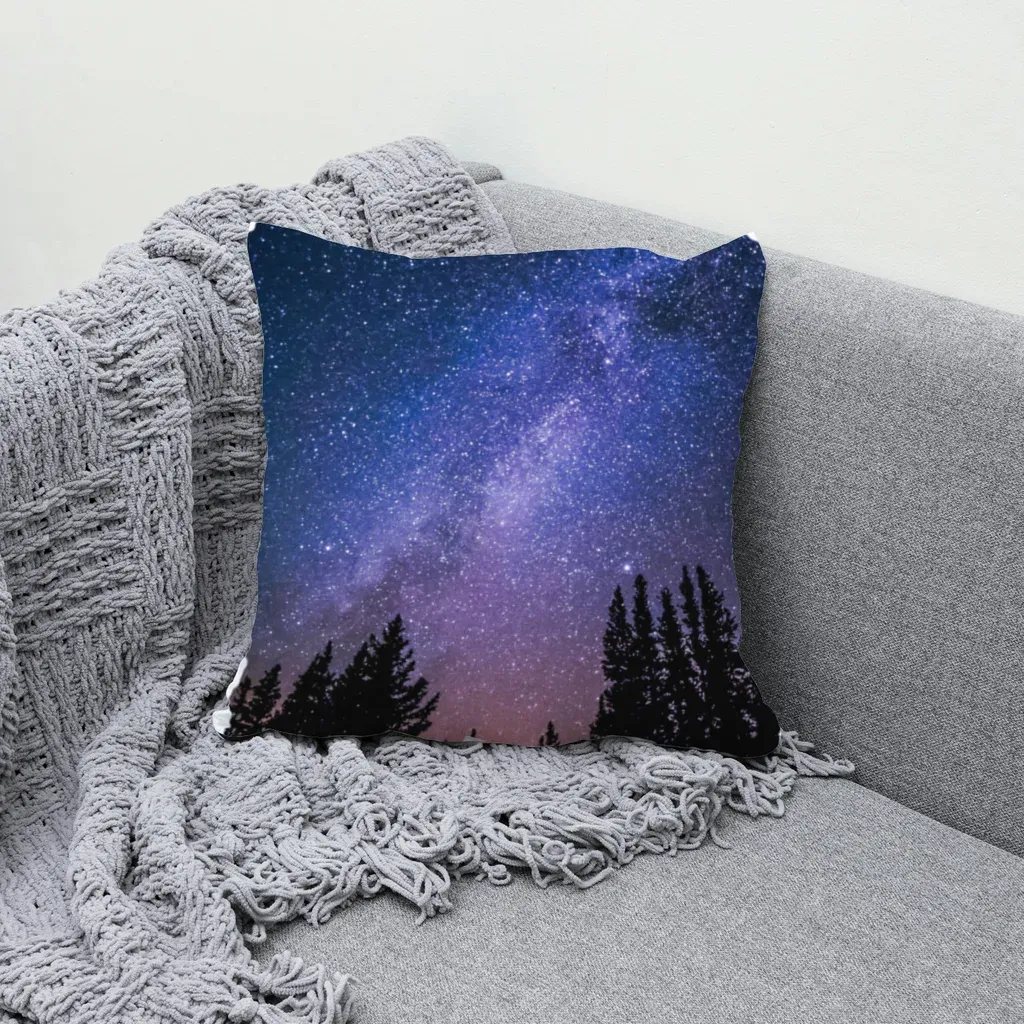
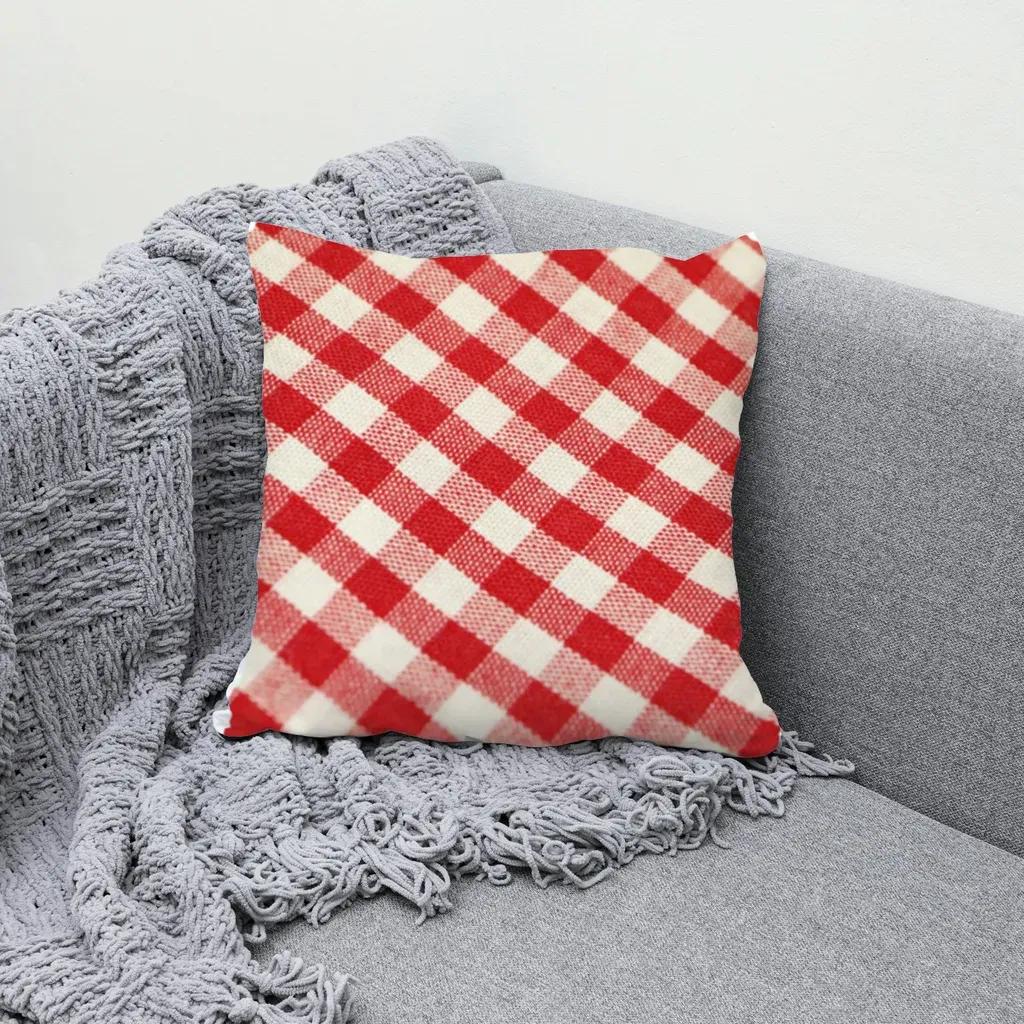
The goal of any mockup: the print follows the fabric, the shadows stay on top. This one was rendered from a plain pillow photo without a PSD.
If you want the full click-by-click walkthrough of placing a design into a mockup PSD, see our guide on how to make a mockup in Photoshop. For the fold-following trick in step 4, read how to use a displacement map in Photoshop.
How to edit a smart object in Photoshop #
Adobe's official steps (Edit the contents of a Smart Object):
- Open the Layers panel (Window > Layers).
- Select the smart object layer.
- Choose Layer > Smart Objects > Edit Contents. Double-clicking the layer thumbnail does the same thing.
- Click OK if a dialog appears.
- Edit the contents in the new tab or app that opens. Place or paste your design here.
- Save that file. Photoshop updates the smart object in your main document.
If you only want to swap one finished design file for another, Layer > Smart Objects > Replace Contents skips the editing tab and drops the new file straight in.
Common smart object errors (and how to fix them) #
"Could not complete your request because the smart object is not directly editable" #
This is the most common message sellers see. It appears when you try to paint, erase, fill, clone, or dodge/burn directly on a smart object layer. Adobe lists this as a built-in limitation: you can't do pixel edits on a smart object until you turn it into pixels.
Fixes, from safest to most destructive:
- Edit the contents (double-click the thumbnail) and make your pixel edit inside.
- Add a new empty layer above the smart object and paint there.
- Rasterize the layer (Layer > Smart Objects > Rasterize) only if you never need to swap the design again. In a mockup, that defeats the point, so avoid it.
Your design looks cropped or off-center #
The canvas inside the smart object has a fixed size, for example 3000 × 3000 px. If your design has a different aspect ratio, part of it lands outside the canvas and gets cut. Check the inside canvas size (Image > Image Size while the contents are open) and make your artwork at that ratio, or scale it to fit before saving.
Nothing changed after you pasted your design #
You probably closed the contents tab without saving. The main document only updates when you save the inside file. Press Cmd/Ctrl+S in that tab, then switch back.
The design is blurry #
Pasting a small PNG and scaling it up inside the smart object still upscales pixels. Start from a design at or above the inner canvas size.
The real limit: one PSD per product, one save per design #
Smart objects make a single mockup easy. They don't make a whole catalog easy:
- You need a PSD for every product photo. A cap, a pillow, and a tote each need their own file, bought or built.
- Your own product photos don't come with a smart object. If your supplier sends you a blank photo, or you shoot a sample on your phone, you have to build the whole layer stack yourself.
- Every design is a manual loop: open, paste, save, export. Twenty designs on three products is sixty loops. Photoshop Actions and Variables can automate this, but setting them up takes its own time.
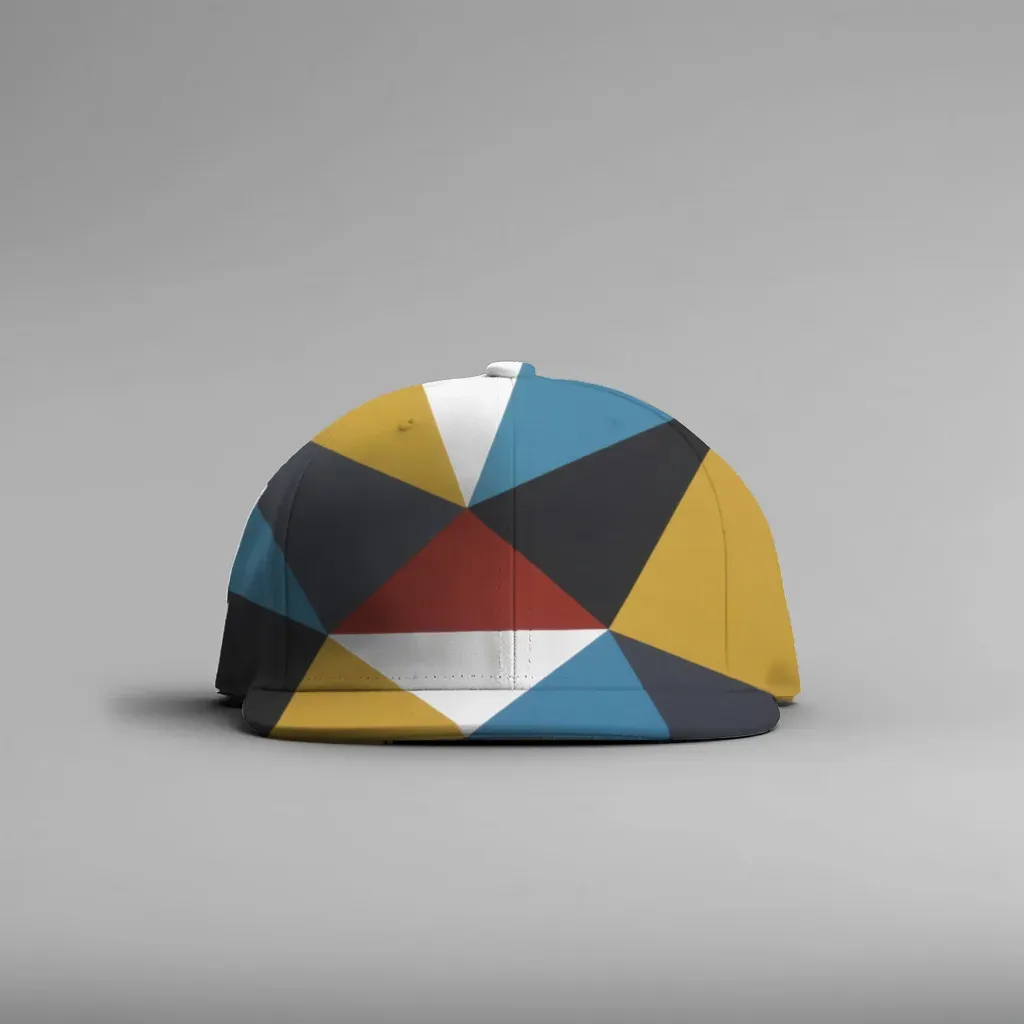
A curved cap is where hand-built warps take the longest. This render came from a plain photo of a white cap.
How to get the same result without a smart object #
MockupPress, the browser app we build, replaces the smart object step with a box you draw on any product photo:
- Drop a photo of your blank product: supplier photo, stock photo, or phone shot.
- Drag a box around where the design will print. The app cuts the product out of the background, snaps to its edges, picks a flat, cylinder, or free-form surface, and reads the lighting and folds from the photo itself.
- Fix it if needed with three tools: Grid (drag mesh points), Add/Subtract brush (remove hands, straps, hair), and Highlights/Shadows/Edge sliders.
- Save the template, drop in as many designs as you like, and render in bulk. You get a ZIP with every mockup plus a
manifest.csvlisting the file, template, and design for each image.
To be clear about what it is and isn't:
- It does not open or import PSD files, and it is not a Photoshop plugin. If you already own a mockup PSD you love, keep using it.
- There is no built-in mockup library. You bring your own product photos.
- It does not recolor products. One photo per product color.
- Output is up to 1536 px on the long edge.
- It runs in your browser; your photos and designs stay on your device. Templates live in that browser's storage, so clearing it removes them.
- It is free during open beta, with no account needed.
Where it fits best: you have blank photos from your supplier or your own samples, and a lot of designs to put on them. If that sounds like your shop, you can turn a plain product photo into a reusable mockup template and render your whole design folder in one pass, or open the app directly at mockuppress.qrdyai.com.
New to mockups in general? Start with what a mockup is and how POD sellers use them.
Quick summary #
- A smart object is a non-destructive container layer: the source stays untouched, transformations happen on top.
- Mockup PSDs use one so your design inherits the warp, shadows, and folds automatically.
- Edit it with Layer > Smart Objects > Edit Contents (or double-click), then save the inner file.
- "Not directly editable" means you tried a pixel edit; do it inside the contents or on a new layer.
- For many designs on your own product photos, a template-from-photo tool skips the PSD step entirely.
Frequently asked questions
A smart object is a layer that stores the original image or vector artwork inside a container. Transformations like scaling, warping, and filters are applied on top, so the source is never permanently changed and you can resize without losing quality.
You tried a pixel edit (painting, erasing, filling, cloning) on a smart object layer. Open the contents with Layer > Smart Objects > Edit Contents and edit inside, or paint on a new layer above. Rasterizing also works but removes the ability to swap the design later.
Double-click the smart object thumbnail (or use Layer > Smart Objects > Edit Contents), paste or place your design, then save that inner file. Photoshop updates the mockup with the original warp, shadows, and highlights. Replace Contents swaps in a finished file directly.
Yes. Tools like MockupPress build a template from a plain product photo: you drag a box around the print area and the app reads the shape and lighting from the photo. It does not open PSD files, and output is up to 1536 px, but it lets you render many designs in one batch in your browser.
More from QRdy Blog
How to Round Corners in Canva (Photos, Shapes, Frames and Collage Grids)
Round the corners of a photo, video or shape in Canva with the Corners button, then see what to do when it is missing: frames, collage grids and text boxes, with exact clicks for each.
Switching Print-on-Demand Suppliers? How to Redo All Your Mockups in One Batch
New POD supplier, new blanks, and suddenly every listing photo is wrong. Here's a workflow to turn the new supplier's blank photos into templates and re-render your whole design library in one batch.
How to Use a Displacement Map in Photoshop (So Your Design Follows Fabric Folds)
Make a grayscale displacement map from your product photo, apply Filter > Distort > Displace, and blend with Multiply so your design bends with real fabric folds. Includes fixes for maps that "do nothing."