
How to Make Photo Christmas Cards in Canva (Step by Step)
A step-by-step guide to designing photo Christmas cards in Canva: shaped photo windows, multi-photo grids, and lettered greetings, plus the card sizes, bleed, and DPI you need for a clean print.
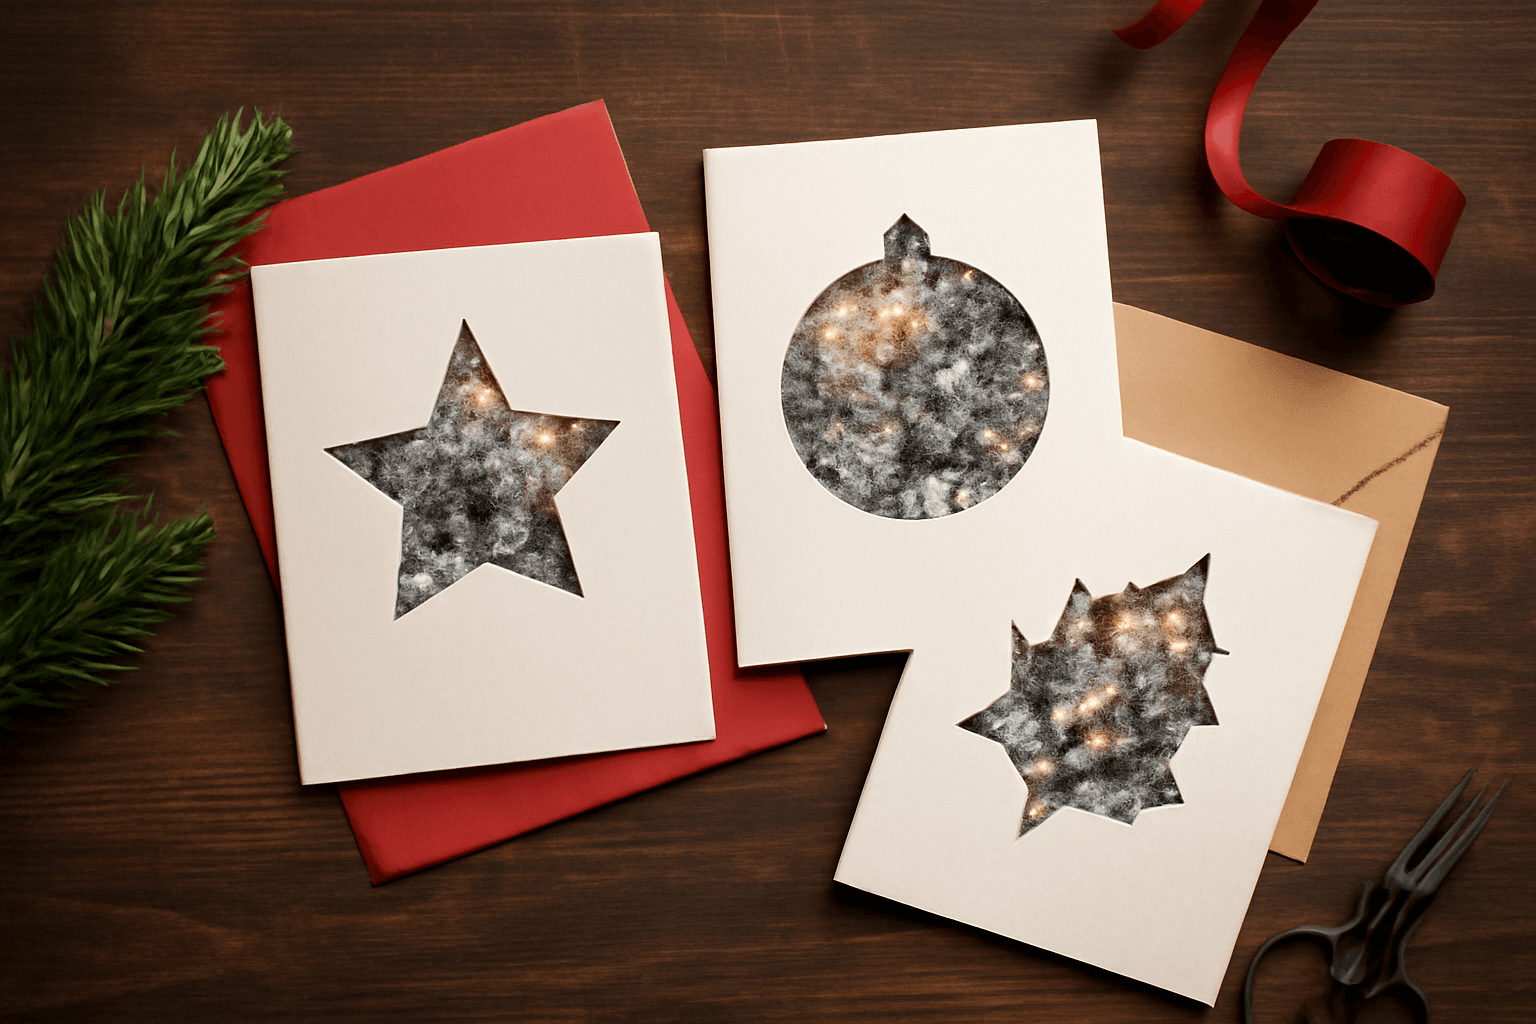
What you'll need #
| Item | Notes |
|---|---|
| Photos | 1 hero photo for a single-shape card, or 3-4 for a grid card. Higher resolution than you think you need — see the DPI note below |
| Card size | 5x7in folded or 4x6in flat are the two standard photo-card sizes US print labs and home printers both handle |
| Envelope | Buy the envelope first if you're not printing your own — card size has to fit it with 1/8in of room on each side |
| Cardstock | 100-110lb for a flat card, slightly lighter (80lb) if you're folding it in half |
| A Canva design set to your card size | Canva Resize is a Pro feature, so set your page size before you start building, not after |
A photo Christmas card only has one job: make the person opening the envelope stop for a second before they set it on the mantel. A rectangle of your family standing in front of a tree does that job fine. A star-shaped cutout, a four-photo grid, or a greeting spelled out in photo-filled letters does it better — and none of those require anything more than Canva and a free afternoon.
This is a full build, not a list of ideas: pick your layout, shape the photo, add the greeting, and get it printed at the right size before the mailing deadline creeps up on you.
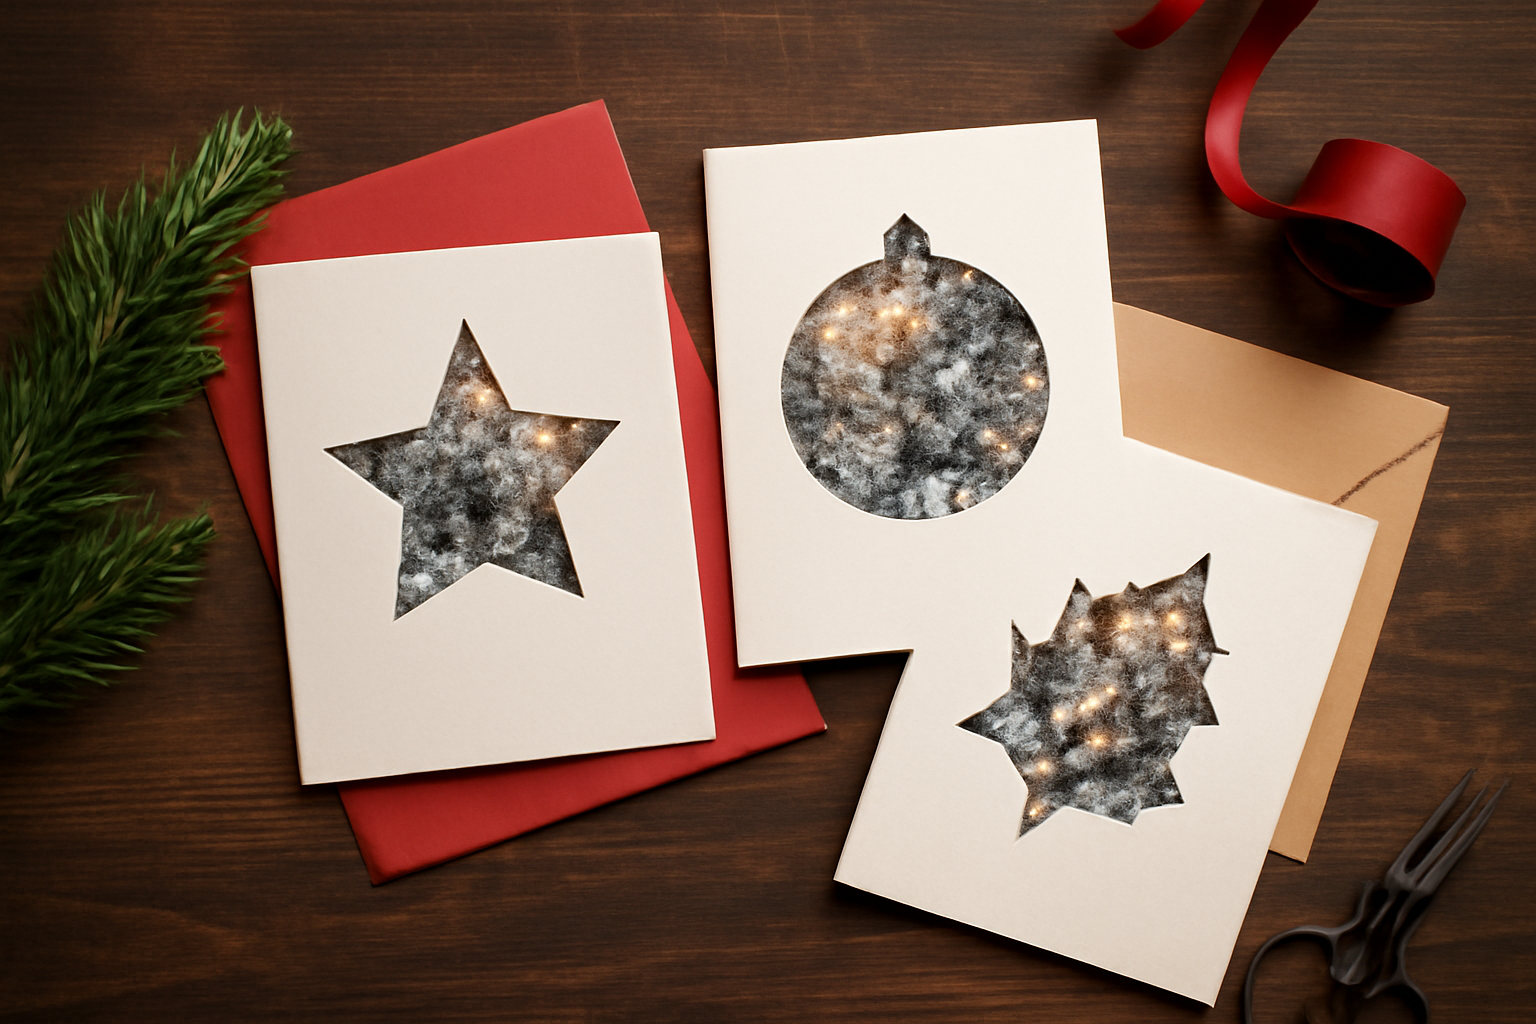
Start with the honest option: Canva's own templates #
Before opening any app, know what Canva already does for free. There are thousands of holiday card templates in Canva's own library, most of which already include a rectangular photo placeholder, a printable custom size, and free access to Frames and Grids under Elements. If you just need a plain photo swapped into an existing card template tonight, open one of those, drag your photo in, and go — you don't need anything below this line.
The apps below are for when a plain rectangle isn't the point: a shaped photo window, several photos on one card, or a greeting where the letters themselves are made of photo. If you'd rather browse a shortlist of apps first, the best Canva apps for Christmas cards covers more ground than this single build does; this guide is the step-by-step for the specific card in the photo above.
Step 1 — Set your card size before you design anything #
Open a new Canva design and set a custom size. If the card folds in half, design the flat, unfolded sheet — for a 5x7in folded card that's a 10x7in landscape page, with the fold line running down the middle. If it's a flat card, just use 5x7in or 4x6in directly. Setting this first matters because both apps below scale their output to fit whatever page is open — start with the wrong size and everything you build will need to be redone.
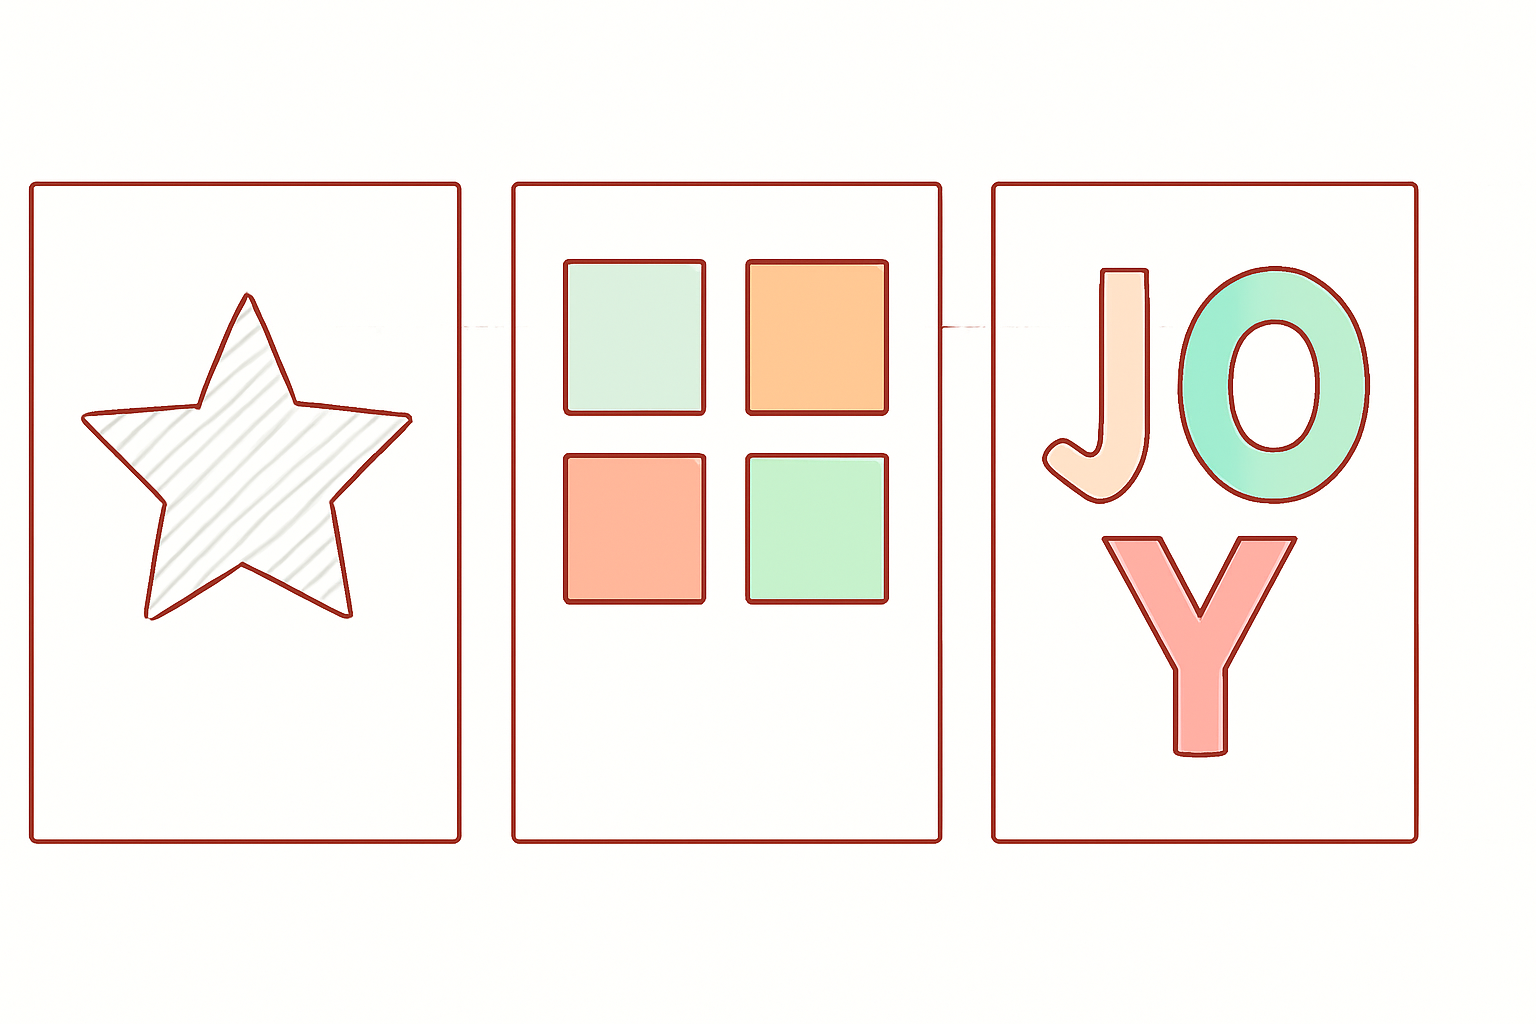
There are three ways to build the front of the card from here — a single shaped photo window, a multi-photo grid, or a photo-filled greeting. Pick whichever fits how many photos you actually have.
Step 2 — Cut a shaped photo window with Image to Frame #
This is the app that makes a card feel designed instead of templated: it turns any shape — a star, an ornament, a holly leaf, your own hand-drawn outline — into a real Canva frame that a photo drops into and can be repositioned inside.
Here's the mechanics:
- Image to Frame accepts PNG, SVG, or JPG, up to 5MB.
- You can supply the shape three ways: upload a file, select an image already sitting on your Canva page, or export the whole page as a flattened PNG (useful if your shape is actually a few combined elements).
- The one rule that decides whether this works: your source image needs a transparent background. A shape with a white or colored background becomes a plain rectangular frame — no shape at all. Use Canva's Background Remover (a Pro feature) or a transparent PNG shape from Elements first.
- The border color and thickness only show up after you hit "Add frame to design" — the preview won't show it, which trips people up the first time.
- Very intricate outlines (fine lace-like edges) can fail to convert; the app's Frame Store has pre-made shapes as a fallback.
- Free for students and teachers; otherwise a Pro app, though the basic shape-to-frame conversion works without it.
If a frame ever refuses to add or looks wrong once placed, Canva Frame Not Working covers the common fixes. Otherwise, open Image to Frame directly in Canva.
Once the frame is on your page, drag your photo onto it and the photo crops itself to the shape. Nudge and zoom inside the frame the same way you would with any native Canva frame.

Step 3 — Or build a multi-photo grid with Frames Lab #
If one photo can't carry the whole card — say you want four kids, four seasons, or four family photos from the year — switch to a grid instead of a single shape.
Frames Lab's Grid mode gives you:
- Columns, rows, and gap spacing, all adjustable with live preview
- Rounded corners or a straight border under Advanced settings
- A soft cap around 30 cells — past that, the app blocks further additions, so keep a card-sized grid to something like 2x2 or 2x3
Frames Lab also has an Arc mode (a curved band of photos, nice for a "this year in photos" strip along the bottom of the card) and a Shape mode that turns any element already on your page into a frame, which is a second route to the same shaped-window effect as Step 2 if you'd rather build the star or ornament yourself in Elements first.
Whichever mode you use, the frame auto-scales to fit the open page — another reason Step 1 has to happen first. Open Frames Lab in Canva to try the Grid mode.
Step 4 — Spell the greeting in photo-filled letters (optional) #
For a card where the message is the design — "JOY," "NOEL," a family last name — Text to Frames turns typed text into a frame per letter, or one frame across the whole word.
- Type up to 200 characters, choose from 5 free fonts (Roboto, Open Sans, Lato, Playfair Display, Pacifico) or 100+ on the Pro plan
- Turn on Split into letters to drop a different photo into every letter — one child per letter of their name, one moment per letter of "MERRY"
- Heavier, blockier fonts hold a photo better than thin script faces, which leave too little interior space to actually see the image
- Border, Blur, and Inner Shadow effects (Pro) can lift the lettering off a busy background if the card gets crowded
A plain typed greeting under the photo is still the faster, honestly-fine option if the card isn't trying to be a centerpiece. Text to Frames is the app for when it should be.
Step 5 — Finish the edge (optional) #
A thin decorative border — a repeating row of holly icons, dots, or a small motif — reads as more intentional than a bare white card edge. Border Art Maker distributes an icon or image evenly around a frame's edge with adjustable spacing and rotation. It decorates an edge; it doesn't cut a shape, so use it after your photo frame is placed, not instead of one.
Step 6 — Design the back and the envelope side #
Photo cards are usually judged on the front, but two more surfaces are easy to forget:
- Page 2 of your Canva design can hold the return address for the envelope, or a small "Happy Holidays from the Family, 2026" line on the inside if the card folds
- If you're printing envelopes yourself, match the paper weight down — envelopes print best on lighter stock than the card itself
Step 7 — Export and print #
- Turn on bleed if your card has any full-bleed color or photo running to the edge, and keep text and photo edges inside the safe area — see what bleed actually means if this term is new
- Export as PDF Print, not Standard — this is what triggers Canva's higher-resolution, print-ready output
- Aim for 300 DPI at final size (what DPI means for a printed photo); a photo from a modern phone (typically 3000-4000px on the long edge) comfortably covers a 5x7in card at that resolution
- Print a single test card on plain paper first, fold it if it folds, and check the shape lands where you expect before running the full batch
Common mistakes that ruin a batch #
- Designing at the wrong page size, then resizing after the frames are already placed
- A photo shape with a white background instead of transparent — the "it just made a rectangle" complaint
- Skipping the test print and finding the fold line runs through someone's face
- Text or photo edges sitting right at the trim line instead of inside a safe margin
Frequently asked questions #
What size should a photo Christmas card be? 5x7in folded and 4x6in flat are the two sizes every home printer and most print labs handle without a custom order. Check your envelope size before you commit — cards need about 1/8in of clearance on each side to slide in easily.
Do I need any apps at all to make a photo Christmas card in Canva? No — Canva's own holiday templates include free rectangular photo placeholders and are genuinely enough for a simple card. The apps in this guide are for a shaped photo window, a multi-photo grid, or lettering built from photos, none of which Canva does natively.
Can I print these at home, or do I need a print service? Either works. A home inkjet on 100lb+ cardstock handles small batches fine; for 50+ cards, a local print shop or an online photo-card service will usually be cheaper per card and give a more consistent finish — see the matte vs glossy comparison if you're choosing a paper finish for the printed photo.
However you build it, the card that gets kept on someone's fridge past January is rarely the busiest one — it's the one where the photo is easy to actually see. Pick one shape, one photo (or four, in a clean grid), and let the rest of the card stay quiet around it.
Once the card is done, the same shaped-frame technique carries over to photo ornaments for the tree, or a full spread of Christmas design ideas if the card is just the first thing on this year's list.
Frequently asked questions
5x7in folded and 4x6in flat are the two sizes every home printer and most print labs handle without a custom order. Check your envelope size before you commit — cards need about 1/8in of clearance on each side to slide in easily.
No — Canva's own holiday templates include free rectangular photo placeholders and are genuinely enough for a simple card. The apps in this guide are for a shaped photo window, a multi-photo grid, or lettering built from photos, none of which Canva does natively.
Either works. A home inkjet on 100lb+ cardstock handles small batches fine; for 50+ cards, a local print shop or an online photo-card service will usually be cheaper per card and give a more consistent finish.
Related products


More from QRdy Blog
What Is a Triptych? Meaning, Types, and How to Make One in Canva
A triptych is art or a photo split across three panels meant to be seen as one piece. Here's where it came from, how it differs from a diptych, the sizing and spacing rules, and how to lay one out in Canva.
10 Bulletin Board Ideas You Can Make in Canva (Fall, Classroom and Calendar Boards)
10 printable bulletin board ideas for fall and the classroom: monthly calendar boards, photo-filled headline letters, Meet the Class grids, leaf photos, countdowns and more, all designed in Canva.

Serif vs Sans Serif: What's the Difference, and Which Font Should You Use?
Serif fonts have small strokes at the ends of their letters; sans serif fonts don't. Here's what that changes for readability, print, screens and pairing — and why heavy sans serifs win when you put photos inside letters.