
How to Add a Border to a Frame in Canva (Even When the Border Option Is Missing)
Built-in Canva frames take a border in two clicks. Custom frames often don't show the option at all. Here is the native method, plus how to bake a border into custom shape, grid and letter frames.
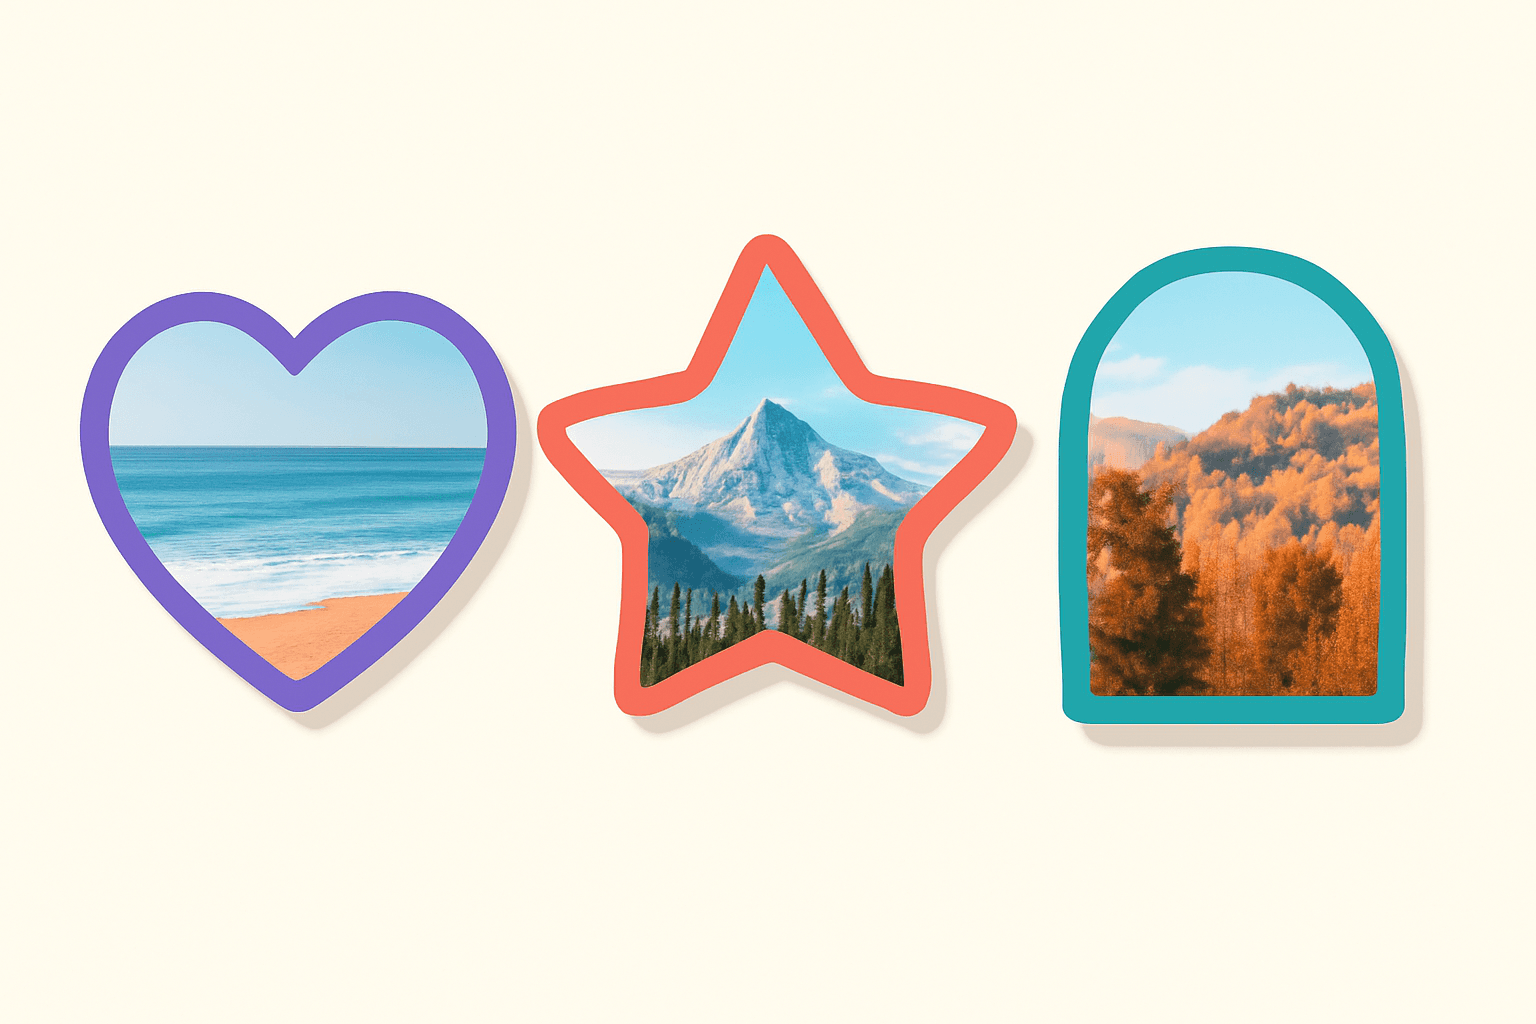
To add a border to a frame in Canva, select the frame, click Stroke style in the top toolbar (older guides call it Border style), then set the weight and colour. If that option is missing, which is common with custom frames, rebuild the frame in an app like Image to Frame with the border baked in.
That is the whole answer. The rest of this guide shows the exact clicks for each case: Canva's own frames, shapes, custom frames made from an image, grid and arc frames, and letter frames.
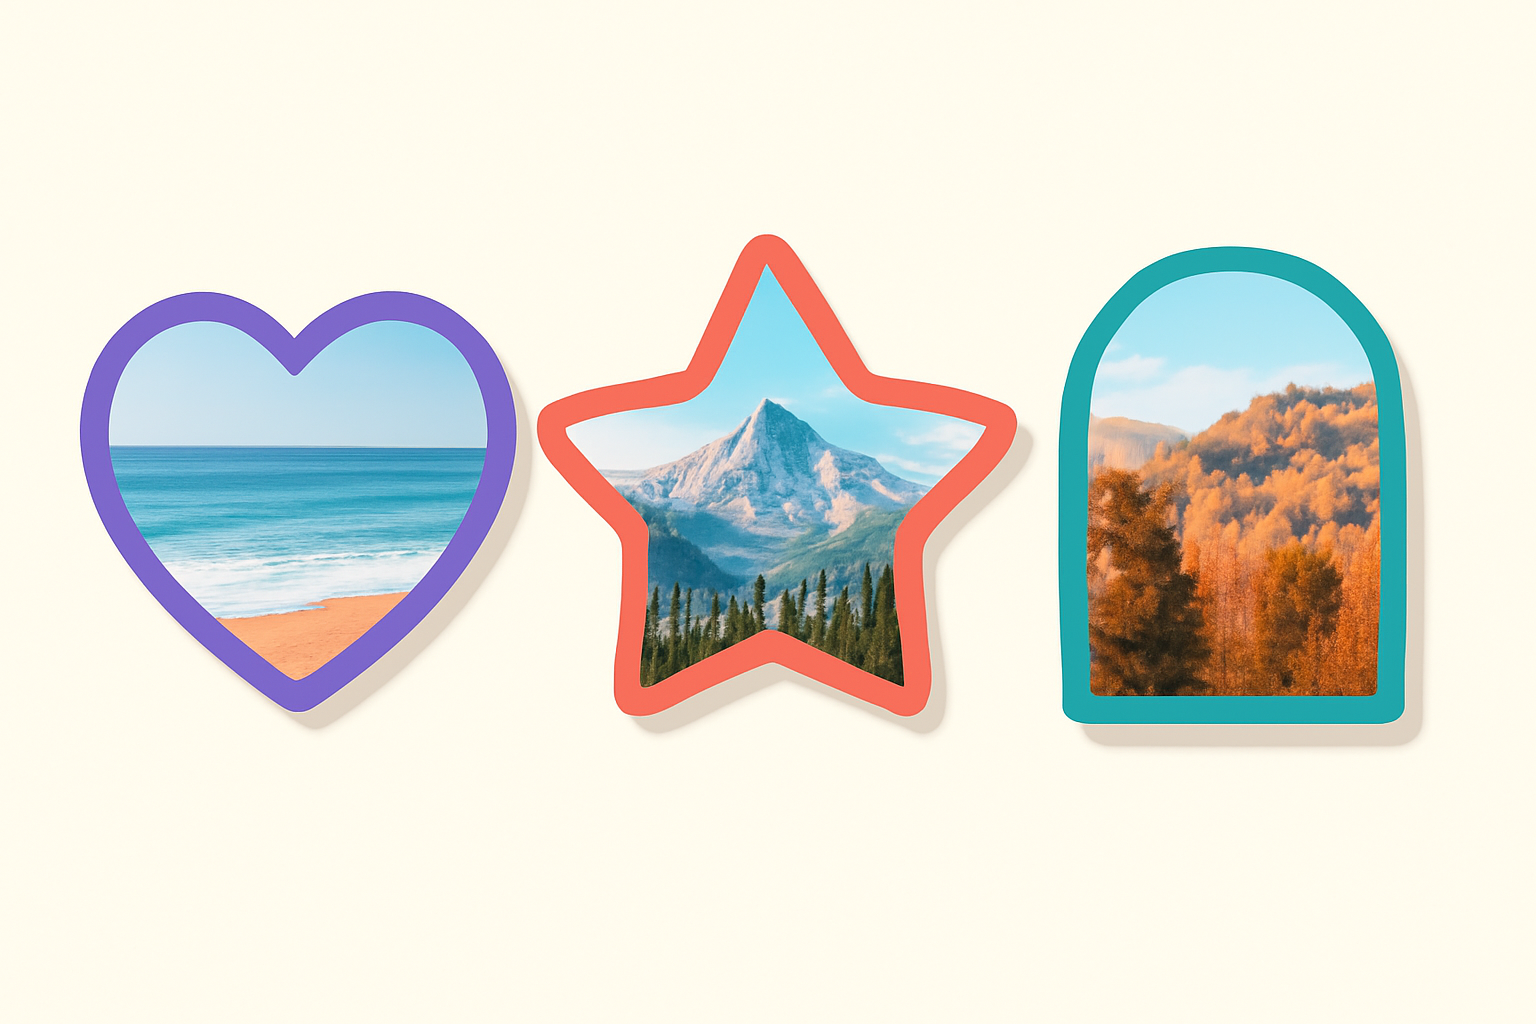
Method 1: Add a border to a built-in Canva frame #
Use this when your frame came from Elements > Frames.
- Click the frame once to select it.
- In the toolbar above the canvas, click Stroke style (the icon with stacked lines of different thickness).
- Pick a line style and drag the stroke weight slider up from 0.
- Click Stroke color next to it and choose a colour.
The border follows the frame's shape, so a circle frame gets a ring and a heart frame gets a heart outline. It stays attached when you resize the frame or swap the photo.
Tip: if you can't see Stroke style, make sure you selected the frame itself and not the photo inside it. Double-clicking enters crop mode, where the frame toolbar is hidden. Click outside, then click the frame once.
Method 2: Turn a shape into a frame, then add the border #
If you need a plain rectangle, a rounded rectangle or another basic shape:
- Add the shape from Elements > Shapes (or press R for a rectangle).
- Right-click the shape and choose Change to frame.
- Drag your photo in.
- Select it and use Stroke style and Stroke color exactly as in Method 1.
Canva only offers Change to frame for eligible shapes: basic shapes, AI-generated shapes and drawn shapes with a single visible outline. Graphics, grouped elements and most uploaded artwork won't show it.
Why the border option is missing on custom frames #
This is the part that sends people to Reddit. You made your own frame, usually by exporting a shape through the PDF or SVG workaround and uploading it back to Canva. It works as a frame. Photos drop in. But when you select it, there is no Stroke style button at all.
Nothing is wrong with your account. Frames built outside Canva and uploaded often don't carry the stroke control that Canva's own frames have. You can't switch it on afterwards.
There are two ways around it:
- Fake it by duplicating the shape, making the copy slightly larger, colouring it and sending it behind the frame. This works for simple shapes, but the "border" is a separate object that drifts out of alignment whenever you resize.
- Bake the border into the frame when the frame is created. This is what the next three methods do.
Method 3: Custom shape frame with a border (Image to Frame) #
Image to Frame turns a PNG, SVG or JPG into a real Canva frame, and it has a border control built into the conversion step.
- Prepare your shape with a transparent background. If the image still has a white or coloured background, the frame comes out as a rectangle.
- In Canva, open Apps and open Image to Frame.
- Give it your shape in one of three ways: upload a file (PNG, SVG or JPG, up to 5MB), select one image already on your page, or use Export design to turn the current page into one frame.
- Check the Preview.
- Under Border, drag the thickness slider (0 to 50) and click the colour circle to pick a colour.
- Click Add frame to design.
- Drag a photo or video into the new frame.
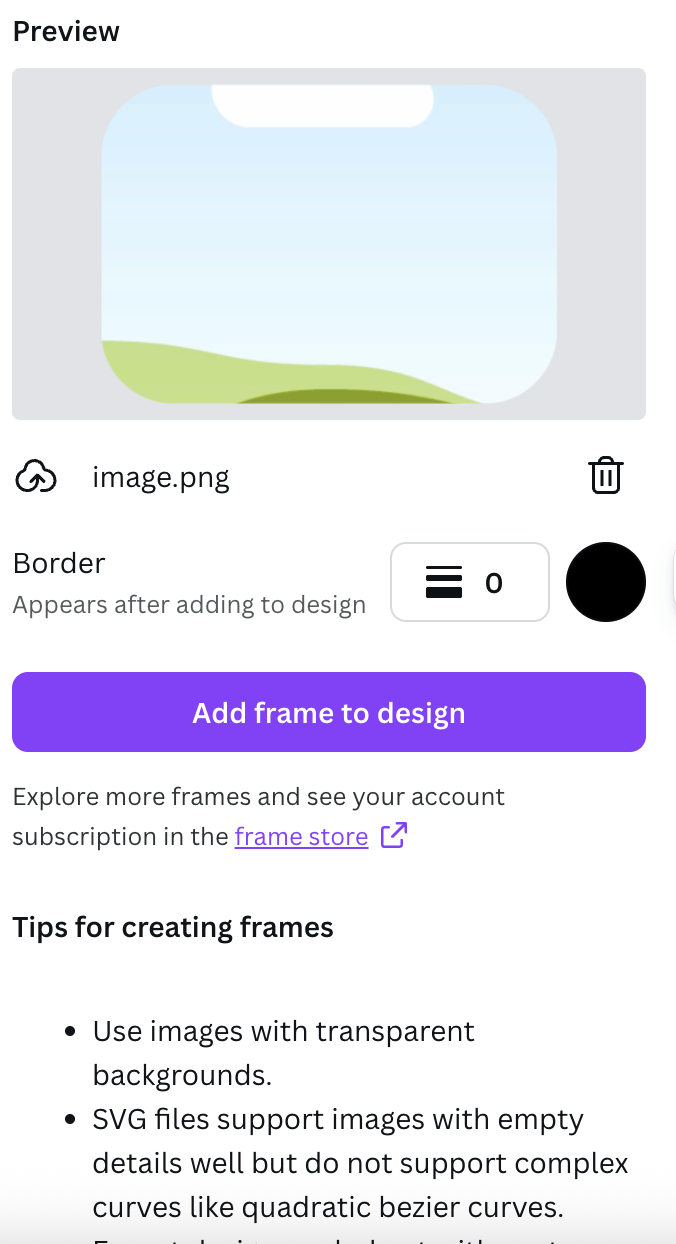
The one thing that trips everyone up: the border does not appear in the preview. The app notes "Appears after adding to design" under the control. Set your values, add the frame, and the border will be there on the canvas.
Open Image to Frame in Canva to try it on your own shape. Image to Frame is a Pro app with a trial, and it is free for students and teachers.
Method 4: Bordered grid, arc and shape frames (Frames Lab) #
If your frame is a collage grid, an arc, or a shape that is already sitting on your Canva page, Frames Lab has a border setting in each of those modes.
- Shape mode: add a shape from Elements > Shapes or Graphics, click Recheck design in the app, set Frame border (thickness and colour), then click the detected frame to add it.
- Grid, Arc and Diagonal modes: set the Border colour and thickness alongside the layout settings, then click Add to design.
Already added a frame and forgot the border? Open the Style tab. Every frame you add is saved under Last frames. Set Border (and optionally Blur or Shadow inside), then click the frame again to add it with the new styling.
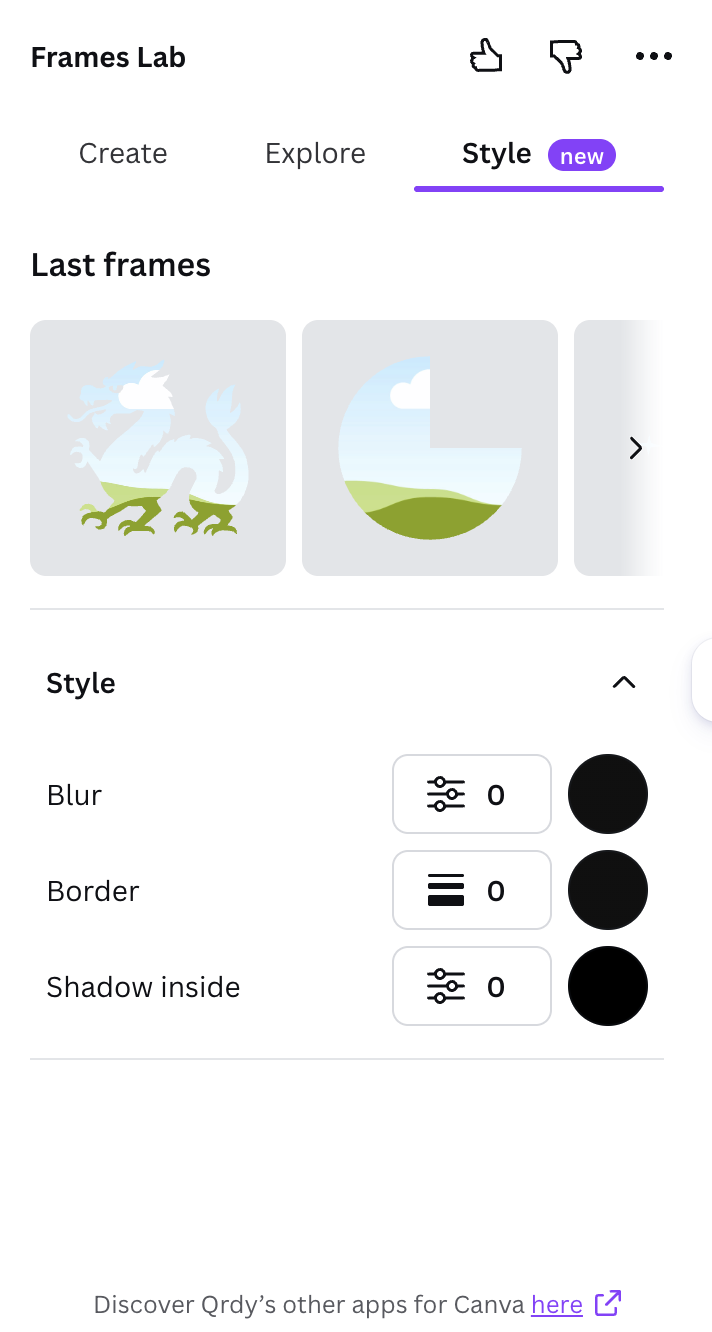
Frames Lab has a limit on how many frames free users can add. For a walkthrough of Shape mode, see how to fill a shape with a photo in Canva.
Method 5: Bordered letter frames (Text to Frames) #
Custom letter frames are where the missing border hurts most, because photo-filled letters are hard to read without an outline.
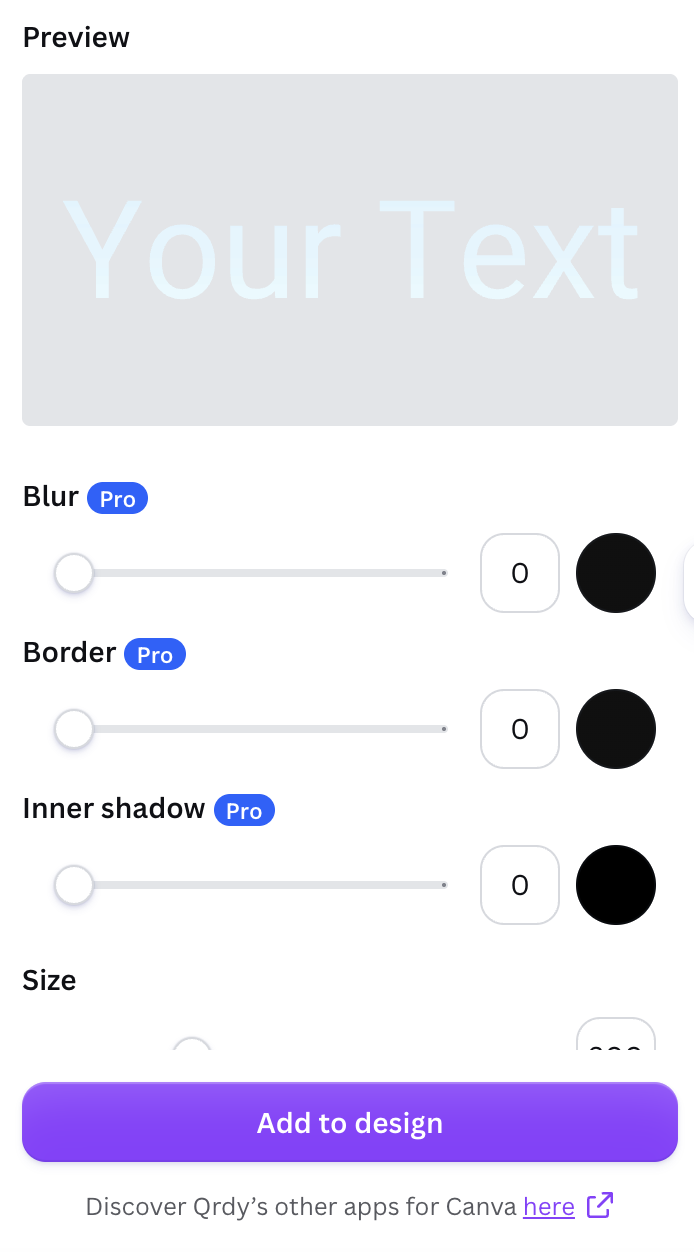
- Open Text to Frames and type your word.
- Choose a font. Turn on Split into letters if each letter should hold a different photo.
- Drag the Border slider (0 to 50) and pick a colour. Border is a Pro effect.
- Check the preview. In this app the preview does show the border, and what you see is what gets added.
- Click Add to design, then drop your photos into the letters.
More on outlined lettering in how to outline text in Canva.
How to put a border around a picture in Canva #
If you only want an outline around a normal photo, you don't need a custom frame.
- Quickest: put the photo in a rectangle frame (Method 2) and use Stroke style.
- No frame at all: select the photo, click Edit, open Shadows, choose Glow, then set Blur to 0 and Transparency to 100 and pick a colour and size.
- Cutout photos: for a photo with a transparent background, select it in Image to Frame, set a border, add the frame and drop the same photo back in. The border follows the cutout's outline instead of a rectangle.
Common mistakes and what to do if it doesn't work #
- The border is there but invisible. A white border on a white page looks like nothing happened. Change the colour first, then judge the thickness.
- Thickness still at 0. Both the Canva stroke weight and the app sliders start at 0, which means off.
- You're looking at the Image to Frame preview. The border only shows after you add the frame to the design.
- The frame came out rectangular. The source image had a background. Remove it and convert again.
- The border looks too thin on a large print. Thickness doesn't scale up with your intent. Add the frame again with a higher value rather than stretching a small one.
- "Frames can't be added to this design type". Some Canva design types don't accept frames. Open the app in a Presentation, Poster or Instagram Post instead.
- The app rejects your file. Image to Frame accepts files up to 5MB, and very intricate outlines may not convert. Simplify the shape or use an SVG.
If the frame itself is misbehaving, with photos landing on top or refusing to drop in, work through Canva frame not working: 9 fixes.
Which method should you use? #
| Your frame | Use |
|---|---|
| From Elements > Frames | Stroke style in the Canva toolbar |
| A basic shape | Change to frame, then Stroke style |
| Your own logo, icon or cutout | Image to Frame with Border |
| A grid, arc or shape already on the page | Frames Lab Border or Style tab |
| Letters or a word | Text to Frames Border effect |
Start with Canva's own Stroke style. It is free and adjustable at any time. Move to an app only when the option isn't there, which is exactly the case with custom frames.
Frequently asked questions
Canva shows its border control (labelled Stroke style, previously Border style) on its own frames and on shapes you convert with Change to frame. Frames that were made outside Canva and uploaded, for example through the PDF or SVG workaround, often don't get that control. The reliable fix is to rebuild the frame with the border already included, using an app such as Image to Frame, Frames Lab or Text to Frames.
That is expected. In Image to Frame the border only renders after the frame is added to your design, and the app says so under the Border control. Set the thickness and colour, click Add frame to design, and the border will be on the frame on your page. If you still see nothing, check that the thickness is not still at 0.
For built-in Canva frames, yes: select the frame and change Stroke style or Stroke color at any time. For frames made by an app, the border is part of the frame, so you change it by adding the frame again with new settings. In Frames Lab the Style tab keeps your recent frames under Last frames, which makes re-adding one with a different border a single click.
Select the photo, open Edit, go to Shadows and pick Glow. Set Blur to 0 and Transparency to 100, then choose a colour and size. That gives a solid outline around the photo. If the photo sits inside a built-in frame, use Stroke style on the frame instead for a cleaner, more adjustable border.
Yes. Text to Frames has a Border effect with a thickness from 0 to 50 and a colour picker, and the outline follows every letter. Border is one of the app's Pro effects. Turn on Split into letters if you want each letter to be a separate bordered frame that holds its own photo.
Related products


More from QRdy Blog
How to Use a Displacement Map in Photoshop (So Your Design Follows Fabric Folds)
Make a grayscale displacement map from your product photo, apply Filter > Distort > Displace, and blend with Multiply so your design bends with real fabric folds. Includes fixes for maps that "do nothing."
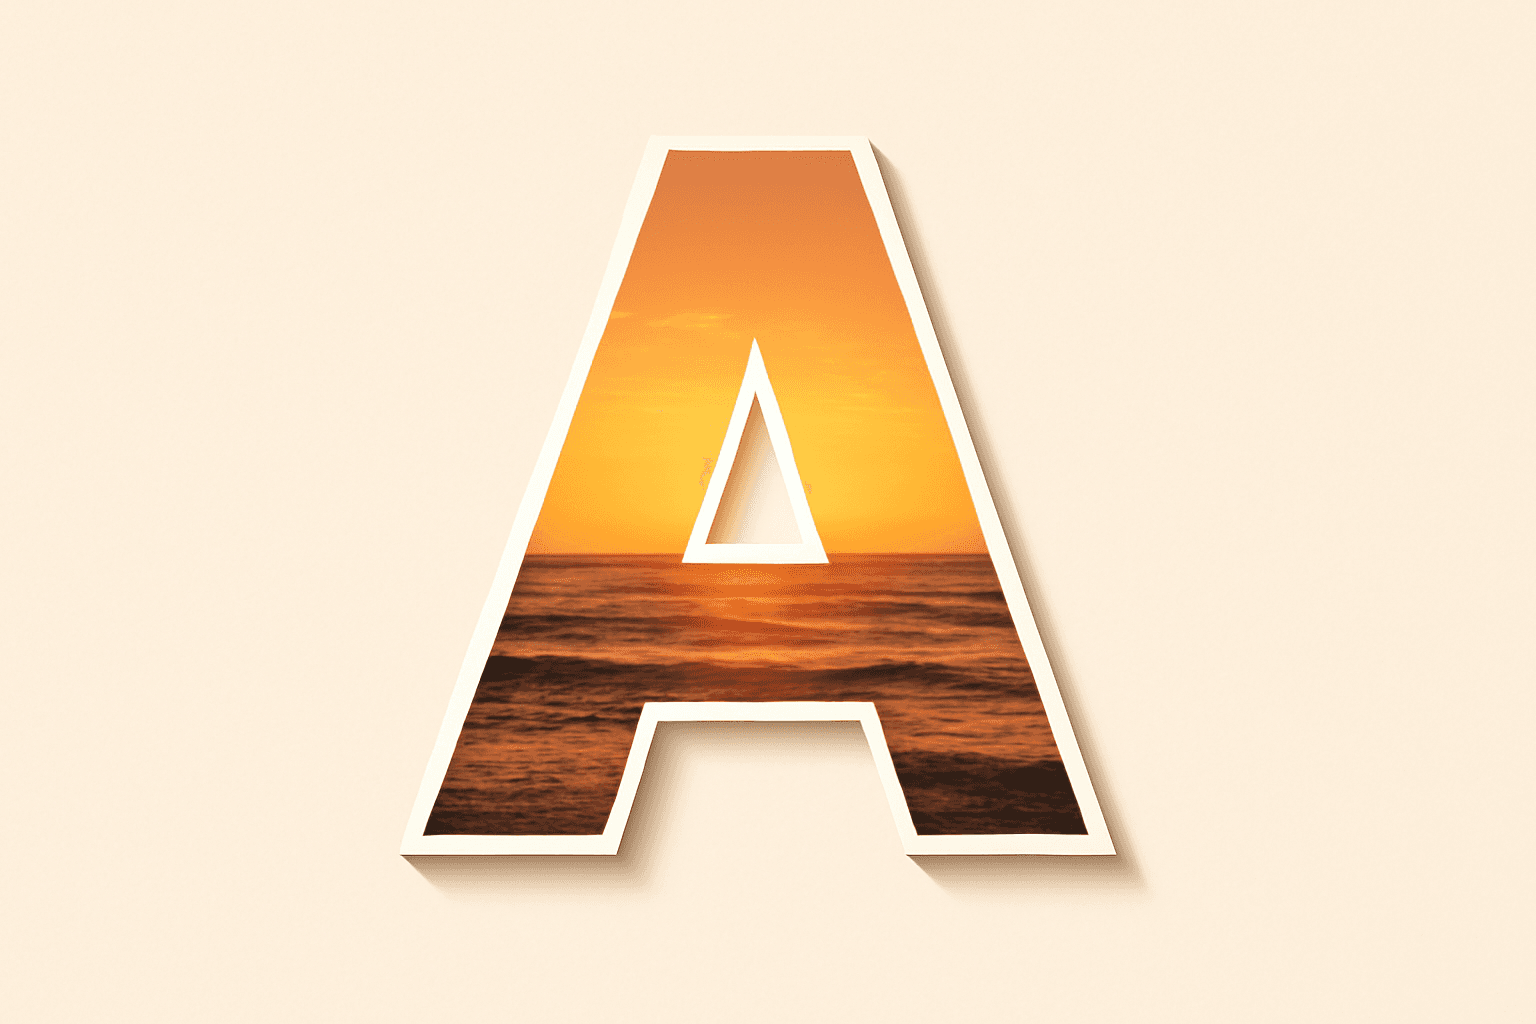
What Is Word Art? Meaning, Types, and How to Make Photo Word Art in Canva
Word art is text styled to work as a graphic: outlined, 3D, curved, glowing or photo-filled letters. Learn the main types, what Canva's Effects already do, and how to fill letters with photos.
Smartmockups Shut Down: Where to Make Product Mockups From Your Own Photos Now
Smartmockups.com closed on September 27, 2024 and its tools moved into Canva. Here are the 5 types of Smartmockups alternatives, who each one suits, and how to make mockups from your own product photos.