
The Best Canva Apps for Making a Yearbook (2026)
Yearbook season starts in August, and the hard part is not the writing — it is laying out hundreds of photos on a page that still prints cleanly. Here are six Canva apps that do the parts Canva does not, plus an honest look at what Canva already handles free.
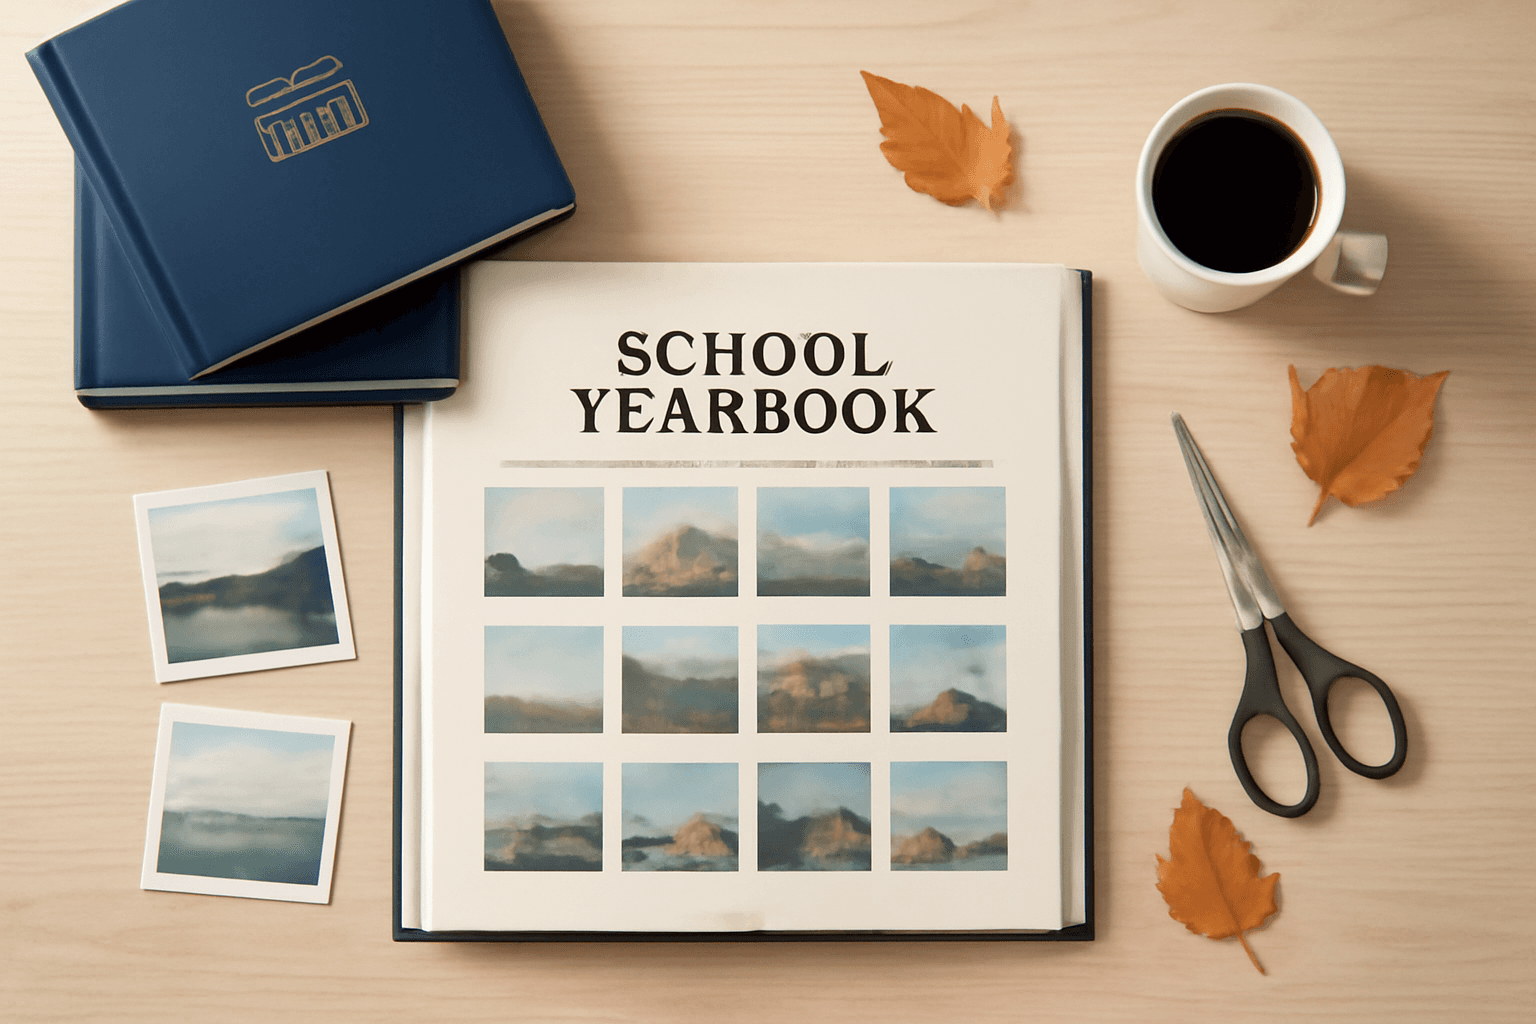
Yearbook planning starts now — search interest in yearbook ideas roughly triples between July and late August, and every editor discovers the same thing in week one: the writing is not the hard part. The hard part is putting 40 portraits on a page so the gaps are actually equal, making a cover that does not look like a template, and getting all of it to print without a grey band down the gutter.
Canva handles more of that than people expect. What it does not do is generate layouts to a spec. That is where a handful of Canva apps earn their place. Here are six worth installing, ranked by how much time they actually save on a yearbook, plus an honest section on the parts you should just do in Canva.
Quick pick #
| If you need… | Use | Free tier |
|---|---|---|
| Portrait grids, arch spreads, sports pages | Frames Lab | Yes, with an add limit |
| A shaped or mosaic photo page | Frame Collage | Yes |
| A cover year or title filled with photos | Text to Frames | Yes, 5 fonts |
| The school crest or mascot as a photo frame | Image to Frame | Yes |
| Decorative page borders and ad-page frames | Border Art Maker | Yes |
| One palette across 200 pages | Color Harmony | Yes |
1. Frames Lab — the layout engine #
A yearbook is mostly grids. Class pages, club pages, event spreads: rows and columns of photos with consistent gaps. Canva's native Grids are free and genuinely fine for a plain 3x3, but they do not let you type "4 columns, 6 rows, 4px gap" and get exactly that.
Frames Lab does. It opens in the Canva side panel with three tabs — Create, Explore and Style — and Create offers five modes:
- Grid — set dimensions, columns, rows and gap. The Advanced options add rounded corners, straight borders, and merging cells into one block, which is how you get a wide hero panel above a portrait grid without breaking alignment.
- Arc — a Pill value in degrees plus a Start angle. This is the arched photo at the top of a divider page that Canva has no built-in shape for.
- Diagonal — spacing, gap and an angle control. Set it around 20 degrees and you have the slanted panel strip that sports and drama spreads live on.
- Burst — randomised sunburst frames with Style, Density, Size, Spread, Variation and Distribution sliders, plus 2–10 preview options. Good for a superlatives badge. It is fully random, so click the one you like immediately.
- Shape — turns a shape already in your design into a frame. Add it from Elements → Shape or Graphics, then hit Recheck design so the app picks it up.
Two things to know before you build a class page. Frames auto-scale to the page that is open, so set your trim size first — a grid built on a Presentation page and pasted onto a 9x12 in page will not be the size you designed. And grids above roughly 30 cells get blocked as too complex, so a 40-portrait page is two grids stacked, not one.
The Style tab keeps your recently added frames and lets you re-add them with Blur, Border or Inner Shadow applied — useful for giving every divider page the same treatment.
2. Frame Collage — the shaped photo page #
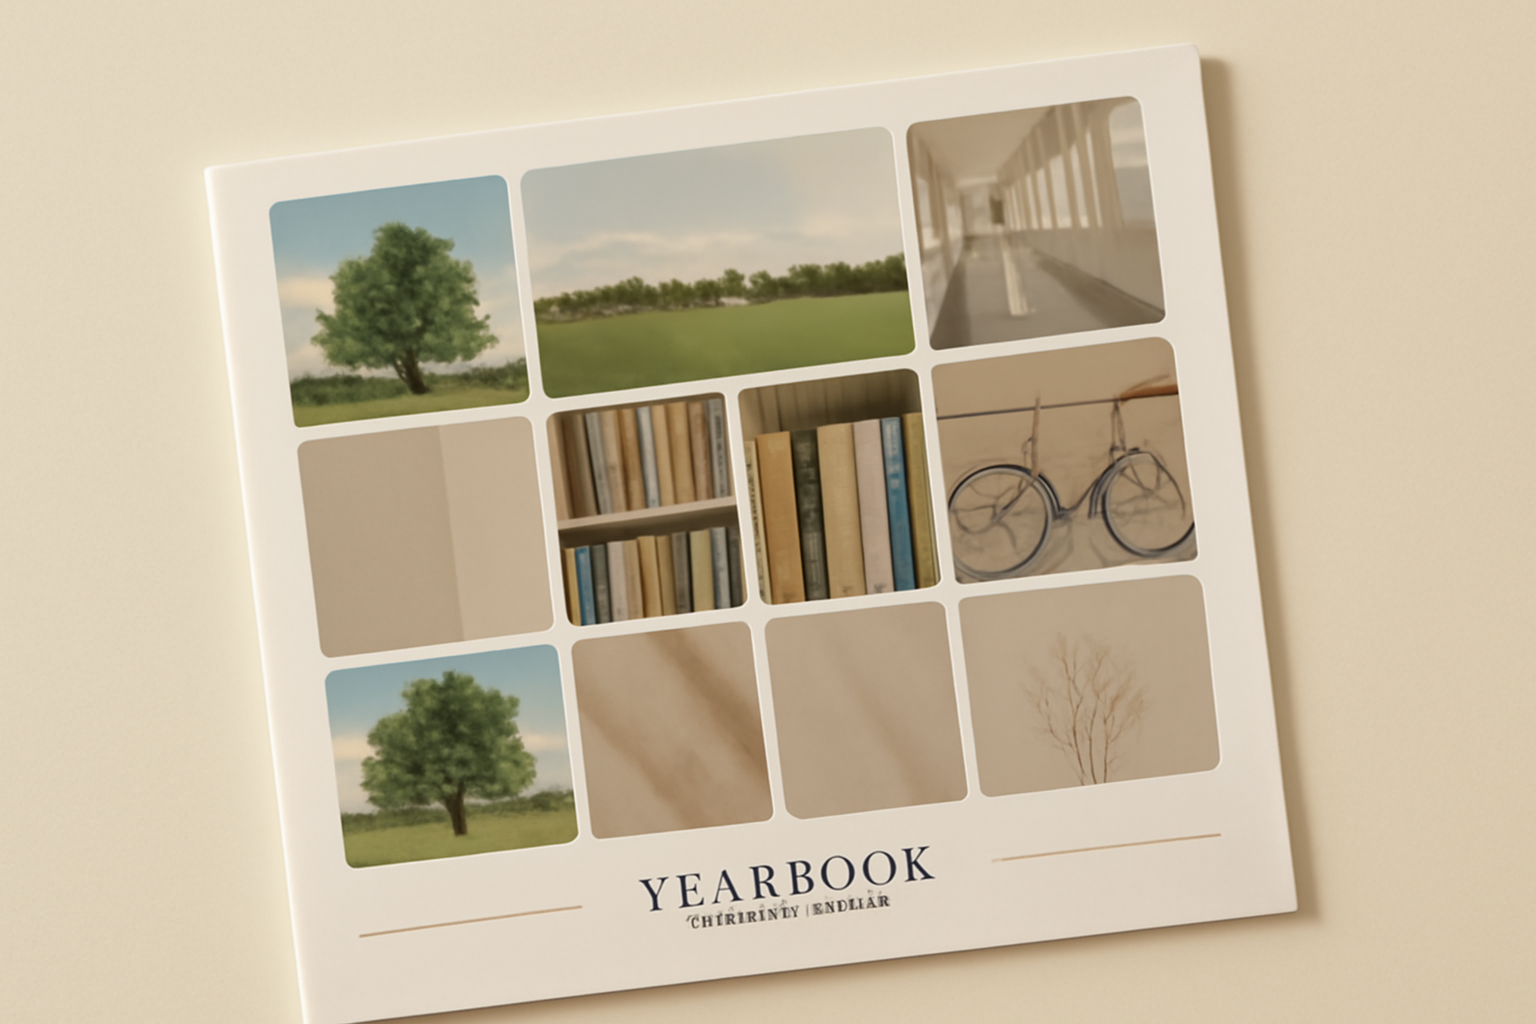
Frame Collage works like pixel art. You pick a matrix — 8x8, 16x16, 24x24 or 32x32 — and toggle individual cells on and off, or start from a preset (heart, star, letters, animal shapes). Adjust spacing and border colour, apply, and every live cell becomes a Canva frame you can drop a photo or video into.
For a yearbook, that means the graduating year rendered as a mosaic of photos, or a mascot shape built out of 200 tiny candid shots on the endpaper. It is the one layout that reliably makes people stop and look for their own face.
It overlaps with Frames Lab Grid, so pick by intent: Frames Lab for rectangular layouts to a spec, Frame Collage when the collage itself needs to be a shape.
3. Text to Frames — the cover #
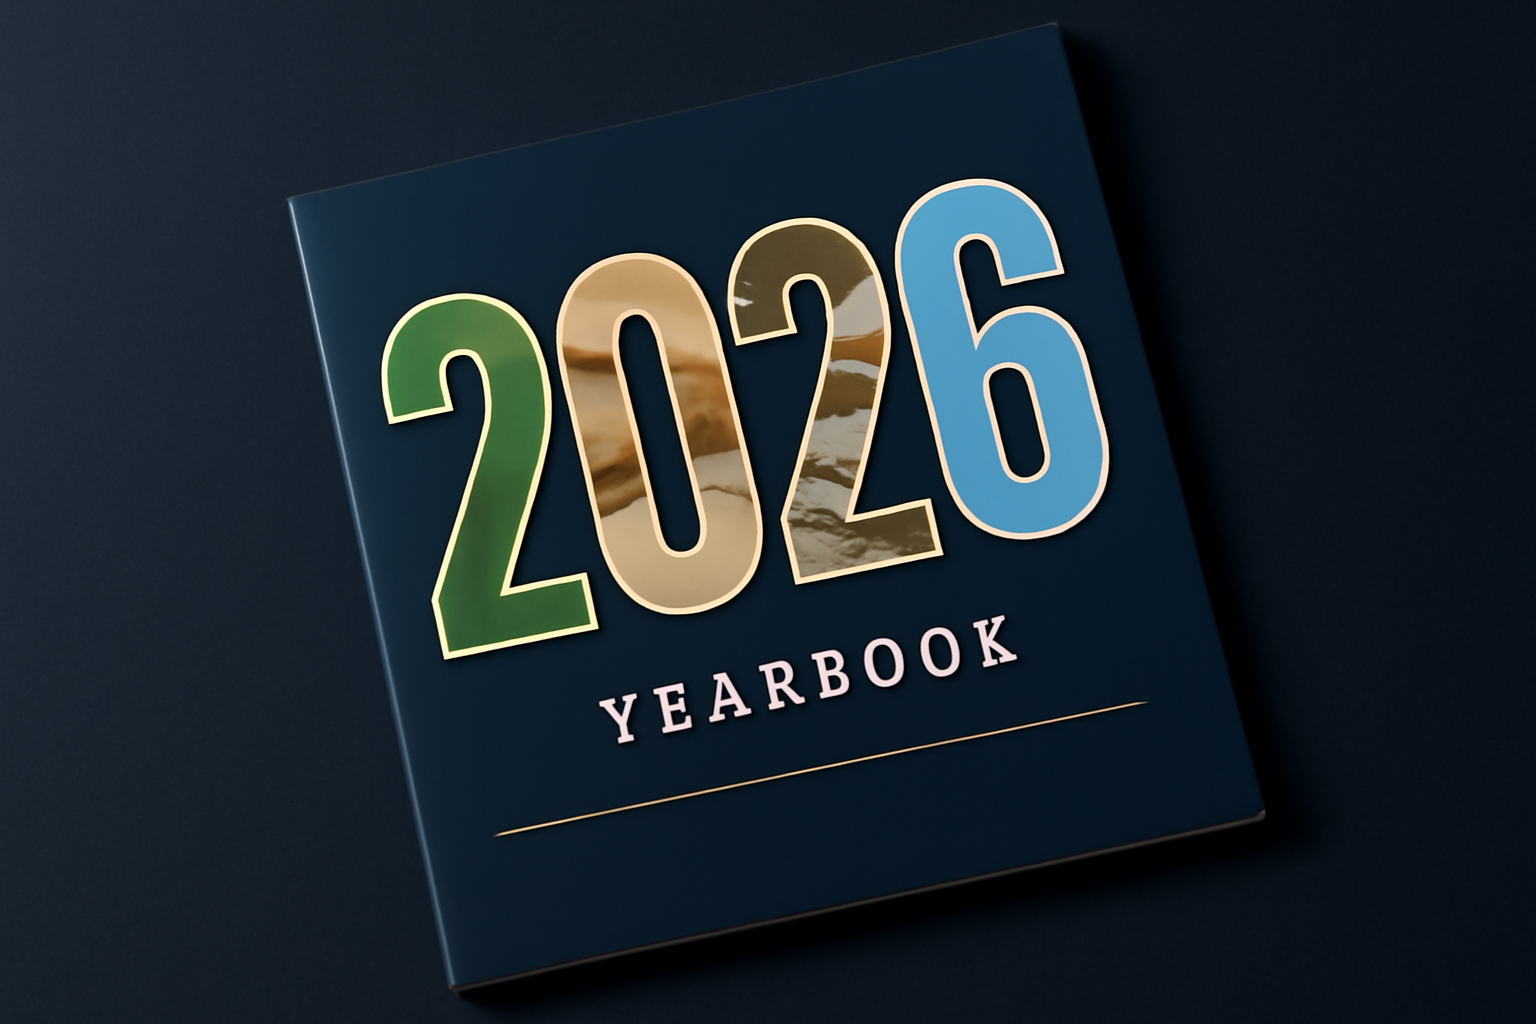
The cover is where a yearbook either looks designed or looks like a template someone recoloured. The most reliable trick is a single huge word — the year, the school name, the theme — with photographs showing through the letterforms.
Text to Frames turns each character into its own frame so you can fill letters individually. Worth knowing:
- 200 character limit; longer input returns "Text is too long".
- Five free fonts (Roboto, Open Sans, Lato, Playfair Display, Pacifico) and 100+ with Pro. Bold and italic are greyed out when the chosen font has no real cut.
- Letter spacing runs −100 to 100. Negative values overlap letters, which looks deliberate on a cover.
- Split into letters is the setting that matters — off, one image spans the whole word; on, every letter takes its own photo.
- Border (0–50) is the effect to reach for. Photo-filled letters sink into a busy background without an outline, and a cover is judged from across a table.
Pick a heavy font. Thin serifs filled with photographs read as mud at print size.
4. Image to Frame — the crest as a frame #
Every school has a crest, a mascot or a logo that appears on the cover, the dedication page and the back. Image to Frame converts a PNG, SVG or JPG up to 5 MB into a working Canva frame, so that mark can hold a photo instead of sitting flat.
The rules that save the most time:
- The source needs a transparent background, or you get a rectangle. JPG can never carry transparency — remove the background first and export as PNG.
- If the mark is several separate elements on the page, use the Export design input path, which sends the whole page as one transparent PNG.
- Simple line shapes convert cleanly; tangled curves may fail. An SVG of the crest is safer than a scan of it.
- Border thickness runs 0–50 with a colour picker, but it only renders once the frame is added to the design. That is expected, not a bug.
5. Border Art Maker — ad pages and dividers #
Yearbooks fund themselves on parent and business ad pages, and those pages need a frame around them so they read as ads rather than content. Border Art Maker builds repeating borders from dots, icons or images, distributed evenly with spacing and rotation controls.
It is also the fastest way to give each section divider a different decorative edge while keeping the same underlying layout.
6. Color Harmony — the thing that saves you in March #
Five editors working on 200 pages will produce eleven shades of the school blue. Color Harmony generates palettes using six harmony types — complementary, analogous, triadic, tetradic, split-complementary and monochromatic — and applies one to a page in a click.
Generate the palette in week one, save it, and make it the first thing every new editor gets. This is the least exciting app on the list and the one that most visibly changes the finished book.
Also worth a look: AI Frames if you want a frame described in words rather than uploaded (20,000+ free frames in its library), and Clipping Mask for one-off cut-outs where you do not need a reusable frame.
What Canva already does well #
Being honest about this saves you installing things you do not need:
- Yearbook templates. Canva has hundreds, fully editable. If one is close to your theme, use it and skip most of this article.
- Frames and Grids. Free, in Elements, and available on mobile. A plain rectangular grid does not need an app.
- Background Remover. Pro, and the single most useful feature on this entire page — it is what makes crest frames and cut-out portraits work at all. Canva's, not ours.
- Bulk Create. If you have a spreadsheet of names and a folder of portraits, this populates pages for you. Underused by yearbook teams.
- Brand Kit. Lock the school colours and fonts once.
- Canva for Education. Free for eligible schools, and it includes the Pro features named above.
The apps earn their place at exactly two points: generating a layout to a spec you would otherwise nudge by eye, and making shapes Canva's library does not have.
Sizes and print settings #
| Trim size | Typical use |
|---|---|
| 8.5 x 11 in | US letter, most widely supported by printers |
| 9 x 12 in | Traditional hardcover yearbook |
| 8 x 8 in | Class, club or small memory books |
Set the page size before anything else, because app-generated frames scale to the open page. Ask your printer for their bleed requirement — usually 3 mm or 0.125 in per edge — and keep text at least 12 mm from the trim. Leave extra margin on the binding edge: anything closer than about 15 mm to the gutter disappears into the spine on a thick book.
Export as PDF Print, which Canva renders at 300 DPI. PDF Standard comes out at screen resolution and will look soft on paper.
Before you send it to the printer #
- Proof one full spread on your own printer at actual size before you build the other 199 pages.
- Zoom to 25% and check the spread reads as a composition, then check every photo at 100% for resolution.
- Confirm nothing important sits within 15 mm of the gutter.
- Check that photo-filled cover text still reads from two metres away.
- Have someone who did not lay out the page proofread every name. This is the only error nobody forgives.
Related reading: How to make a photo collage in Canva · What is DPI? · PNG vs SVG vs JPG in Canva · The best Canva apps for students · 10 scrapbook page ideas
Frequently asked questions
Not as a single button. Canva has hundreds of editable yearbook templates and a full page-based editor, which covers a surprising amount of the job. What it does not have is a generator that builds a portrait grid to your exact column, row and gap spec, or one that turns your school crest into a photo frame. That is the gap these apps fill — everything else you can do in Canva itself.
The three common trim sizes are 8.5 x 11 in (US letter, the most widely supported), 9 x 12 in (the traditional hardcover size) and 8 x 8 in for smaller class or club books. Set the Canva page to the trim size before you design anything, because frames from these apps auto-scale to whatever page is open. Ask your printer for their bleed requirement first — usually 3 mm or 0.125 in on each edge.
Each has a free tier, and for a small book you may never hit the ceiling. Frames Lab limits how many frames a free account can add before prompting an upgrade, and Calendar Maker gates its Add to design button behind Pro. Separately, two Canva Pro features matter a lot here: Background Remover and downloading a PNG with a transparent background. If your school has Canva for Education, you already have those.
Lock three things before anyone starts laying out pages: the trim size, the palette, and the heading font. A palette generated once with Color Harmony and applied page by page is far more consistent than five editors each picking a blue. Then build one finished spread, share it as the reference, and have everyone duplicate it rather than starting from a blank page.
Related products


More from QRdy Blog
What Is a Bento Grid? Definition, Examples, and How to Make One in Canva
A bento grid is a layout of rounded tiles in mixed sizes, named after the Japanese lunch box. Learn what it is, how it works, and how to build one with photos in Canva.
10 Photo Name Art Ideas You Can Make in Canva (Words Filled with Photos)
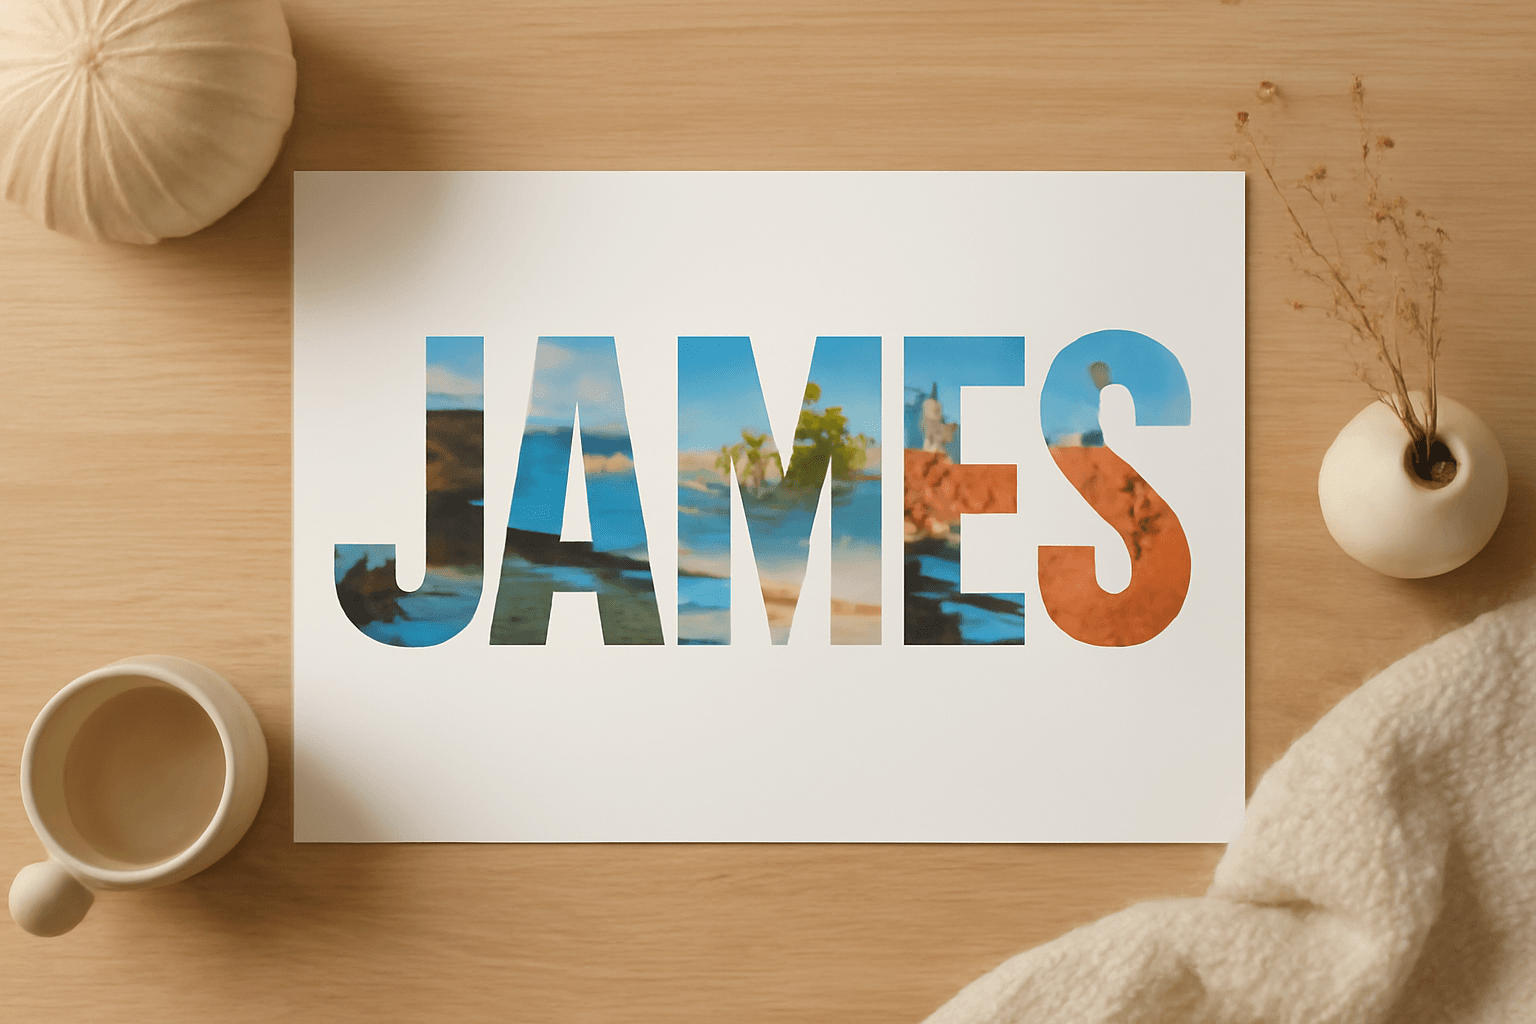
Ten photo name art ideas for Canva: names, words and dates where every letter is filled with a different photo. Gifts, banners, posters and more, built with Text to Frames.
Photoshop Clipping Mask vs Text to Frames: Photo-in-Text in Canva
Filling text with a photo is a classic Photoshop trick. Here is how the Photoshop clipping mask compares with Text to Frames in Canva, and which one fits a quick title or banner.