
10 Scrapbook Page Ideas You Can Make in Canva (Digital or Printable)
Ten scrapbook page layouts you can build in Canva — photo-filled title words, shaped photo cut-outs, arched panels, grid spreads and journaling cards — with the exact app and setting for each one.
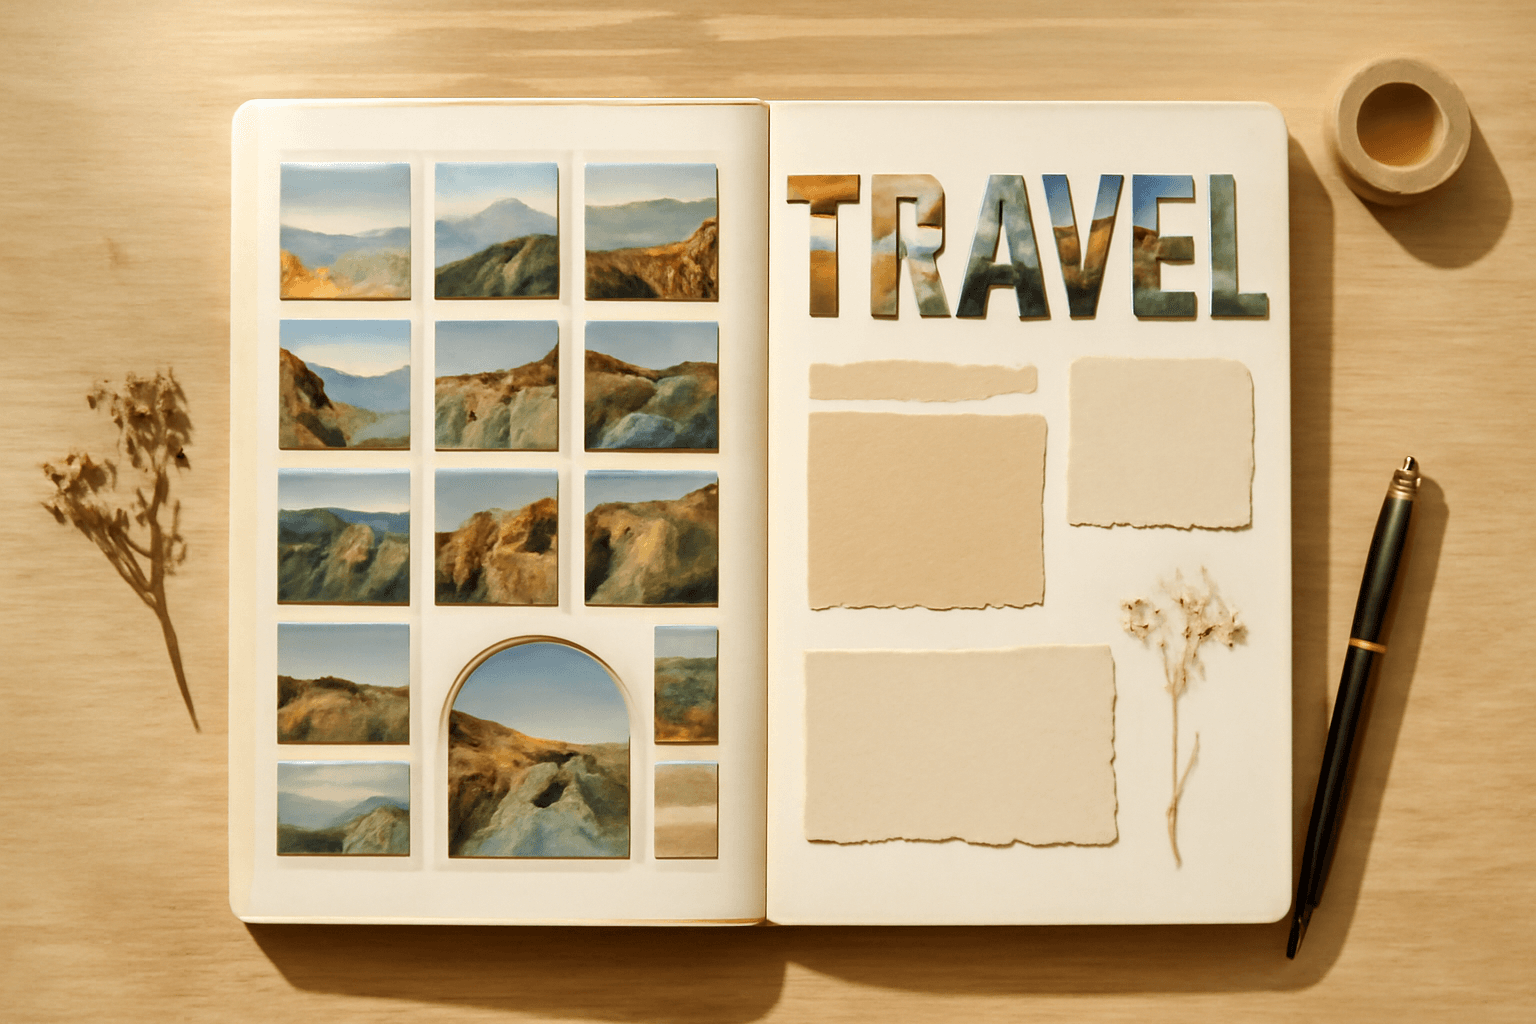
Scrapbooking used to mean a paper trimmer, a glue stick and a very messy table. Most of that work is now layout work — deciding which photo goes where, how big, and what shape — and that is exactly what Canva is good at.
The catch: Canva out of the box gives you rectangles, circles and a handful of built-in Frames. Real scrapbook pages want odd shapes — a heart, an arch, a photo-filled title word, a torn grid. That gap is where a few QRdy Canva apps earn their place.
Below are ten scrapbook page ideas, each with the exact tool and setting to build it. Mix and match — most good pages combine two or three of these.
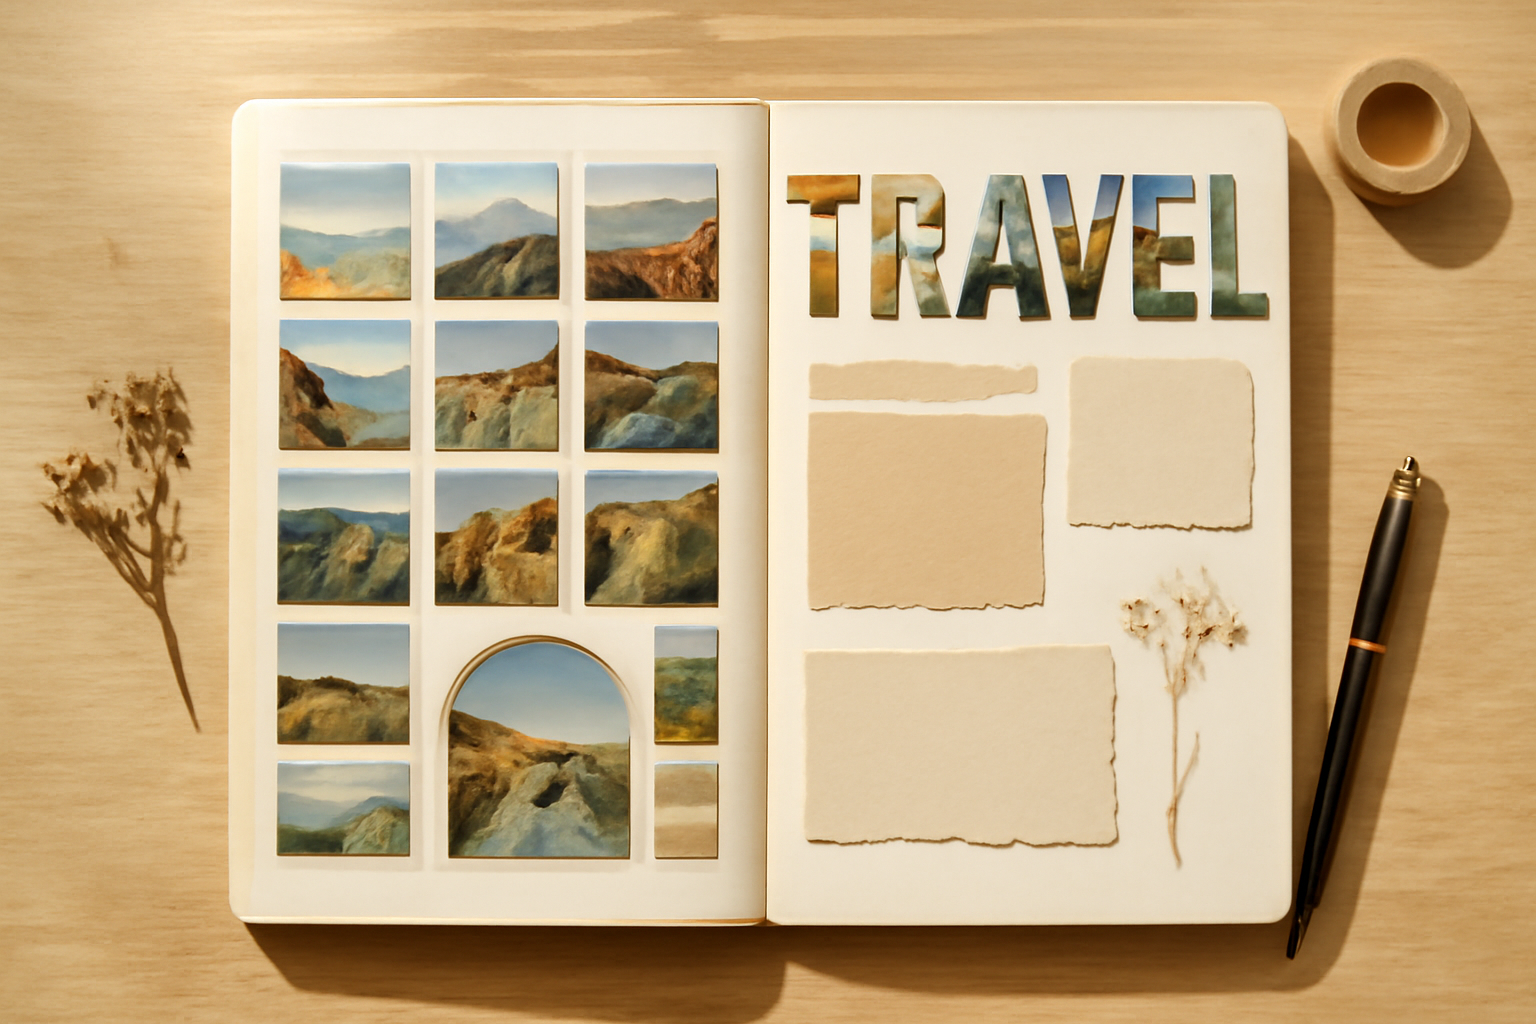
Before you start: set the page size #
Pick your size first, because resizing later will shove your layout around.
| Use | Size |
|---|---|
| Classic printed scrapbook, page sleeves | 12 x 12 in |
| Home printer, standard binder | 8.5 x 11 in |
| Screen-only / digital album | 2400 x 2400 px (1:1) |
| Photo book upload | Match your printer's template |
Create the document, drop in a paper-texture background, and you have a blank page.
1. The photo-filled title word #
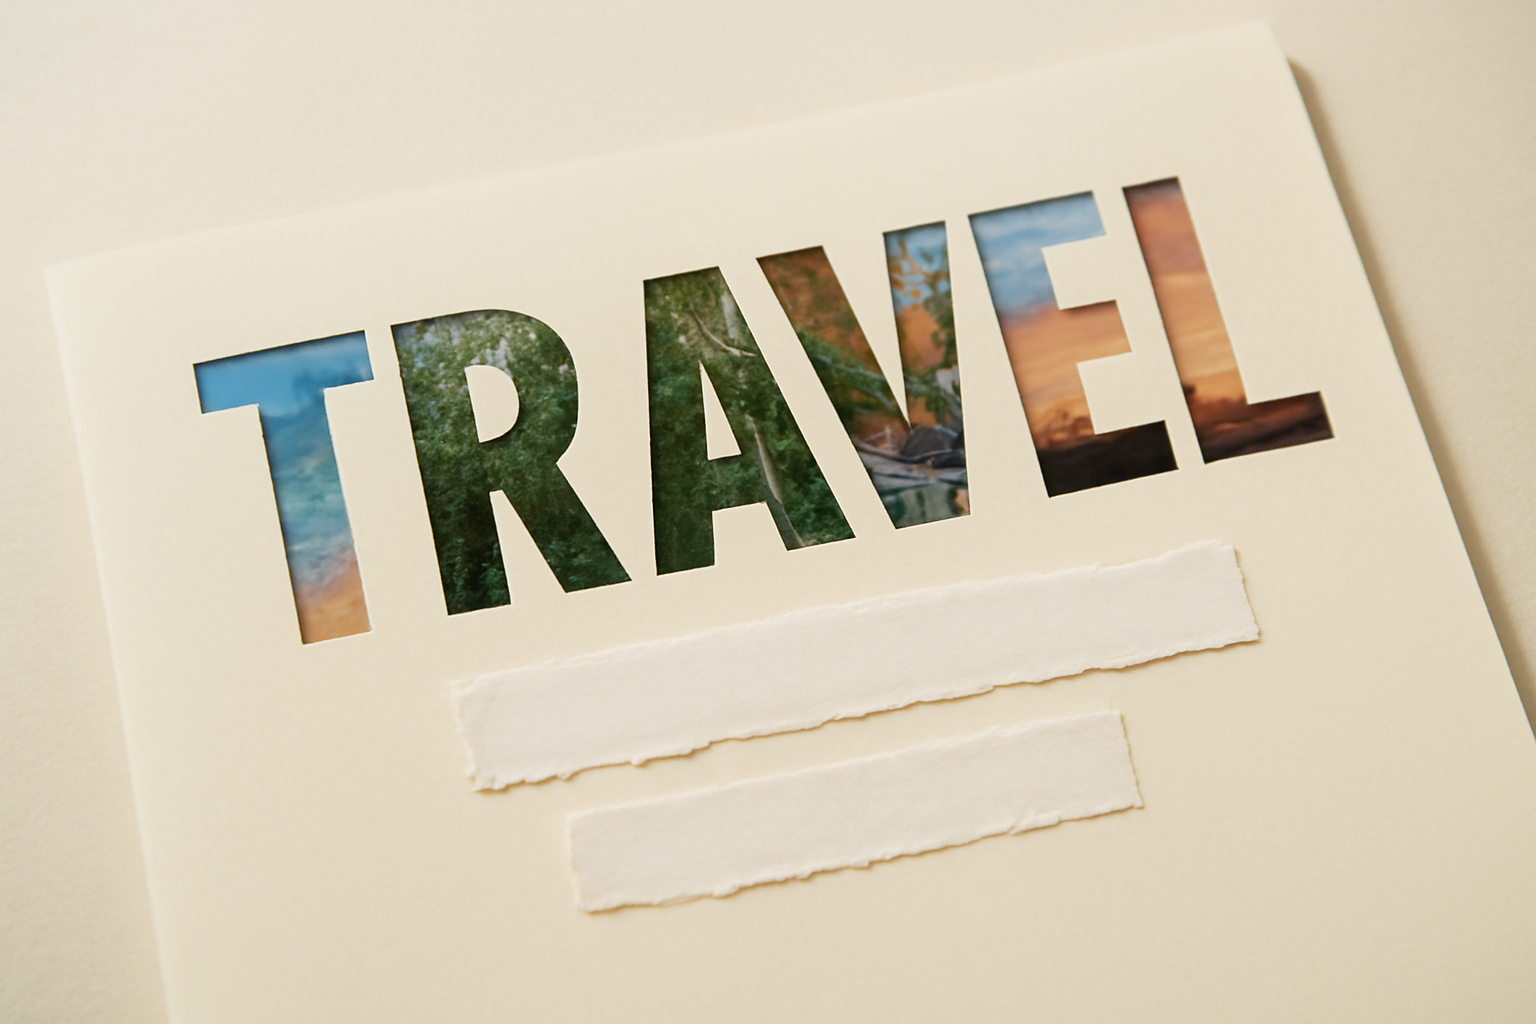
The single highest-impact thing on a scrapbook page is a big title where each letter shows a different photo. "TRAVEL" with beach in the T, forest in the R, a city street in the A, sunset in the L.
How: open Text to Frames, type the word, pick a font, turn on Split into letters, and hit Add to design. Each letter lands as a real Canva frame, so you drag one photo into each letter and then nudge and zoom the photo inside the letter until it reads well.
Tip: photos inside letters often go muddy. Turn on Border (0–50) in a colour that contrasts with your page so the letterforms stay legible.
2. The arched hero photo #
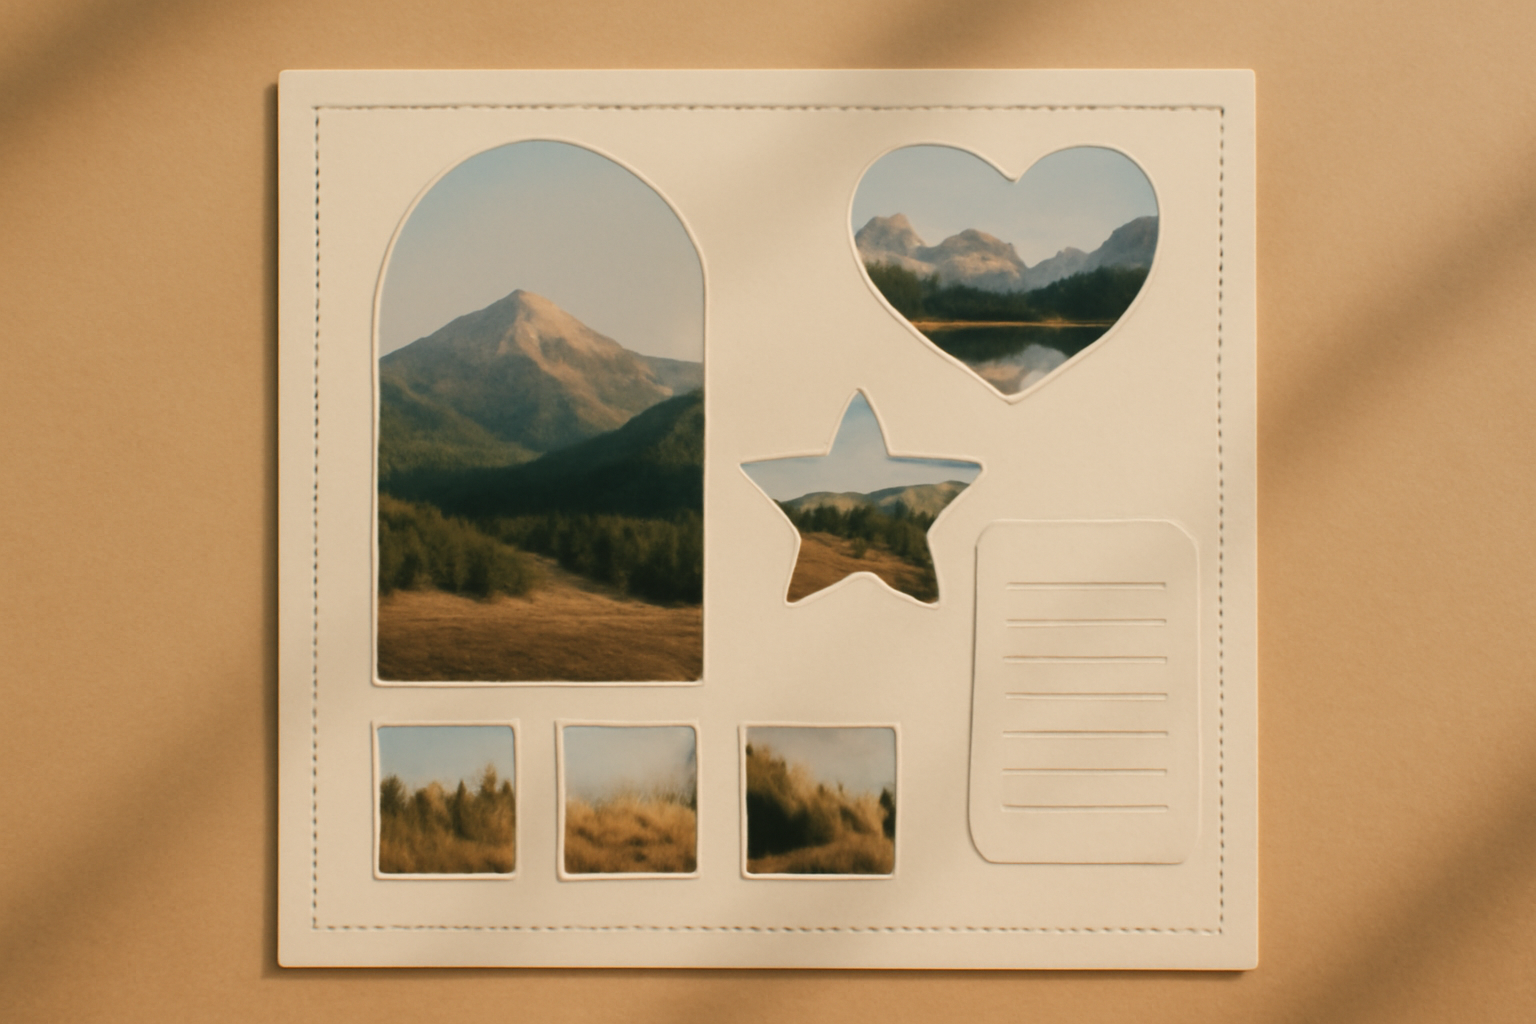
One tall arched photo does most of the work on a page and instantly looks less like a school project.
How: Frames Lab → Create → Arc mode. Set Pill to control how much of the arc you keep (270° gives a full arch, smaller values give a soft dome) and Start to rotate where it begins. Add a thin border, then Add to design and drop your best photo in.
3. The nine-photo grid spread #
For a trip or an event where you have too many photos to choose between — a tidy grid says "here is everything" without chaos.
How: Frames Lab → Create → Grid. Set rows and columns (3 x 3 is the sweet spot), then set the gap — a generous gap reads like separate prints, a tiny gap reads like a mosaic. Keep total cells under about 30 or the app will block the layout.
Tip: the Wave setting bends the grid lines. A small amount makes the grid look hand-cut instead of machine-perfect.
4. Heart and star photo cut-outs #
The classic scrapbook move: a photo cut into a heart for the couple's page, a star for a kid's sports page, a circle for a portrait.
How: find or make a PNG of the shape with a transparent background, then run it through Image to Frame. It converts the PNG into a real Canva frame in the shape of the silhouette. Drag your photo in and it fills the shape.
Tip straight from the app: remove the background first. If the PNG still has a white background, you will get a rectangular frame instead of a heart.
5. The couple's page #
Two photos, one shape. Works for anniversaries, "how we met" pages, a scrapbook for a boyfriend or girlfriend.
How: two options depending on the look. For a photo-filled name — "SAM & ALEX" with a different memory in each letter — use Text to Frames with Split into letters. For a split heart, put two heart frames from Image to Frame side by side and mirror one.
6. The friendship / best friend page #
Same principle, different vibe: lots of small candid photos rather than a few posed ones.
How: Frame Collage lets you toggle cells on a matrix from 8x8 up to 32x32, so the lit cells form a shape — a heart made of forty tiny photos, or the number of years you have known each other. Each lit cell is its own frame.
7. The travel page with a route feel #
Photos arranged along a diagonal read like movement, which suits a road trip or a hike far better than a straight grid.
How: Frames Lab → Create → Diagonal. Set the angle, the spacing between strips and the gap. Fill the strips in the order the trip happened.
8. The dated month page #
If your scrapbook is a year-in-review or a baby book, put an actual calendar grid on the page and mark the days that mattered.
How: Calendar Maker generates a month or week grid and drops it straight into the design. Set the accent colour to highlight the birthday, the trip dates, the first steps — then arrange photos around the grid.
9. Decorative page borders #
A repeating border around the edge is what makes a page look scrapbooked rather than designed in a template.
How: Border Art Maker builds borders out of dots, icons or a repeated image, and distributes them evenly around the shape so you are not nudging fifty stars by hand. Adjust spacing and rotation until it looks hand-placed.
10. The journaling card layout #
The part most people skip and later regret: the words. Who was there, what happened, why you kept the photo.
How: no special app needed — a rounded rectangle with a light fill, a handwriting font, and lined text. Sit it next to a shaped photo from idea 4 so the page has one visual anchor and one place to read. If you print, leave the card blank and write in it by hand.
Quick tool table #
| What you want on the page | Tool | Key setting |
|---|---|---|
| Photo in every letter of a title | Text to Frames | Split into letters |
| Arch, grid, diagonal or burst layout | Frames Lab | Create tab → mode |
| Photo in a heart, star or custom shape | Image to Frame | Transparent PNG first |
| Shape made of many tiny photos | Frame Collage | Matrix size + toggle cells |
| Repeating decorative edge | Border Art Maker | Spacing + rotation |
| Real month grid on the page | Calendar Maker | Month tab + accent colour |
| Plain photo grid, nothing fancy | Canva's built-in Grids | Free, already there |
To be fair to Canva: if all you need is a plain grid of rectangles or a simple circle crop, Canva's own Grids and Frames in the Elements panel do that for free and you should just use them. The apps above are for the parts Canva genuinely cannot do — arbitrary shapes, per-letter photo fills, parametric layouts.
Printing your pages #
Export as PDF Print with crop marks off and bleed on if your printer asks for it. Check that every photo is at least 300 DPI at its placed size — Canva will warn you if it is not. For 12 x 12 pages, most home printers will not go that big, so a local print shop or an online photo printer is the usual route.
Where to start #
If you have never done this before, build one page with just two of these: a photo-filled title (idea 1) and a grid (idea 3). That combination already looks like a finished scrapbook page, and it takes about ten minutes. Add shapes, borders and journaling once the basic rhythm feels comfortable.
Frequently asked questions
Yes. Canva is a page layout tool, and a scrapbook page is just a page layout: photos, a title, some journaling and decoration. Set up a square document (12 x 12 inches is the classic scrapbook size), design the page, then either keep it digital or export it as a print-quality PDF and print it at home or at a print shop. The main thing Canva does not do out of the box is put photos inside custom shapes and letters — that is what frame apps are for.
12 x 12 inches is the traditional paper scrapbook size and still the safest choice if you plan to print and slip pages into sleeves. 8.5 x 11 inches works if you want a standard printer to handle it. If the album will only ever live on a screen, a 1:1 square at around 2400 x 2400 px is plenty. Set the size before you start designing — resizing later can shift your layout.
Canva's native route is to place a photo, then use a text mask via the Clipping Mask style effect, which shows one image through all the letters at once. If you want a different photo in every letter — beach in the T, forest in the R, sunset in the L — use the Text to Frames app: turn on Split into letters, add the word to your design, then drag a separate photo into each letter frame.
Related products


More from QRdy Blog
Photoshop Clipping Mask vs Text to Frames: Photo-in-Text in Canva
Filling text with a photo is a classic Photoshop trick. Here is how the Photoshop clipping mask compares with Text to Frames in Canva, and which one fits a quick title or banner.
The Best Canva Apps for Birth Announcements (2026)
Making a birth announcement in Canva? Here are the best Canva apps for it in 2026: custom photo shapes, name lettering, photo grids, borders, and a first-year calendar. Honest picks, with Canva's built-in tools included.
How to Make a Christmas Tree Photo Collage in Canva (Step by Step)
Turn your favorite family photos into a Christmas tree-shaped collage in Canva: two methods (a tree-shaped frame or a stacked grid), exact steps, print sizes, and tips so faces stay visible.