
How to Round Corners in Canva (Photos, Shapes, Frames and Collage Grids)
Round the corners of a photo, video or shape in Canva with the Corners button, then see what to do when it is missing: frames, collage grids and text boxes, with exact clicks for each.
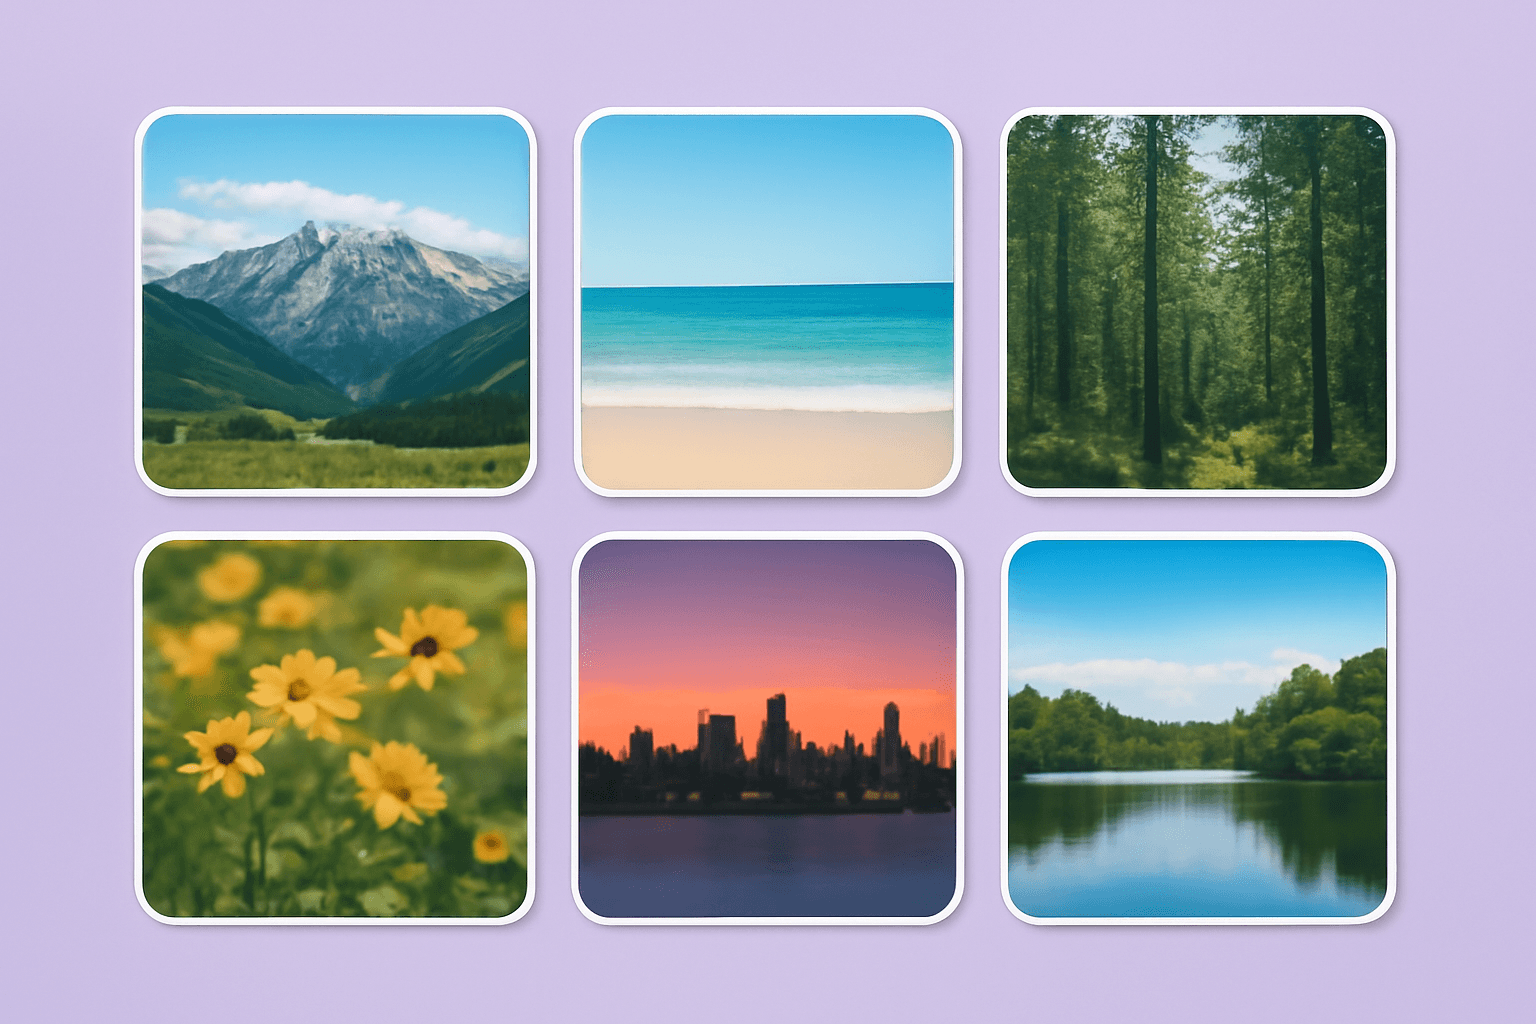
To round corners in Canva, select the photo, video or shape, click the Corners button in the toolbar above the canvas, and drag the Corner rounding slider. If the Corners button is missing, which happens with many frames, collage grids and text boxes, build a frame with rounded corners already baked in instead.
That covers most cases. The rest of this guide gives the exact clicks for each type of element, and the fix for the ones Canva won't round.
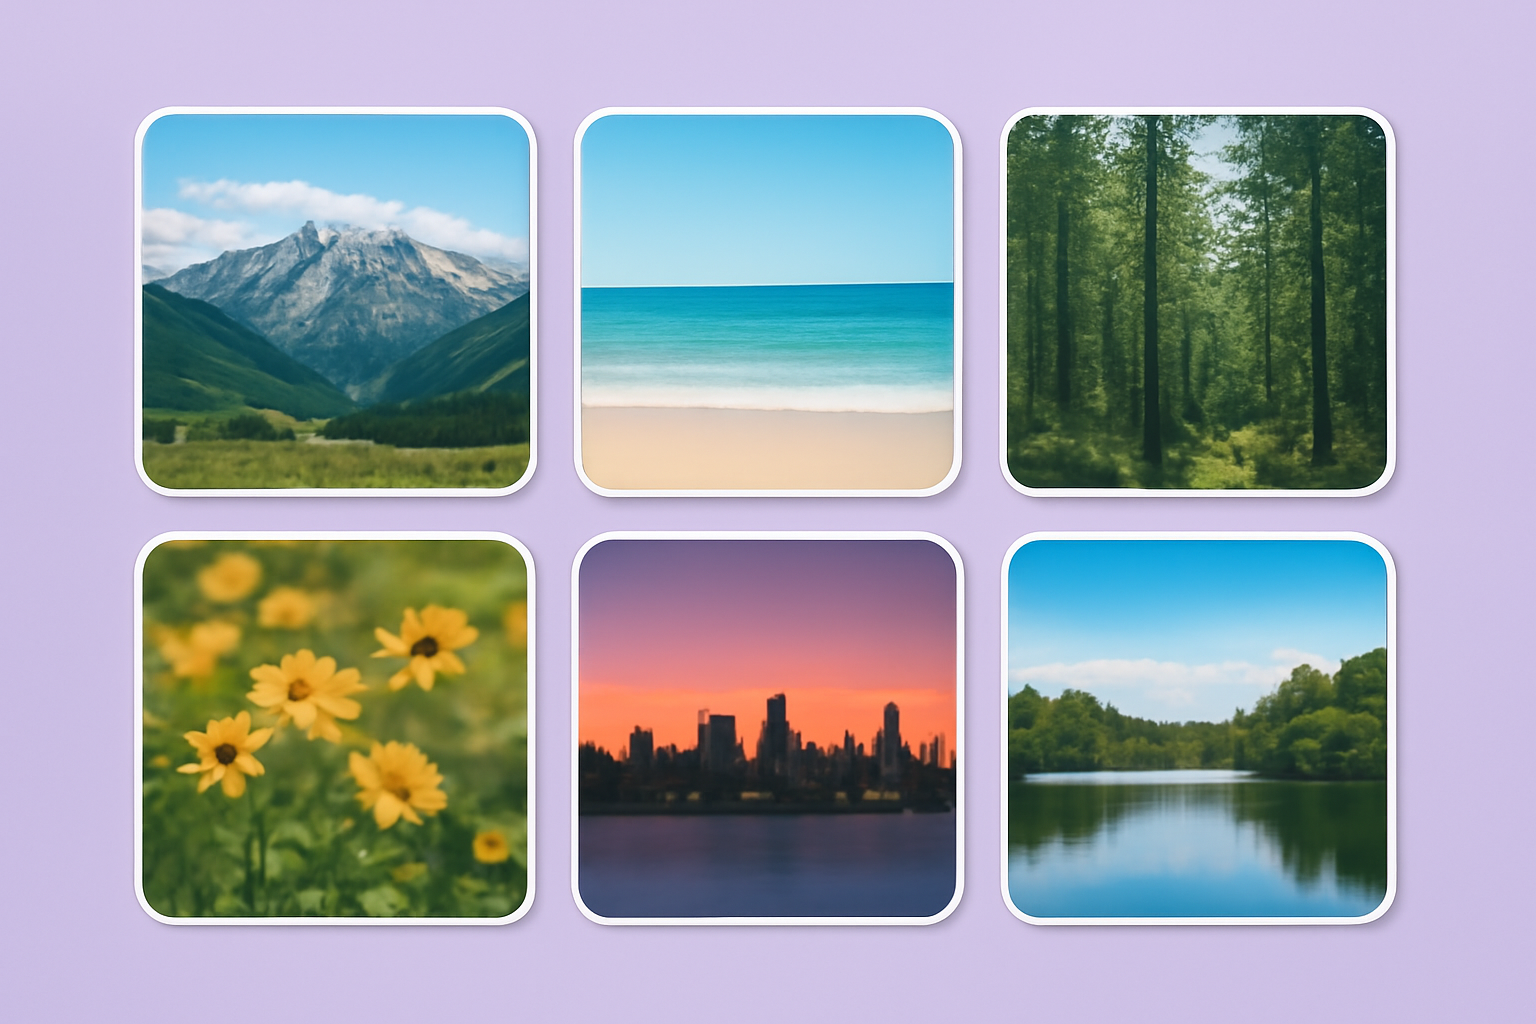
Quick answer: what can you round, and how? #
| Element | How to round the corners |
|---|---|
| Photo or image | Select it, then Corners > Corner rounding |
| Video | Select it, then Corners > Corner rounding |
| Basic shape (rectangle, square) | Select it, then Corners > Corner rounding |
| Canva frame | Corners, if the button shows. If not, build a rounded frame (Method 3) |
| Collage grid | Build a rounded grid frame (Method 4) |
| Text box | Not supported. Put the text on a rounded rectangle (Method 5) |
Method 1: Round the corners of a photo or video #
- Click the photo or video once to select it.
- In the toolbar above the canvas, click Corners.
- Drag the Corner rounding slider to the right, or type a value in the box next to it.
- Click anywhere outside to close the panel.
The rounding stays on the element when you resize, crop or replace it. To remove it, set the slider back to 0.
Tip: if you don't see Corners, check that you selected the photo itself. Double-clicking enters crop mode, where the toolbar changes. Click outside, then click the photo once.
Method 2: Round the corners of a shape #
- Add a rectangle or square from Elements > Shapes (or press R for a rectangle).
- Select it and click Corners in the toolbar.
- Drag the Corner rounding slider.
A fully rounded short rectangle becomes a pill, which is the usual way to make buttons and labels.
Canva doesn't round everything here. Its own help page says the option isn't supported on flipped shapes and on some editable shape types. If you flipped a shape, undo the flip and the control comes back.
Method 3: A rounded-corner frame for a photo #
This is where people get stuck. You want a plain rectangular frame with soft corners, and the frames in Elements are either sharp rectangles or decorative shapes. Try these in order:
First, the native route. Select your frame and look for Corners. If it is there, use it. You can also add a rectangle, round it with Method 2, then right-click and choose Change to frame. Canva only offers Change to frame on eligible shapes, so it won't always appear.
If Corners is missing, make the frame in Frames Lab with the radius built in:
- In Canva, open Apps and open Frames Lab.
- On the Create tab, choose Grid in the Create mode strip.
- Under Grid dimensions, set Width and Height to the proportions you need. For a 4:5 portrait, for example, use 800 and 1000.
- Under Grid layout, set Columns to 1 and Rows to 1.
- Scroll to Advanced options and raise Corner radius.
- Optional: set Frame border thickness and colour.
- Click Add to design, then drag a photo or video into the frame.
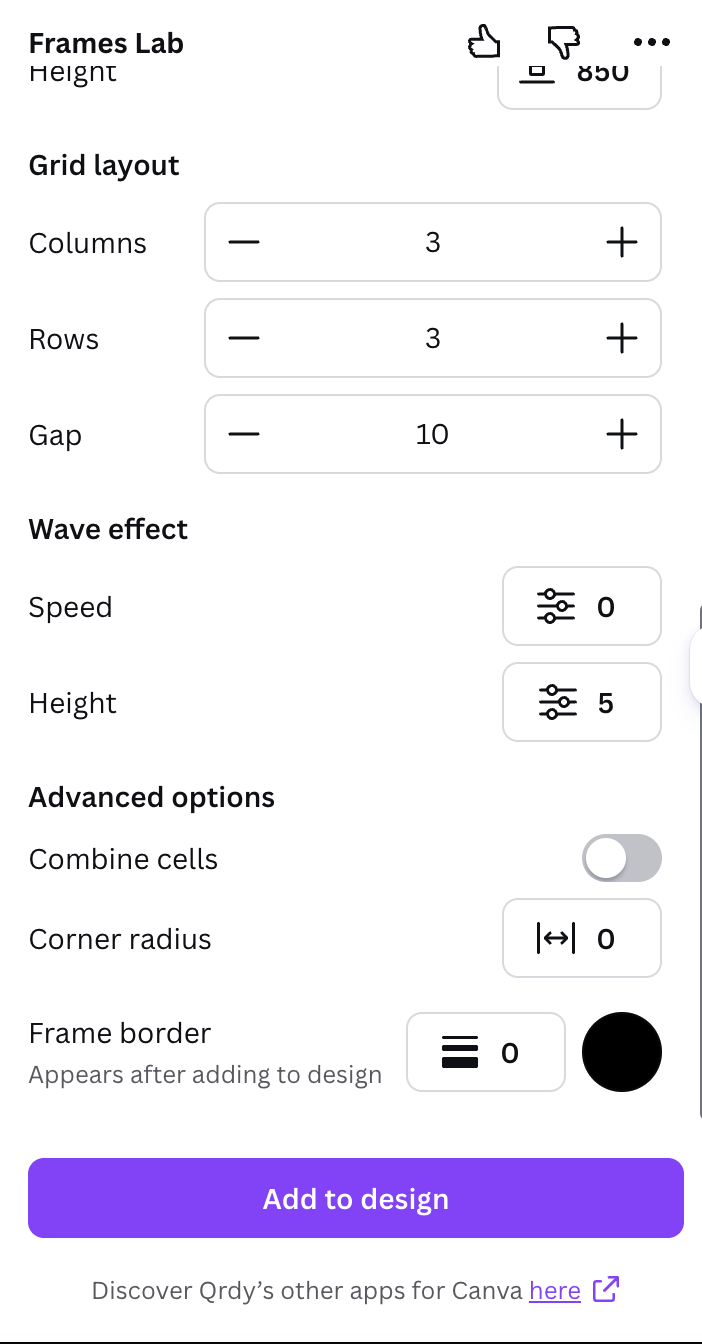
You get one rounded rectangle frame in exactly the ratio you set. The frame scales to fit the page you have open, so you don't need to size it by hand.
Open Frames Lab in Canva to try it. Free users can add a limited number of frames. Pro removes the limit.
Method 4: A collage where every photo has the same rounded corners #
Rounding photos one by one is slow, and the corners rarely end up matching. A grid frame fixes both problems, because the radius is set once for all cells.
- In Frames Lab, stay on Create > Grid.
- Set Columns and Rows, for example 3 and 2 for six photos.
- Set Gap to control the space between photos.
- Under Advanced options, set Corner radius.
- Check the Preview at the top. It updates as you change values.
- Click Add to design and drop a photo into each cell.
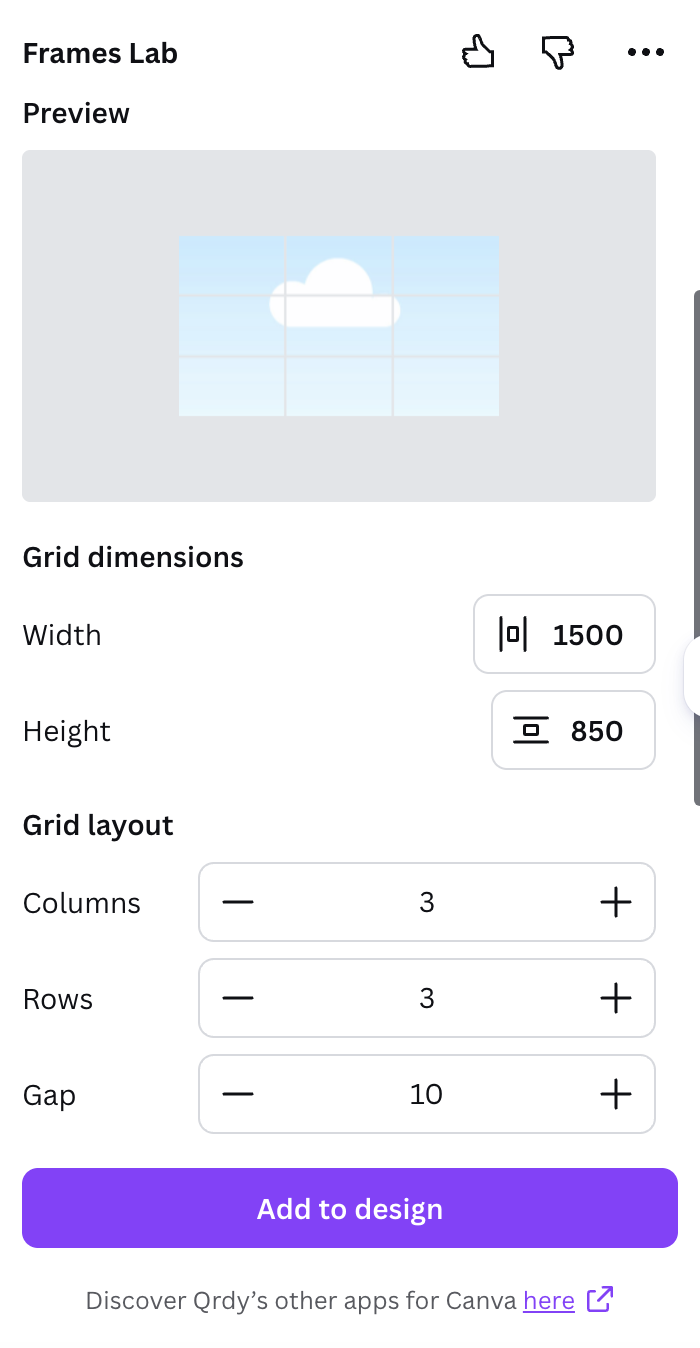
Two extras in the same panel: Combine cells merges cells into one larger slot for a hero photo, and Wave effect curves the grid lines if you want something less rigid.
For the full collage workflow, see how to make a photo collage in Canva.
Method 5: Rounded corners on other things #
Text boxes. Canva's corner control doesn't apply to text boxes. Add a rectangle, round it with Method 2, then double-click the shape and type inside it. The text now sits in a rounded box that you can colour and resize as one element.
A rounded shape that is already on your page. In Frames Lab, switch the Create mode to Shape, click Recheck design, and the app lists the shapes it finds. Click one to add it as a frame. This is covered step by step in how to fill a shape with a photo in Canva.
Several rounded shapes as one frame. If your layout is made of a few rounded blocks and you want one photo to run across all of them, Image to Frame can turn a whole page into a single frame with its Export design option. It is a separate Pro app with a trial.
Common mistakes and what to do if it doesn't work #
- There is no Corners button. The element doesn't support rounding. That is expected for text boxes, flipped shapes and some editable shapes, and it is common on shaped or uploaded frames. Use Method 3 or 5.
- You moved the slider and nothing changed. On a very large element a small value is barely visible. Push the slider much further before deciding it isn't working.
- The corners look different on each photo. The same value looks rounder on a small photo than on a big one. Use one grid frame (Method 4) so every cell shares a radius.
- The Frame border isn't in the Frames Lab preview. The app notes "Appears after adding to design" under that control. Add the frame and the border will be on the canvas. More in how to add a border to a frame in Canva.
- Frames Lab says the layout is too complex. Very large grids are blocked. Keep it to around 30 cells or fewer, or lower the Wave effect.
- You want a circle, not a rounded square. Use a circle frame instead of pushing the radius to the maximum. See how to crop a picture into a circle in Canva.
- The photo lands on top of the frame instead of inside it. Work through Canva frame not working: 9 fixes.
Which method should you use? #
Start with the Corners button. It is built in, free, and you can change the value at any time. Reach for a custom frame only when the button isn't there, or when you need a whole grid of photos or videos to share one corner radius.
Frequently asked questions
Select a photo, video, frame or shape, then look in the toolbar above the canvas for the Corners button. Clicking it opens the Corner rounding slider, where you can drag or type a value. If the button is not there, the element you selected does not support rounding, which is the case for text boxes, flipped shapes and some editable shape types.
The Corners button only appears on elements Canva supports for rounding. Many shaped frames, uploaded custom frames and collage grids don't show it. The workaround is to create the frame with rounded corners already built in, for example with the Grid mode in Frames Lab, where Corner radius sits under Advanced options.
Select the video on the canvas, click Corners in the toolbar and move the Corner rounding slider. If you want several videos or photos rounded by exactly the same amount in one layout, build a rounded grid frame in Frames Lab and drop each clip into a cell.
Not directly. Canva's border and corner controls don't apply to text boxes. Add a rectangle from Elements, round it with the Corners button, then double-click the shape and type inside it, or place your text box on top of it.
Rounding photos one at a time makes it easy to end up with mismatched corners. Build the collage as a single grid frame instead: in Frames Lab, choose Grid, set Columns, Rows and Gap, set Corner radius under Advanced options and click Add to design. Every cell gets the same radius.
Related products

More from QRdy Blog
What Is a Smart Object in Photoshop? (And Why Every Mockup PSD Uses One)
A smart object is a Photoshop layer that protects the original image while you scale, warp, and filter it. Here's why every mockup PSD is built around one, how to edit it, and how to fix the "not directly editable" error.
Switching Print-on-Demand Suppliers? How to Redo All Your Mockups in One Batch
New POD supplier, new blanks, and suddenly every listing photo is wrong. Here's a workflow to turn the new supplier's blank photos into templates and re-render your whole design library in one batch.
How to Use a Displacement Map in Photoshop (So Your Design Follows Fabric Folds)
Make a grayscale displacement map from your product photo, apply Filter > Distort > Displace, and blend with Multiply so your design bends with real fabric folds. Includes fixes for maps that "do nothing."