
Switching Print-on-Demand Suppliers? How to Redo All Your Mockups in One Batch
New POD supplier, new blanks, and suddenly every listing photo is wrong. Here's a workflow to turn the new supplier's blank photos into templates and re-render your whole design library in one batch.
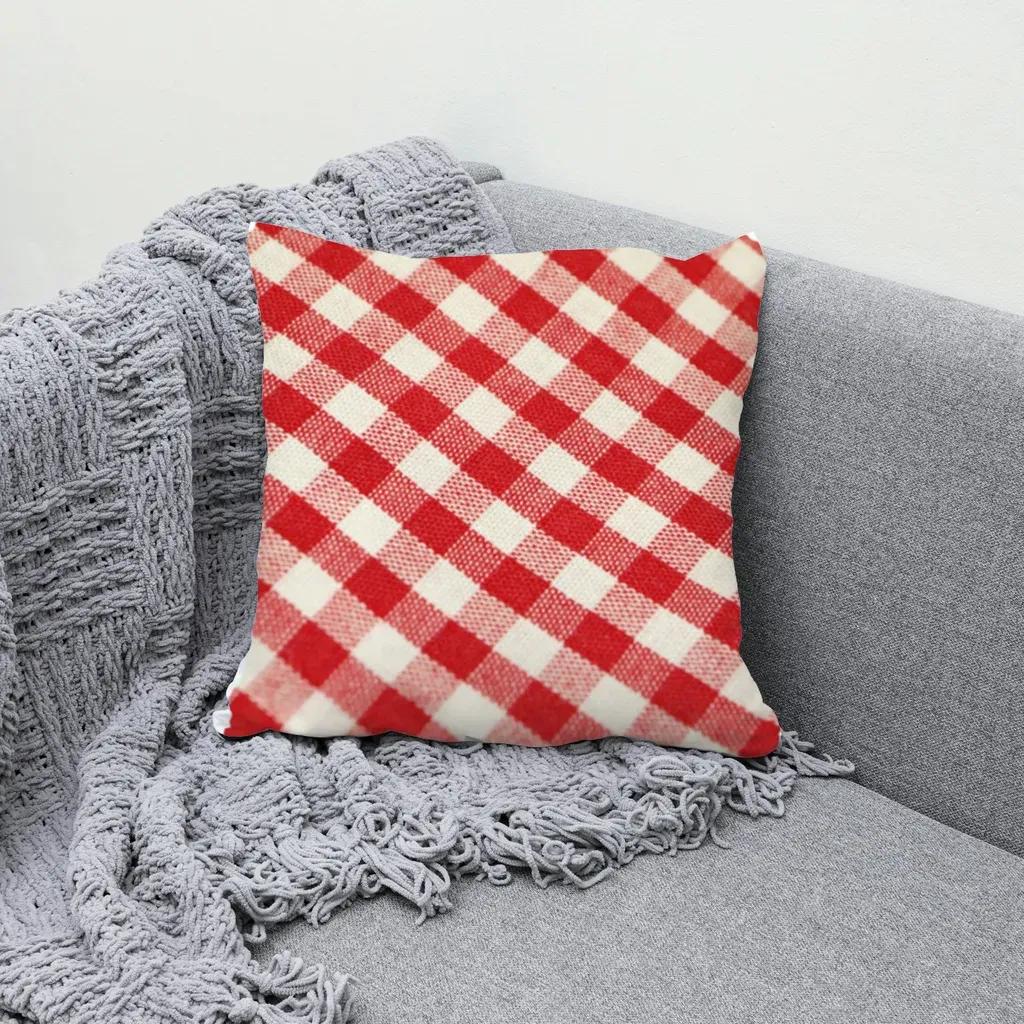
To redo all your mockups after switching print-on-demand suppliers, photograph or download one blank product photo per product and color from the new supplier, turn each photo into a reusable template once, then render your whole design library onto those templates in a single batch. Keep your old file names and you can swap listing photos folder by folder.
Switching suppliers is usually a good business decision: better print quality, faster shipping, a cheaper base cost, or a blank that customers actually like. The painful part comes after. Your new supplier's tee, mug, or pillow is cut, colored, and photographed differently, so every listing photo you made for the old blank is now slightly wrong. If you have 30 designs on 4 products, that's 120 images to redo, and nobody wants to open 120 Photoshop files.
This guide walks through a workflow that turns "redo everything" into an afternoon job.
Why you need new mockups at all #
It's tempting to keep the old images. Here's why most sellers don't:
- The product looks different. Neckline, fabric weave, cap shape, mug handle, and especially color shade change between suppliers. A heather gray from one supplier can look noticeably bluer from another.
- Buyers compare photos to what arrives. A mismatch is a classic source of "not as described" messages and returns.
- Marketplace photo rules. On Etsy, your photos should honestly represent the item you ship. If you're unsure where mockups fit, read our breakdown of Etsy's AI photo rules for mockups.
So the goal isn't just "new pictures." It's new pictures that match the blank you now ship, produced fast enough that the switch doesn't stall your shop.
Step 1: Collect one clean blank photo per product and color #
Before touching any design, gather your base photos:
- Use photos you're allowed to use. Your supplier's own blank product photos are often fine for selling their products, but check their terms. Even better: order a sample and shoot it yourself. A real photo of the actual blank is the most honest listing image you can have. Our guide on taking product photos for Etsy with your phone covers the setup.
- One photo per color. If you sell a tee in white, black, and sand, you need three photos. More on that below.
- Plain print area. Pick photos where the spot you'll print on is empty and clearly visible: no existing graphic, no hand covering the chest, no harsh glare across the front.
- Decent size. Anything around 1500 px on the long side or larger is plenty for listing photos.
Name the files clearly (for example tee-white-front.jpg, cap-white.jpg). That name becomes your template name, which keeps the batch output readable.
Step 2: Turn each blank into a reusable template #
This is the step that replaces the PSD you used to depend on. In MockupPress, the flow is short:
- Drop the photo into the app. It opens straight into template setup.
- Drag a box around where the design will print. In about a second, the app cuts the product out from the background, snaps to its edges, picks a surface type (flat with perspective, cylinder for mugs and caps, or a free-form grid for soft fabric), and measures highlights, shadows, and folds from the photo itself.
- Check the preview with the grid pattern. If lines bend where they shouldn't, use Edit: drag grid points, use the Add/Subtract brush to remove a strap or a hand from the print area, or nudge Highlights, Shadows, and Edge.
- Save. That's one template. Repeat for each blank photo.
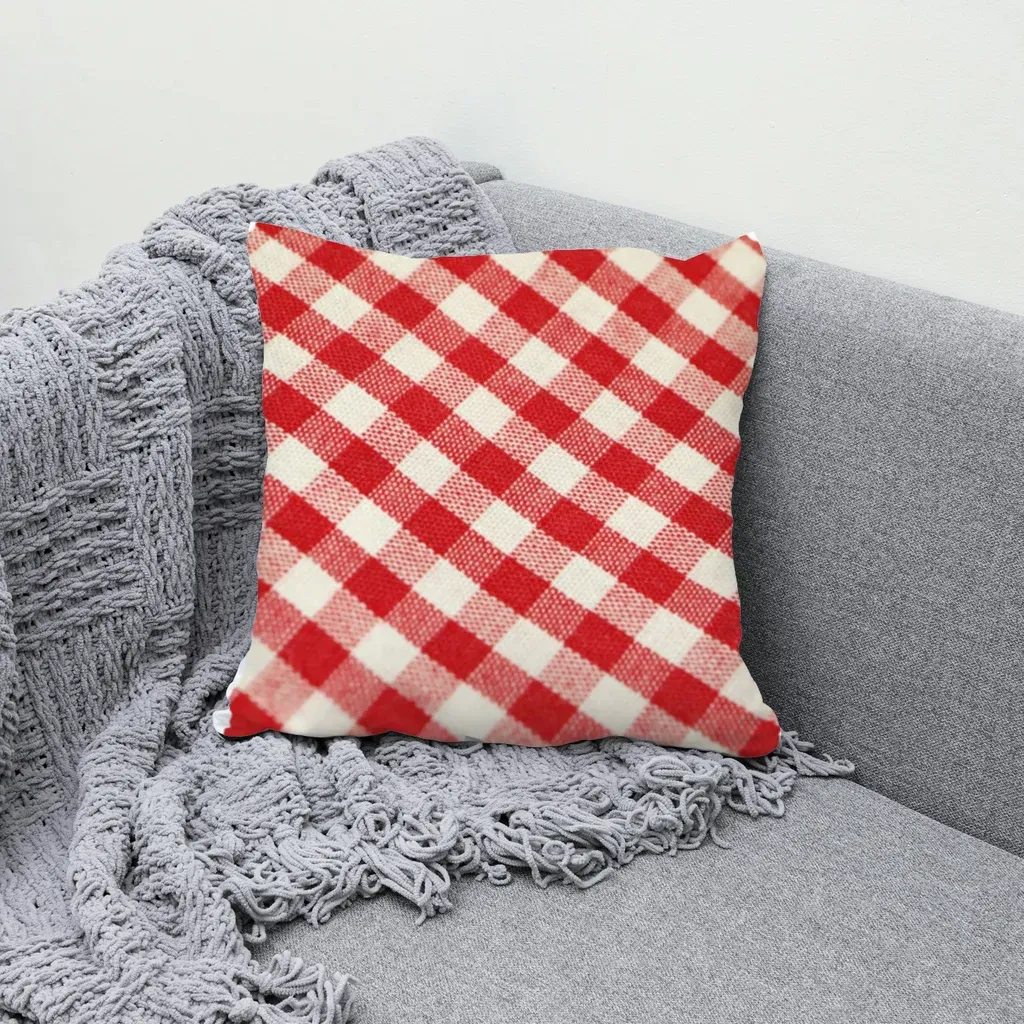
A gingham pattern is a harsh test for a template: if the grid were flat-pasted, the lines would stay straight. Here they bend with the cushion.
Templates are built from the photo, not from a library, so the process is the same whether your new supplier sells tees, totes, mugs, or pillows.
Step 3: Render your whole design library in one batch #
Now the actual time saver. On the Bulk page:
- Select all the new templates (every product and color from the new supplier).
- Add your designs. Drop your PNGs (transparent PNGs look best) into the design library. They're stored in your browser, so next time you just tick them.
- Set the file name pattern. Open "File names, format, advanced" and use tokens like
{design}/{template}. The slash creates a folder per design, so every listing gets its own folder of images. - Pick a format. JPEG with adjustable quality for smaller files, or PNG.
- Click Render and download the ZIP (or use Save to folder on Chrome or Edge).
For a sense of speed: in a test on a laptop, 2 templates (a white cap and a sofa pillow) × 23 designs produced 46 mockups at 1536 × 1536 px in under a minute.
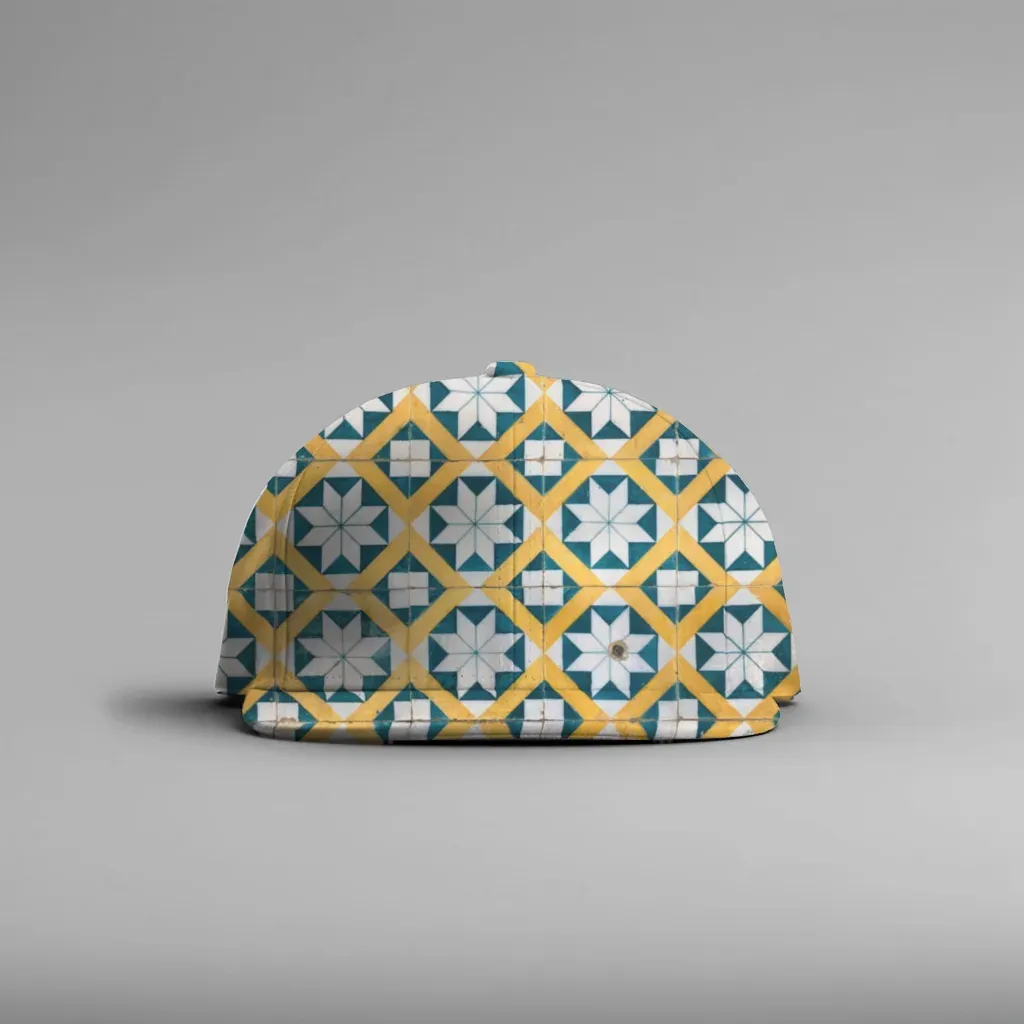
Caps use a cylinder surface, so the pattern wraps around the curved front panel instead of sitting flat on top of it.
Step 4: Keep your old file names so swapping listings is mechanical #
The hidden cost of switching suppliers isn't rendering, it's figuring out which new image goes on which listing. Two habits make this painless:
- Mirror your old naming. If your old images were organized by design (one folder = one listing), use the same
{design}names for the new batch. Then replacing photos is "open folder, upload, next." - Use the manifest. Every ZIP includes a
manifest.csvwith columns for file, listing, number, template, color, designs, and contrast. Open it in a spreadsheet and you have a checklist: sort by listing, tick off each one as you update it.
If you sell through a POD integration, upload the new images to the listings themselves rather than expecting the tool to push them. MockupPress gives you files; it doesn't connect to Etsy, Printify, or Printful.
Step 5: Handle dark and light blanks without manual sorting #
Supplier switches often add colors. A design made for white shirts can disappear on black ones. Two features help:
- Light and dark design pairs. If you save a design as
name_light.pngandname_dark.png, the batch picks the right version automatically based on whether the product is light or dark. - Contrast guard. It can render everything and flag weak combinations in the manifest, skip bad combinations entirely, or stay off. Flagged rows tell you exactly which listings need a second look.
What this workflow can't do (and the workaround) #
Being clear about the limits saves you a frustrating afternoon:
- No color swapping from one photo. MockupPress doesn't recolor products. Each color needs its own blank photo and its own template. In practice that's also more accurate, because the shade comes from a real photo.
- No built-in mockup library. You bring the blank photos. That's the point when you switch suppliers: you want their product, not a generic one.
- Max 1536 px on the long side. That's comfortable for Etsy listing photos (see our notes on Etsy mockup size), but it isn't a print-resolution file.
- Data stays in your browser. Photos, templates, and your design library live on your device. Clearing browser data or changing computers means rebuilding templates, so keep your original blank photos and designs backed up.
- Tricky photos need a touch-up. A hand across the print area, a busy background, or a steep angle may need a few brush strokes in Edit.
A realistic timeline for a 30-design shop #
Say you sell 30 designs on a tee in three colors and a mug in one color, and you just moved to a new supplier:
| Task | Rough time |
|---|---|
| Collect 4 blank photos (or shoot samples) | 30–60 min |
| Build 4 templates (drop, drag box, check, save) | 10–20 min |
| Render 30 designs × 4 templates = 120 images | a few minutes |
| Replace listing photos using the manifest | depends on your shop, usually the longest part |
The rendering is no longer the bottleneck. Updating listings is, which is why consistent file names matter so much.
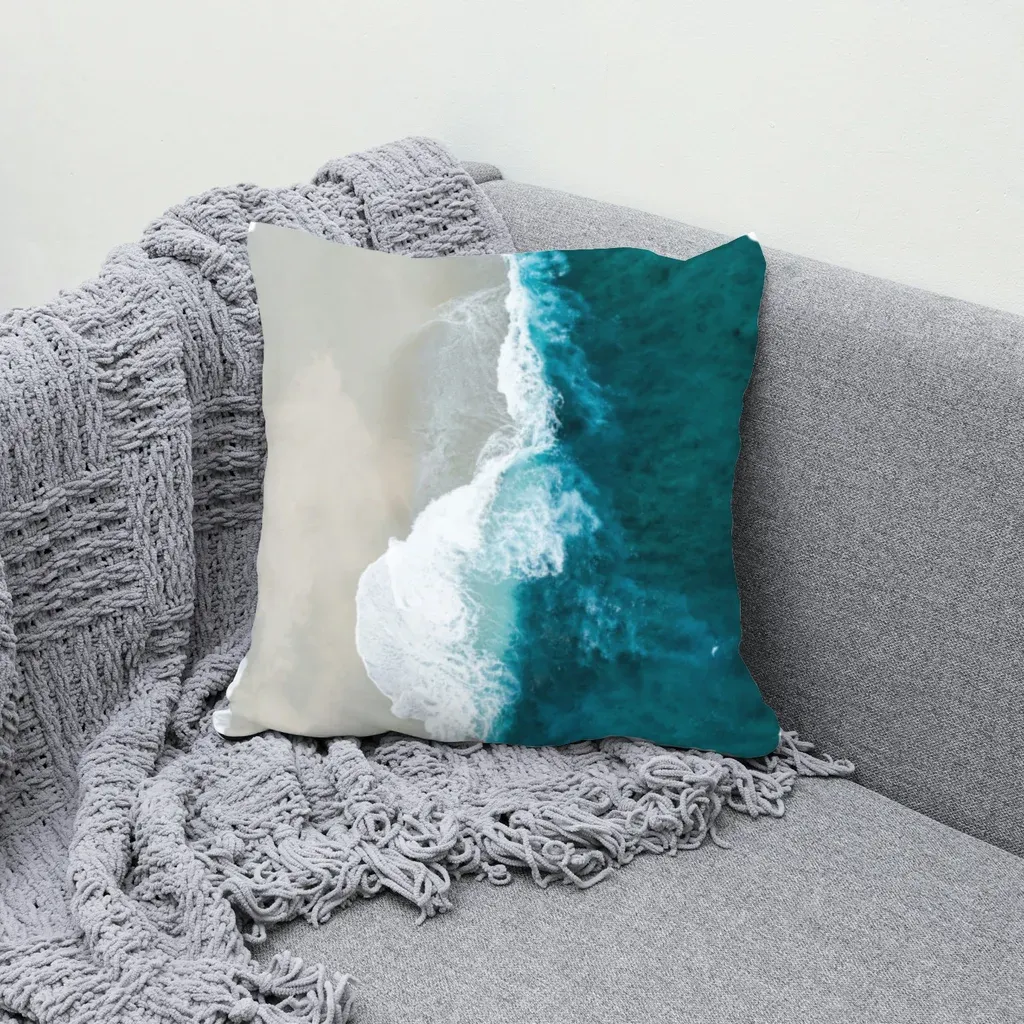
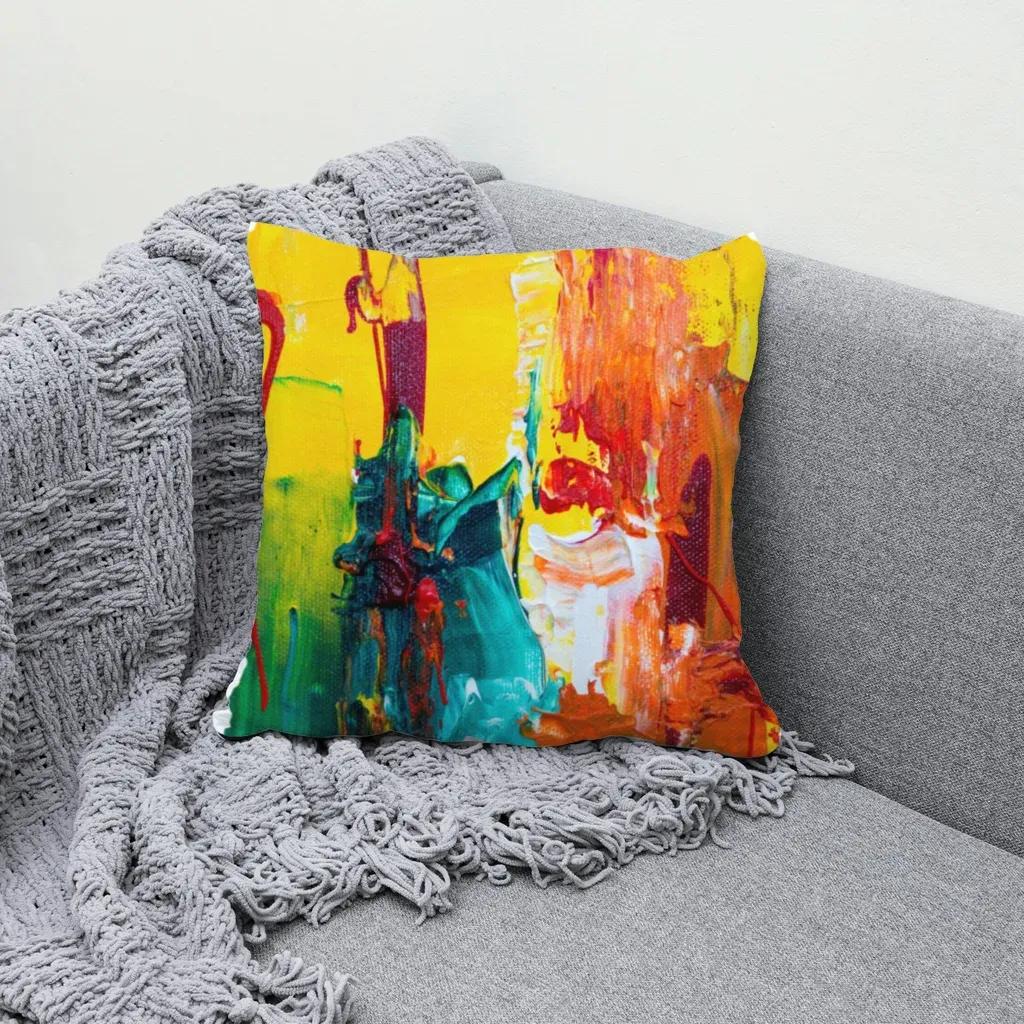
Same template, different design: once a pillow template is saved, every new design reuses its folds and lighting.
Try it on your new supplier's blanks #
If you're in the middle of a supplier switch, start with just one product: drop the new blank photo, drag a box, save, and render five designs. If the result looks right, batch the rest. MockupPress is free during open beta, with unlimited renders in your browser, and you don't need an account to create templates or render in bulk.
Frequently asked questions
Usually yes. Different suppliers use different blanks, cuts and color shades, so old mockups may not match what buyers receive. Matching photos reduce 'not as described' complaints and keep your listings honest.
Often, but check the supplier's terms first. The safest option is to order a sample and photograph it yourself, which also gives you a real, unedited product photo for your listing.
No. MockupPress doesn't recolor products. Use one blank photo per color and save each as its own template. The batch then renders every design onto every color in one run.
No. It produces a ZIP of images plus a manifest.csv. Use a file name pattern like {design}/{template} so each folder maps to one listing, then upload the images to your listings yourself.
MockupPress is free during open beta, with unlimited templates and renders in your browser, no account and no watermark. Images export at up to 1536 px on the long side.
More from QRdy Blog
How to Use a Displacement Map in Photoshop (So Your Design Follows Fabric Folds)
Make a grayscale displacement map from your product photo, apply Filter > Distort > Displace, and blend with Multiply so your design bends with real fabric folds. Includes fixes for maps that "do nothing."

How to Add a Border to a Frame in Canva (Even When the Border Option Is Missing)
Built-in Canva frames take a border in two clicks. Custom frames often don't show the option at all. Here is the native method, plus how to bake a border into custom shape, grid and letter frames.
What Is Word Art? Meaning, Types, and How to Make Photo Word Art in Canva
Word art is text styled to work as a graphic: outlined, 3D, curved, glowing or photo-filled letters. Learn the main types, what Canva's Effects already do, and how to fill letters with photos.