
How to Crop a Picture into a Circle in Canva (Step by Step)
Canva has no "crop to circle" button — you use a circle frame instead. Here are three ways to do it: the free built-in frame, a circle with a custom ring border, and a whole grid of circles at once.
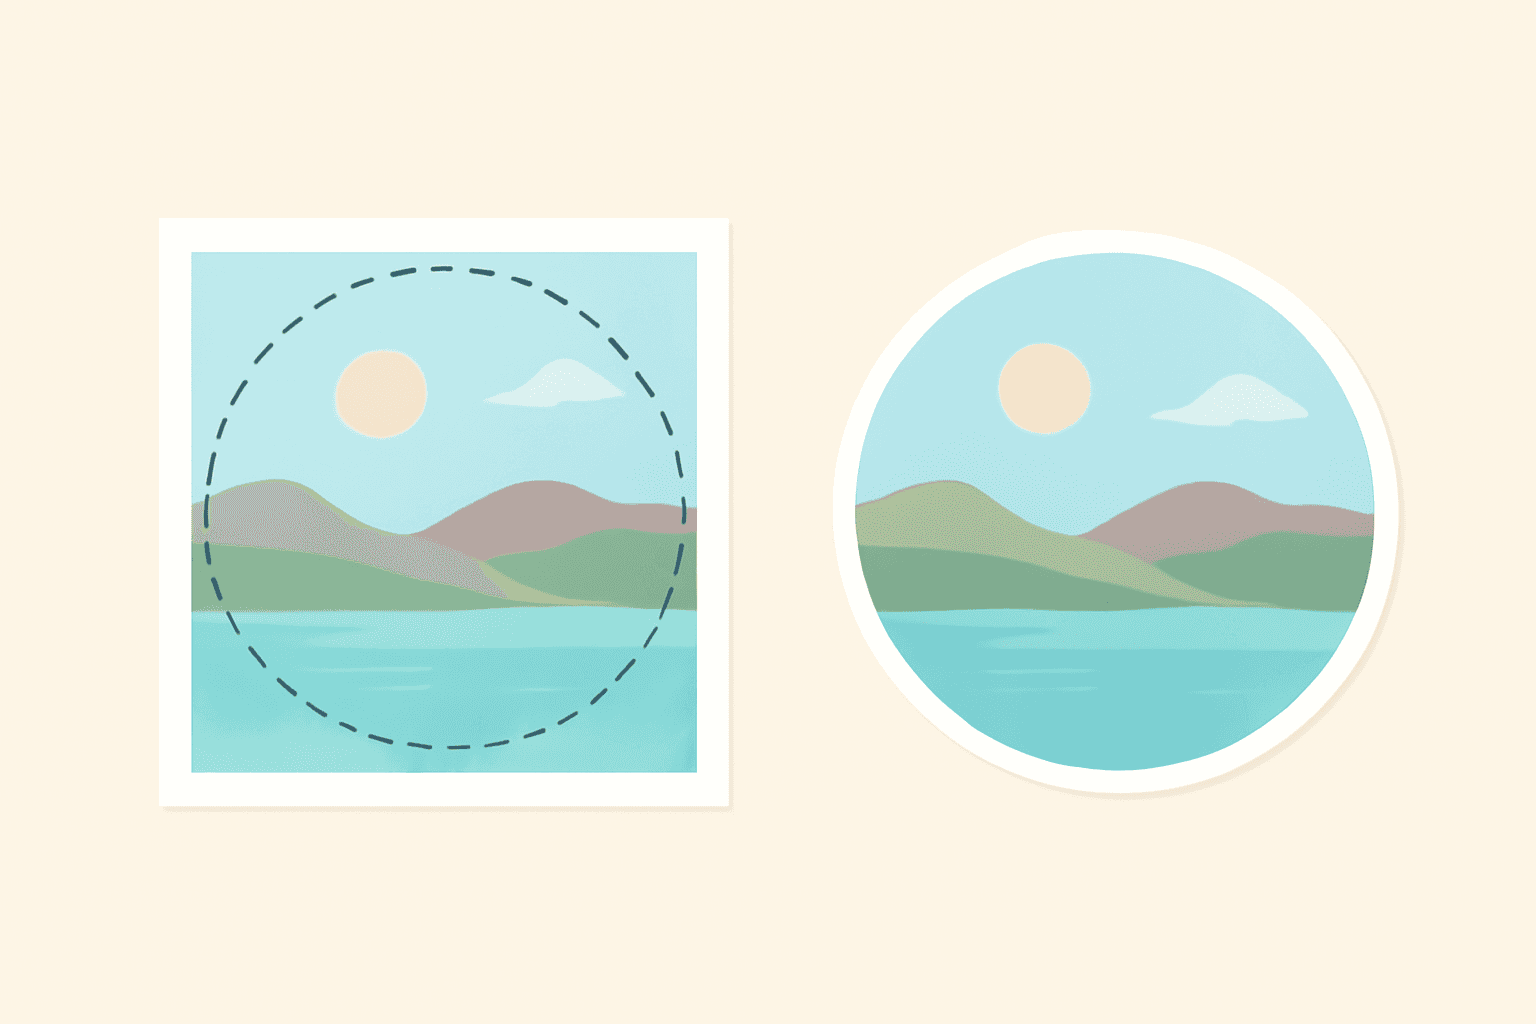
Searching "how to crop a picture into a circle in Canva" and finding nothing under the Crop button is a normal experience. Canva's crop tool only does rectangles. There is no circle option hiding in a menu somewhere.
The trick is that you don't crop the photo at all — you put it inside a circle frame. The frame does the cropping for you, and it's non-destructive, so you can reposition the photo inside the circle at any time without losing anything.
Here are three ways to do it, from the free 30-second version to the one that gets you a clean transparent PNG with a border ring.
Method 1: Canva's built-in circle frame (free, fastest) #
This is the method that covers about 90% of circle-crop needs — profile pictures, About-page headshots, avatar bubbles on a slide.
- Open your design and click Elements in the left sidebar.
- Type frames in the search box and press Enter, then open the Frames section.
- Find the plain circle frame and click it. It drops onto your page as an empty circle with a checkered placeholder.
- Drag the frame to the size you want. Hold Shift while dragging a corner so it stays a perfect circle instead of turning into an oval.
- Go to Uploads, then drag your photo directly onto the frame. It snaps inside and crops to the circle automatically.
- Double-click the circle to reposition. You'll see the full photo again with the circle highlighted — drag it around, pinch or use the zoom slider, then click outside to confirm.
That's the whole thing. If you only need a round profile picture, stop here.
One thing to check before you download: if you export this as a JPG, the corners outside the circle will fill in with your page background colour. For a true round cutout you need Share → Download → PNG with Transparent background ticked, which is a Canva Pro feature. Without Pro, set your page background to the exact colour of wherever you're pasting the circle and the seam won't show.
Method 2: A circle with a border ring (and a transparent background) #
Built-in frames have no border control, so the usual workaround is stacking a bigger circle shape behind the frame and using it as a ring. That works, but it breaks the moment you move one element and forget the other, and it's fiddly to repeat across ten team headshots.
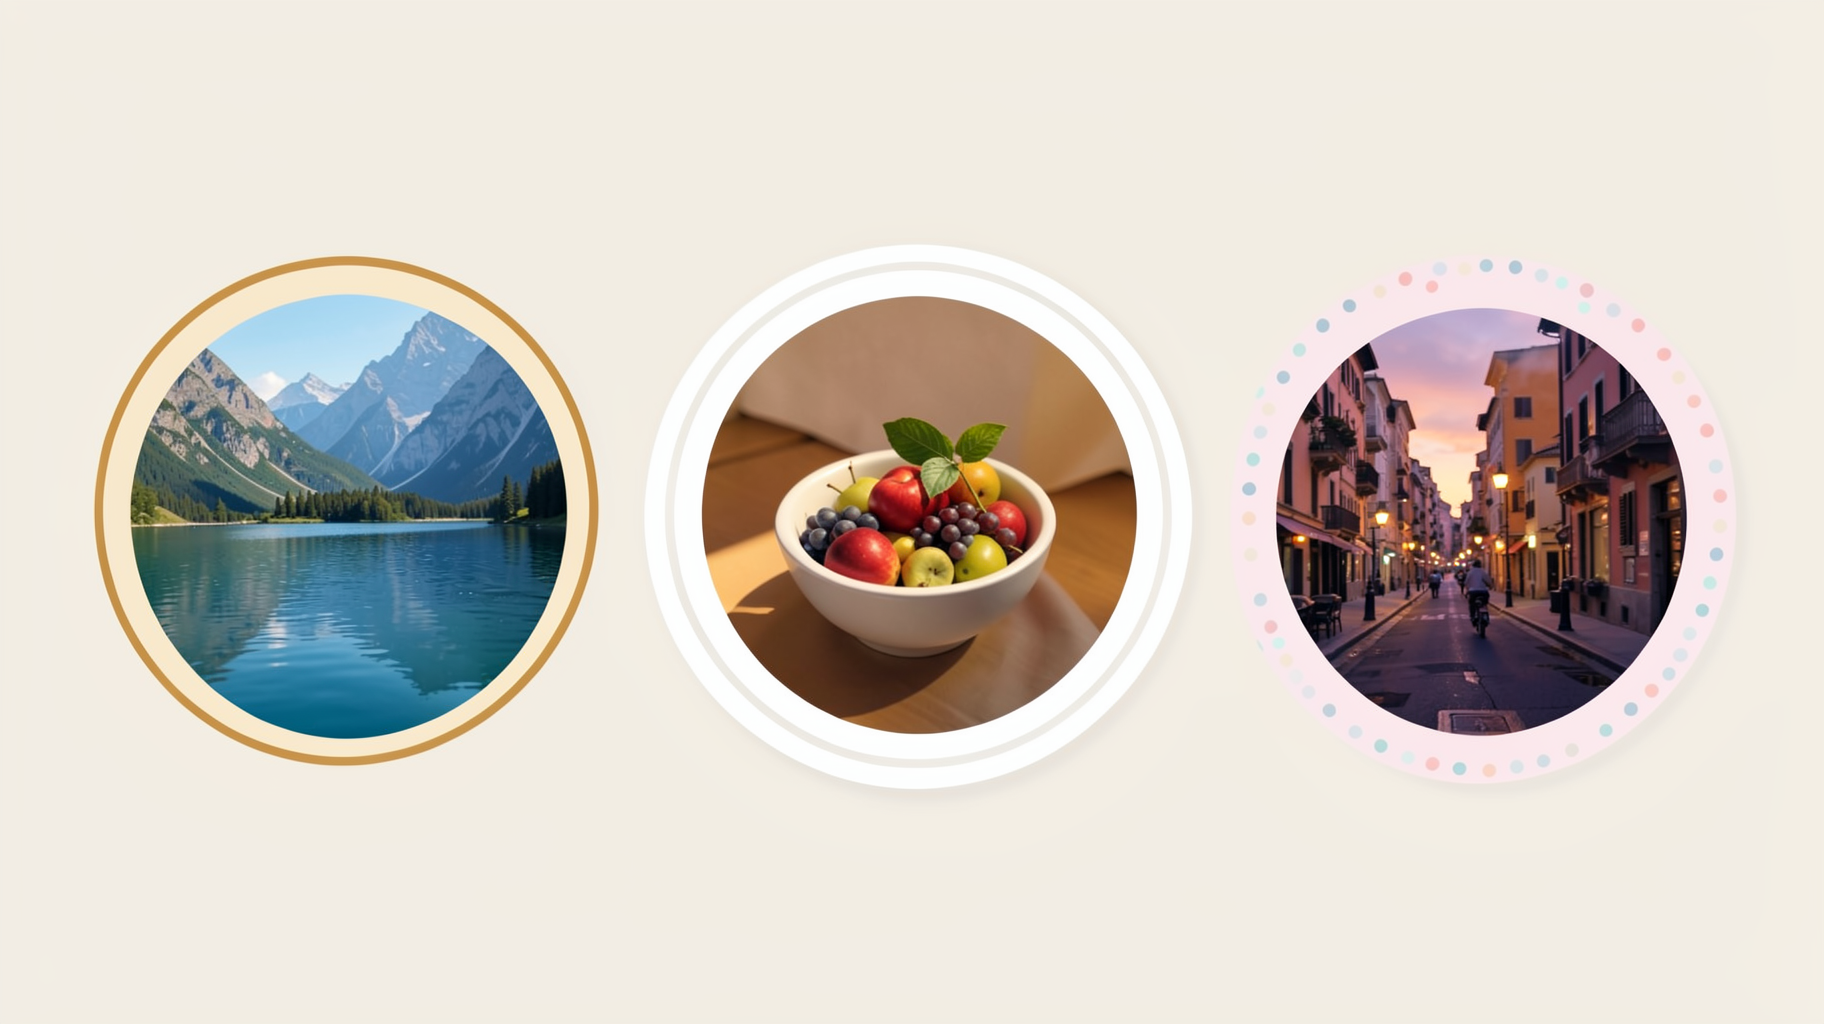
If you want the ring to be part of the frame itself, Image to Frame handles it in one pass. The app turns any PNG, SVG or JPG (up to 5MB) into a real Canva frame, and it has border colour and thickness controls built in.
- Make your circle source image. The quickest route: add a circle shape from Elements → Shapes onto a blank page, then in Image to Frame use Export design to send that page over as a transparent PNG. You can also upload a circle PNG you already have.
- Open Image to Frame from the Apps panel in Canva.
- Give it the shape using one of the three inputs — Upload a file, click a shape already on your page, or use Export design.
- Check the preview. If the circle looks wrong, clear it and try a different source.
- Set border thickness (the slider runs 0 to 50) and pick a border colour. Note that the border doesn't render in the preview — it only appears once the frame is in your design.
- Click Add frame to design, then drag any photo or video into it.
The critical detail is transparency: if your source image still has a white or coloured background, you'll get a rectangular frame, not a circle. Remove the background first, then convert.
Because it's a genuine Canva frame, you can duplicate it, swap the photo inside, and it keeps the ring — which is what makes it worth the extra step for a set of matching headshots.
Method 3: A whole grid of circles at once #
If you're building a circle collage, an Instagram highlight set, or a team page with nine round photos, adding nine frames by hand and aligning them is the slow way.
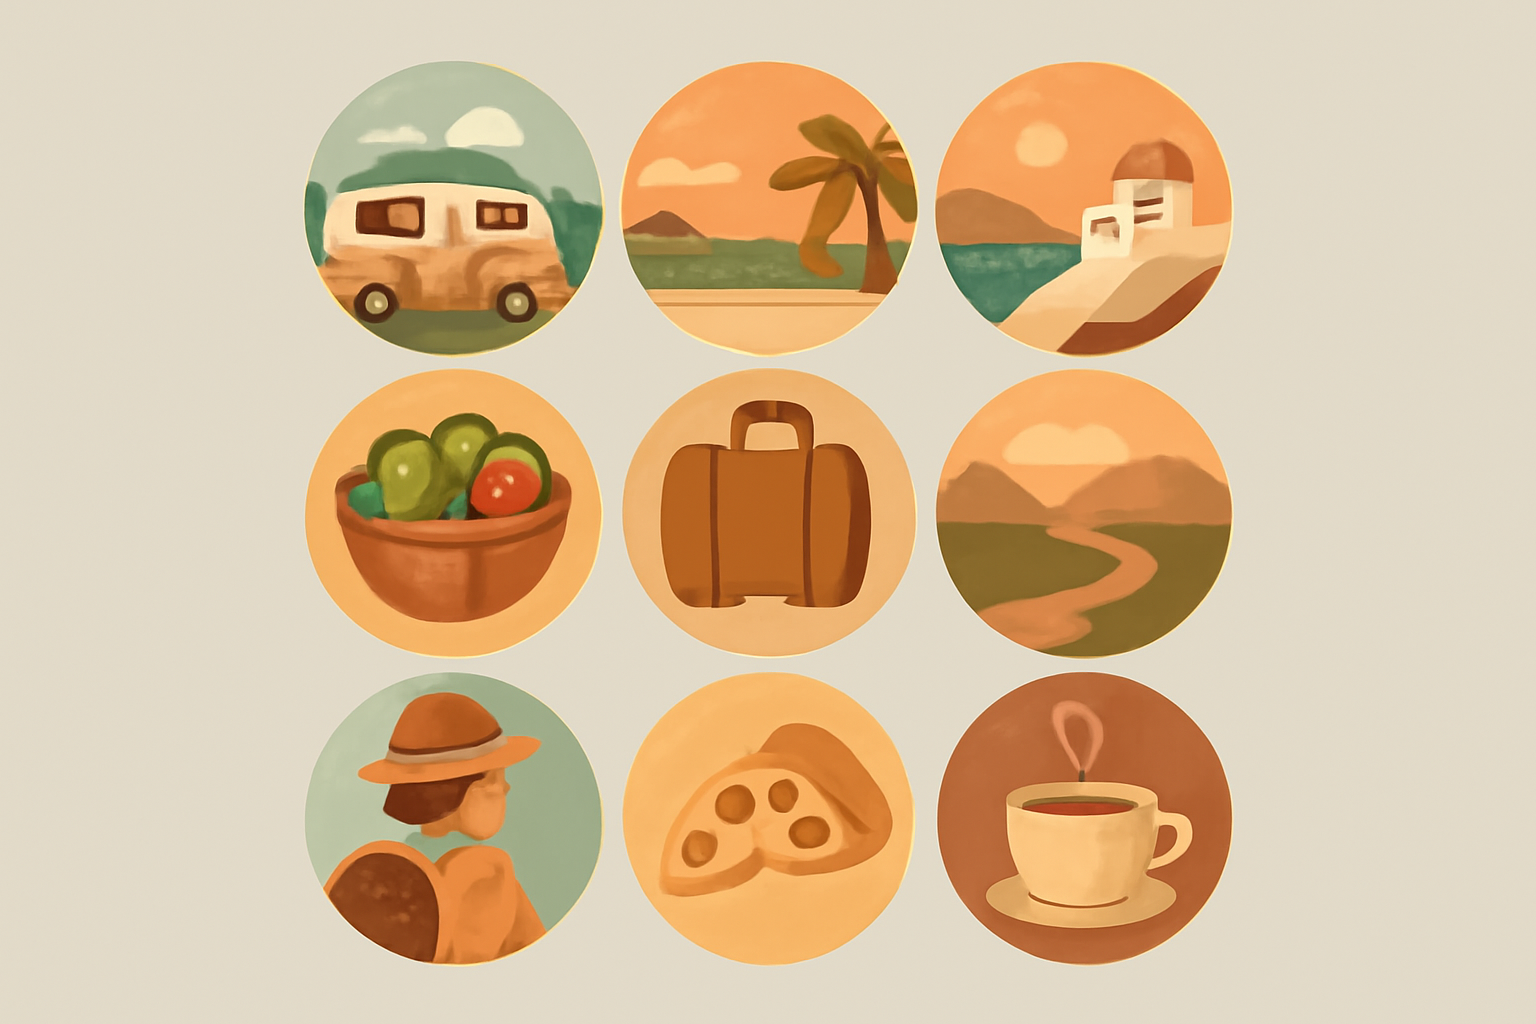
Frames Lab generates multi-cell frame layouts in one shot. Open the Create tab, pick Grid, set your columns, rows and gap, then click Add to design — you get an evenly spaced grid of frames that auto-fits your page size, and you drop a different photo into each cell.
Two useful notes: the Advanced options include corner rounding, which is how you push square grid cells toward circles, and the Explore tab has ready-made frame collections if you'd rather pick something than configure it. Grids over roughly 30 cells get blocked, so keep the layout reasonable.
Which method should you use? #
| You want | Use | Cost |
|---|---|---|
| A quick round profile picture | Canva's built-in circle frame | Free |
| A circle with a coloured ring baked in | Image to Frame border controls | Paid app |
| A transparent round PNG to reuse elsewhere | Any frame + PNG export with transparency | Canva Pro export |
| Six to nine circles in a tidy layout | Frames Lab Grid | Paid app |
| A one-off photo cut to a circle, no reuse | Clipping Mask | Paid app |
Five things that go wrong (and the fix) #
- The circle turns into an oval. Hold Shift while resizing, or set equal width and height in the position panel. Frames don't force a fixed aspect ratio.
- The photo won't drop in. You're dragging onto a shape, not a frame. Shapes fill with colour; frames show a checkered placeholder and accept images. Search "frames" specifically.
- The face is cut off. Double-click the frame and reposition — don't resize the frame to compensate, or you'll lose the perfect circle.
- Corners show white after download. JPG can't hold transparency. Use PNG with transparent background, or match the page background colour.
- The frame looks pixelated in print. The frame doesn't add resolution. Start with a photo that's large enough for your print size — see our guide to DPI if you're not sure what "large enough" means.
Where to go from here #
A circle is the easiest case of a much broader technique. Once you understand that a frame is just a shape that holds a photo, you can put a photo inside a star, an arch, a letter, or your own logo — the process is identical, only the shape changes.
If you want the wider version of this, start with how to fill a shape with a photo in Canva, or read what a frame in Canva actually is for the concept behind all of it.
Frequently asked questions
Not directly. Canva's crop handles only trim a photo to a rectangle. To get a circle you drop the photo into a circle frame from Elements → Frames, which crops it to the circle shape non-destructively — the full photo is still there, you're just choosing what part shows through.
You exported it as JPG, or as a PNG without transparency. JPG can't store transparency at all, so the area outside the circle fills in with the page background. Download as PNG and tick "Transparent background" (a Canva Pro option), or place the circle on a solid colour that matches wherever you're pasting it.
Canva's built-in frames don't have a border setting, so the common workaround is to put a slightly larger circle shape behind the frame and use it as a ring. If you want the ring baked into the frame itself, Image to Frame lets you set border colour and thickness (0-50) before you add the frame to your design.
Yes — the frame method works the same. Tap the + button, go to Elements, search "circle frame", tap to add it, then tap your photo from Uploads and drag it onto the frame. Double-tap the frame to reposition the photo inside.
Related products


More from QRdy Blog
10 Photo Name Art Ideas You Can Make in Canva (Words Filled with Photos)
Ten photo name art ideas for Canva: names, words and dates where every letter is filled with a different photo. Gifts, banners, posters and more, built with Text to Frames.
Photoshop Clipping Mask vs Text to Frames: Photo-in-Text in Canva
Filling text with a photo is a classic Photoshop trick. Here is how the Photoshop clipping mask compares with Text to Frames in Canva, and which one fits a quick title or banner.
The Best Canva Apps for Birth Announcements (2026)
Making a birth announcement in Canva? Here are the best Canva apps for it in 2026: custom photo shapes, name lettering, photo grids, borders, and a first-year calendar. Honest picks, with Canva's built-in tools included.