
10 Gallery Wall & Photo Display Ideas You Can Design in Canva
A gallery wall is a physical thing, but the two hardest parts — deciding the layout and designing the prints — happen on screen. Here are 10 photo wall and photo display ideas you can actually build in Canva, plus which app to reach for each time.
A gallery wall is a physical object. No app is going to hold the hammer for you. But the two parts people actually get stuck on — working out the layout before you commit holes to a wall, and designing prints that are worth hanging — both happen on a screen, and Canva handles both better than it gets credit for.
What follows is ten ideas, each with the specific tool and the specific setting that does the work. Some are classic multi-frame gallery walls. Several are the opposite: one print doing the job of nine frames, which is usually cheaper, always faster to hang, and much easier to get level.
First, the three numbers that decide everything #
Before any of the ideas below, it helps to know the conventions that make a wall look deliberate rather than accidental:
- 57–60 inches to the centre. Gallery hangs are centred at roughly eye level, not measured from the ceiling. For a group, treat the whole cluster as one rectangle and centre that at 57–60 in.
- 2–3 inches of gap. Consistent spacing is what reads as "designed." Wider than about 3 in and the group stops reading as one piece.
- Two-thirds the width of the furniture below it. A cluster above a sofa should span roughly two-thirds of the sofa, not the whole wall.
Everything else is taste. Keep those three fixed and almost any arrangement works.
1. Mock up the entire wall to scale before you buy a single frame #
This is the idea that saves the most money, and almost nobody does it.
Set your Canva page to the actual dimensions of the wall area — 48 in × 36 in, say. Then open Frames Lab, go to Create → Grid, and set the columns, rows and gap to match the arrangement you have in mind. Because Frames Lab frames auto-scale to whatever page is open, the result is proportionally accurate: a 2 in gap on your page is a 2 in gap on the wall.
Drop your actual photos into the cells and you can see, before spending anything, whether five frames is too crowded or three is too sparse. This is the honest answer to the "gallery wall layout generator" everyone is searching for — it is not a dedicated tool, it is a grid on a correctly-sized page.
2. One collage print instead of nine separate frames #
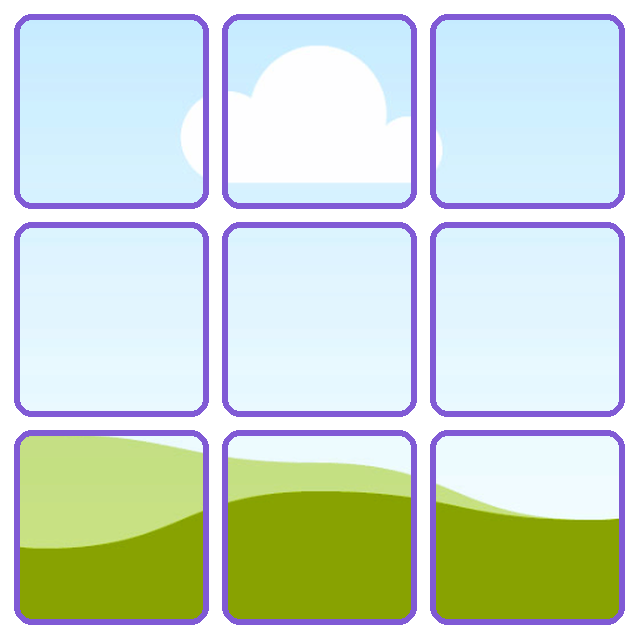
Nine frames means nine nail holes, nine chances to be crooked, and nine frames to buy. One large print in one frame gives you the same look for a fraction of the effort.
Use Frames Lab → Grid, set your columns and rows, and open Advanced — the merge option lets you combine cells so one photo can occupy a hero position while the rest stay small. Rounded corners live in the same panel. Note the ceiling: grids beyond roughly 30 cells get blocked, so if the preview refuses, reduce the rows and columns rather than fighting it.
3. The arch print #
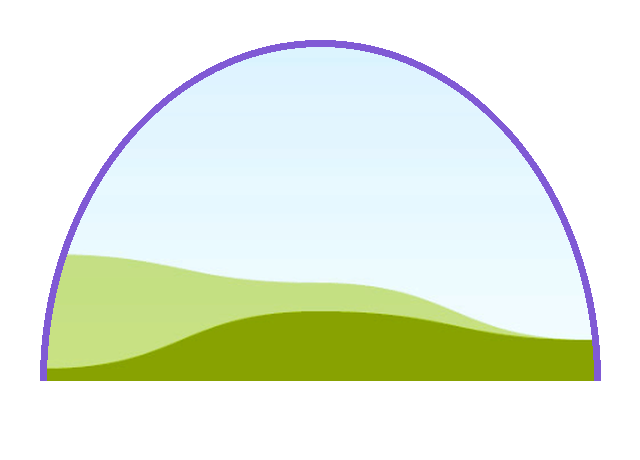
Arched prints are the single most requested shape in home decor right now, and Canva has no arch frame built in.
Frames Lab → Arc gives you two controls that matter: Pill (how much of a circle the arc covers, in degrees — 180° for a clean half-round top) and Start (which angle the arc begins at, i.e. which way it faces). Add a border from the same panel if you want a mat effect, then drop a vertical photo in. A pair of these flanking a doorway is a five-minute job.
4. Split one photo across three frames (a triptych) #
A wide landscape or a family shot cut into three panels and hung with even gaps looks far more expensive than it is.
The reliable way to do it: create three pages at your print size, place the same photo across all three, and nudge it so each page shows its own third — then account for the frame gap by leaving a sliver of overlap. Alternatively, generate a 3×1 grid in Frames Lab with a large gap, drop the photo into each cell and crop each one manually. Print, frame, hang with the gap you designed for. The illusion breaks if the wall gap doesn't match the design gap, so decide the gap first.
5. A name or a word above the sofa, filled with photos #
Instead of a photo of the family, a print that spells the family name with a different photo inside every letter.
Text to Frames is built for this. Type the word (there is a 200-character cap — longer and you get "Text is too long"), turn on Split into letters, and each character becomes its own Canva frame you can fill independently. Five fonts are free, including Playfair Display, which is the right choice for anything going in a frame. Letter spacing runs from −100 to 100, and negative values overlap the letters if you want a monogram feel.
Busy photos disappear inside thin letters — pick a heavy font, or crop each photo to one simple subject.
6. A photo cut to the shape of something that means something #
Your house. Your state. Your dog's silhouette. A photo that is shaped like the thing it's about.
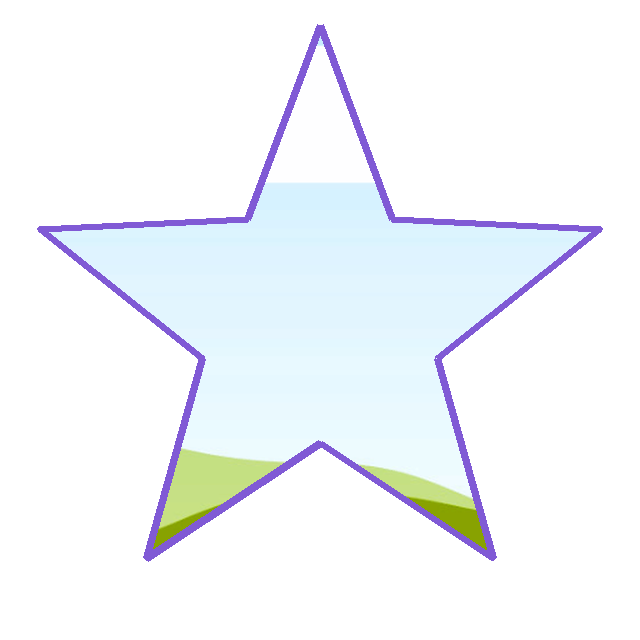
Image to Frame turns a PNG, SVG or JPG (up to 5 MB) into a real Canva frame you can drop a photo into. Three rules make or break it:
- Remove the background first. A JPG never carries transparency, so a JPG with a white background becomes a rectangular frame every time. Run Canva's Background Remover, or start from a PNG or SVG.
- Prefer SVG for complex outlines. Very tangled curves can fail to convert; a simplified vector goes through cleanly.
- The border renders after you add it. The border slider (0–50, plus a colour) shows nothing in the preview panel — it only appears once the frame is in your design. That is expected, not a bug.
7. A staircase run that actually follows the stairs #
Staircase galleries fail when the frames march up in a straight horizontal line while the stairs climb at an angle.
Frames Lab → Diagonal builds a grid on a slant, with controls for spacing, gap and angle. Measure the rake of your staircase (a phone level app will tell you, usually around 30–37°), set the angle to match, and design the run as a single piece. Even if you end up hanging separate frames, having the angled mock-up means you can mark the wall correctly the first time.
8. A sunburst cluster #
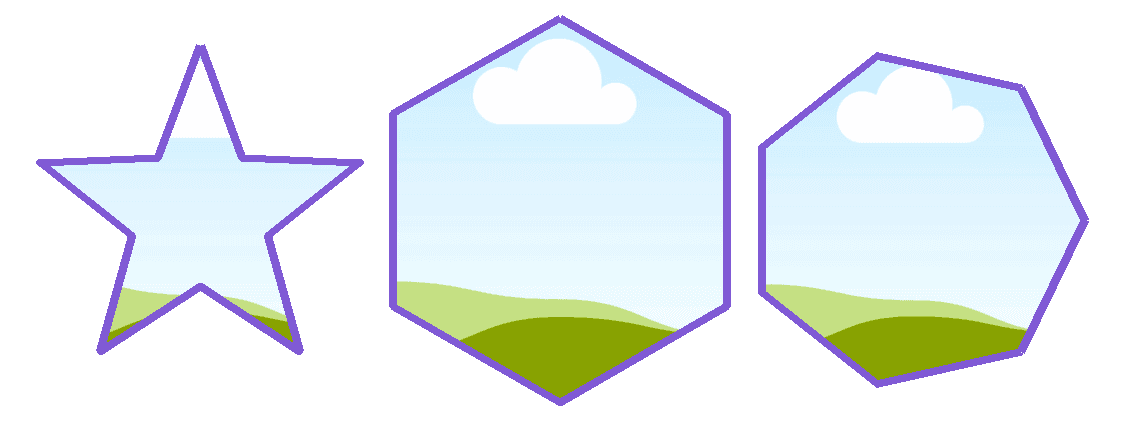
Frames Lab → Burst generates radiating, firework-style frame clusters. The controls are Style, Density, Size, Spread, Variation and Distribution, plus Preview items (2 to 10 previews at once).
One thing to know: the results are fully random and regenerate every time you change a setting. When a preview you like appears, click it immediately — nudging one slider to "improve" it will lose it forever.
9. A wall piece that changes every month #
A photo calendar is the only wall art with a built-in reason to be updated, which makes it a good anchor for a wall that would otherwise be static.
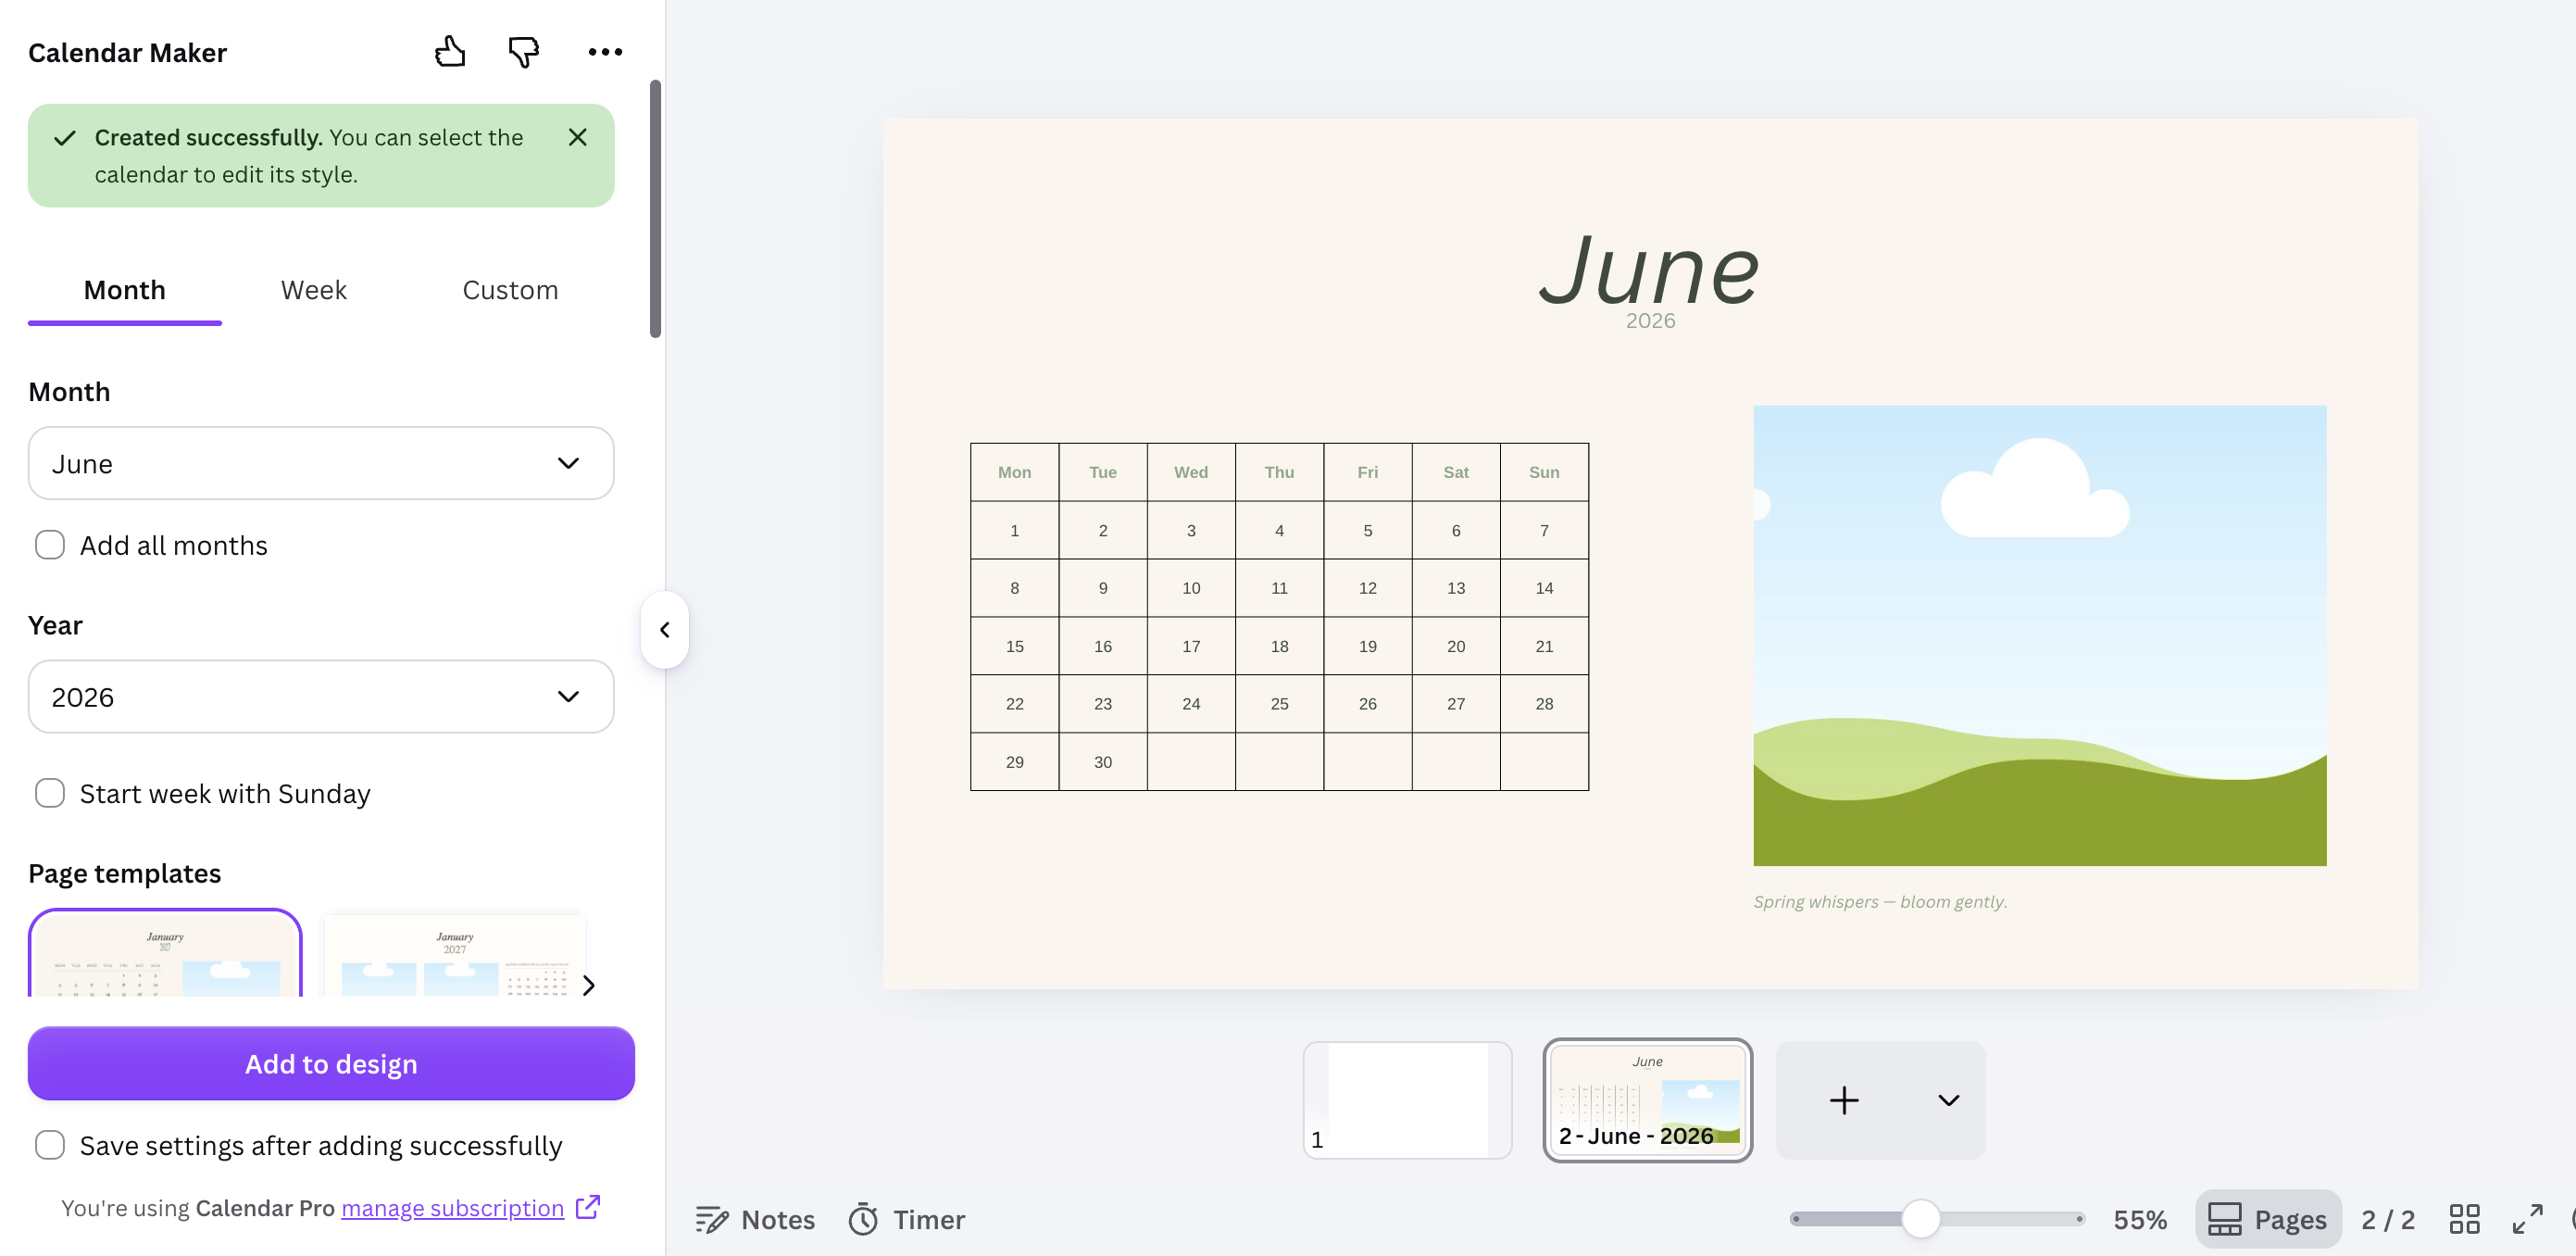
Calendar Maker generates the date grid you would otherwise draw by hand. The Month tab covers ±10 years, Add all months builds a full year in one go, and Each month on its own page gives you twelve pages ready to print. There are around 14 themed page templates and 30+ colour palettes, and you can style header text and date numbers separately (font, bold/italic/underline, alignment, size 1–100, colour) with a header bar and two alternating row colours.
Worth knowing before you plan around it: the Add to design button is Pro-gated — free users see "Unlock to use."
10. Display photos without buying frames at all #
Frames are the expensive part. Three ways around them:
- One bordered print. Design a single large print with a decorative border built in, so the print supplies its own "frame." Border Art Maker repeats dots, icons or images around the edge and distributes them evenly, with spacing and rotation controls.
- A washi-tape grid. Print a set of identical-sized photos, tape them directly to the wall in a grid. This lives or dies on consistent sizing, so lay the set out on one Canva page at the exact print size first.
- A clip line. Print photos in a strip, peg them to a wire. Design the strip as one long page and cut it up — every photo ends up the same width automatically.
For any of these, run the whole set through Color Harmony (six harmony types, applied to a page in one click) so the photos read as a collection rather than a pile.
Which app for which idea #
| What you want | App | The setting that matters |
|---|---|---|
| Scale mock-up of the wall | Frames Lab | Grid mode, page set to real wall size |
| One big collage print | Frames Lab | Grid → Advanced → merge cells |
| Arch print | Frames Lab | Arc → Pill degrees + Start angle |
| Staircase run | Frames Lab | Diagonal → angle matched to stair rake |
| Sunburst cluster | Frames Lab | Burst → Density / Spread / Variation |
| Name in photo-filled letters | Text to Frames | Split into letters |
| Photo cut to a custom shape | Image to Frame | Remove background before converting |
| Monthly wall calendar | Calendar Maker | Month tab → Add all months |
| Decorative print border | Border Art Maker | Spacing + rotation |
| Consistent palette across a set | Color Harmony | Apply colours to page |
What Canva already does well #
Worth being straight about this, because you may not need any app at all:
- Native Frames and Grids are free, and they work on mobile. If your wall is a plain rectangle grid, Canva's own Grids do exactly that job. The apps earn their place when you need an arc, a slant, a burst, a custom silhouette, or precise numeric control over rows, columns and gaps.
- Background Remover is built in and is the single most useful thing here — it's what makes a custom-shape frame come out shaped instead of rectangular.
- There are hundreds of collage and photo-wall templates already in Canva. If one is close to what you want, editing it beats building from scratch.
- Brand Kit keeps colours consistent if you're doing this for a client or a business space.
Five things to check before you print #
- Set the physical page size first. App-generated frames scale to whatever page is open, so resizing at the end throws off every gap you carefully set.
- Judge the layout at 25–30% zoom. That's roughly how a wall reads from across a room. Arrangements that look busy at 100% often resolve at a distance, and vice versa.
- Then check each photo at 100%. Enlargement is unforgiving — a phone photo that's fine at 5×7 can look soft at 16×20.
- Cut paper rectangles and tape them up. Ten minutes with newspaper and painter's tape catches the "it's too high" problem before it becomes holes.
- Export as PDF Print for anything going to a print shop, and remember that downloading a PNG with a transparent background requires Canva Pro.
Related reading #
- How to Make a Photo Collage in Canva — the step-by-step for idea #2
- How to Fill a Shape with a Photo in Canva — the mechanics behind ideas #3 and #6
- What Is a Photo Collage? — collage types and when each one fits
- How to Fill Each Letter with a Different Photo in Canva — idea #5 in full
Start with idea #1 even if you only want one print out of this. Twenty minutes mocking the wall to scale is the difference between a wall you keep looking at and one you quietly stop noticing.
Frequently asked questions
Not on its own, but you can force it to. Set your Canva page to the real dimensions of the wall area (for example 48 in x 36 in), then build the arrangement on that page. Because frames added by apps like Frames Lab auto-scale to the open page, a grid you generate there is already proportionally correct — 2 in of gap on screen is 2 in on the wall. Print the page at a known scale, or just read the measurements off Canva's ruler, and you have your hanging plan.
For most of it, no. Frames Lab, Image to Frame and Text to Frames all have free usage, and Canva's own Frames and Grids are free. Three things do sit behind a paywall: downloading a PNG with a transparent background is a Canva Pro feature, Calendar Maker's Add to design button is Pro-gated (free users see "Unlock to use"), and the Blur / Border / Inner shadow effects in Text to Frames and the Frames Lab Style tab are Pro. You can plan and design a whole wall without paying; you may hit a limit on polish.
Set the physical size in Canva before you design, not after — the apps scale their frames to whatever page is open, so resizing at the end distorts your spacing. Common print sizes are 5x7, 8x10, 11x14 and 16x20 inches. Before you export, zoom to 100% and look at each photo: a picture that looks fine at 30% zoom can be visibly soft once it is 16 inches wide. Export as PDF Print for anything going to a print shop.
Partly. Canva's built-in Frames and Grids work in the mobile app — you can tap a frame, replace the photo and double-tap to crop. But the frame-creating apps (Frames Lab, Image to Frame, Text to Frames, Border Art Maker) run in the sidebar of the desktop editor, so they are not available on mobile. The usual workaround is to build the frames once on a desktop, save the design, then swap photos in and out from your phone later.
Related products


More from QRdy Blog
Word Calendar Template vs Canva Calendar Maker: Which Should You Use?
Microsoft Word calendar templates are fast and familiar; Canva's Calendar Maker app is built for good-looking, printable calendars. Here is an honest side-by-side, with a clear verdict for each use case.
The Best Canva Apps for Invitations (2026): Birthday, Baby Shower & Party
Canva's invitation templates get you 80% of the way. These Canva apps cover the rest: custom photo shapes, monogram letters, borders, palettes and RSVP QR codes.
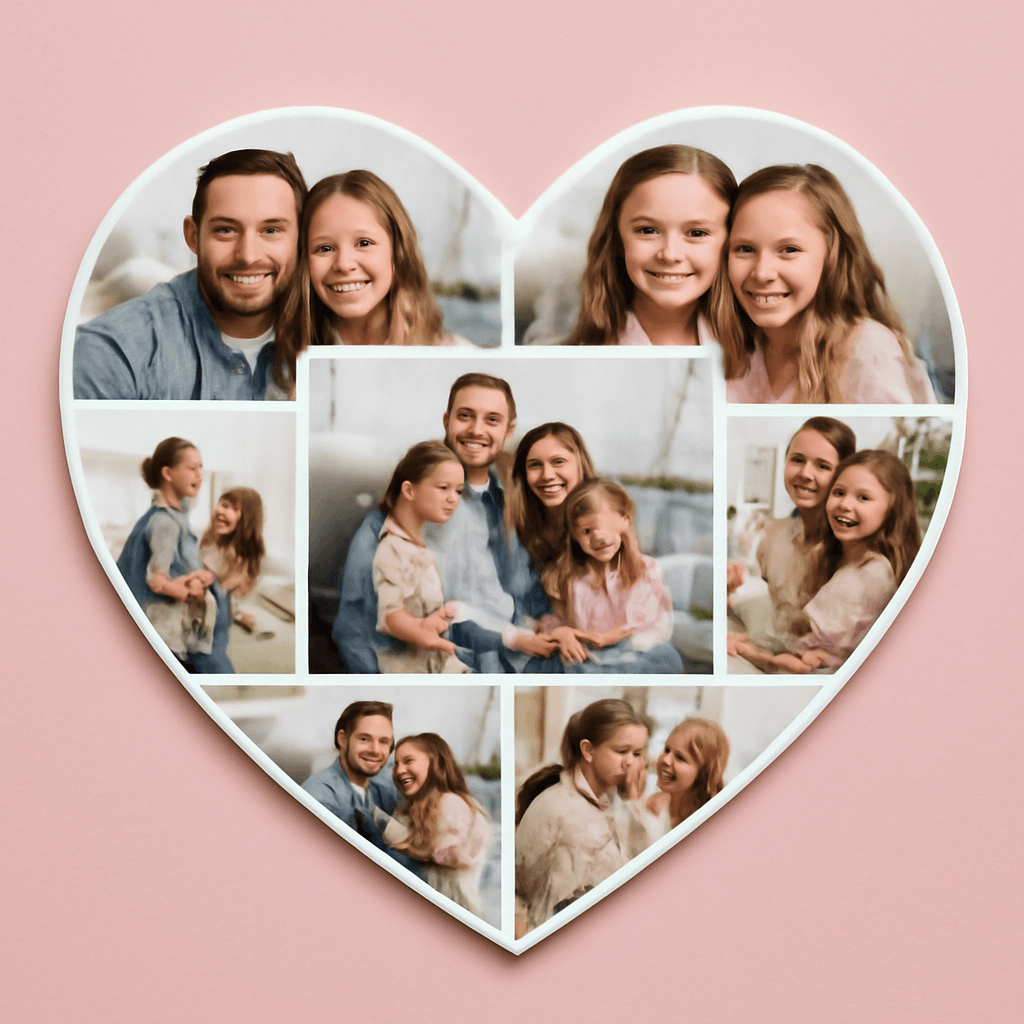
How to Put a Photo in a Heart Shape in Canva (3 Easy Ways)
Want a heart-shaped photo in Canva? Use the built-in heart frame, turn any heart graphic into a custom frame with Image to Frame or Frames Lab, or build a heart collage. Step-by-step for each.