
How to Make a Mockup in Photoshop (Smart Object Steps) — Plus a Faster Way From a Plain Photo
Step-by-step: use a mockup PSD's smart object, or build your own Photoshop mockup from a product photo with Warp, Multiply and a displacement map. Plus when a plain-photo tool is faster for bulk.
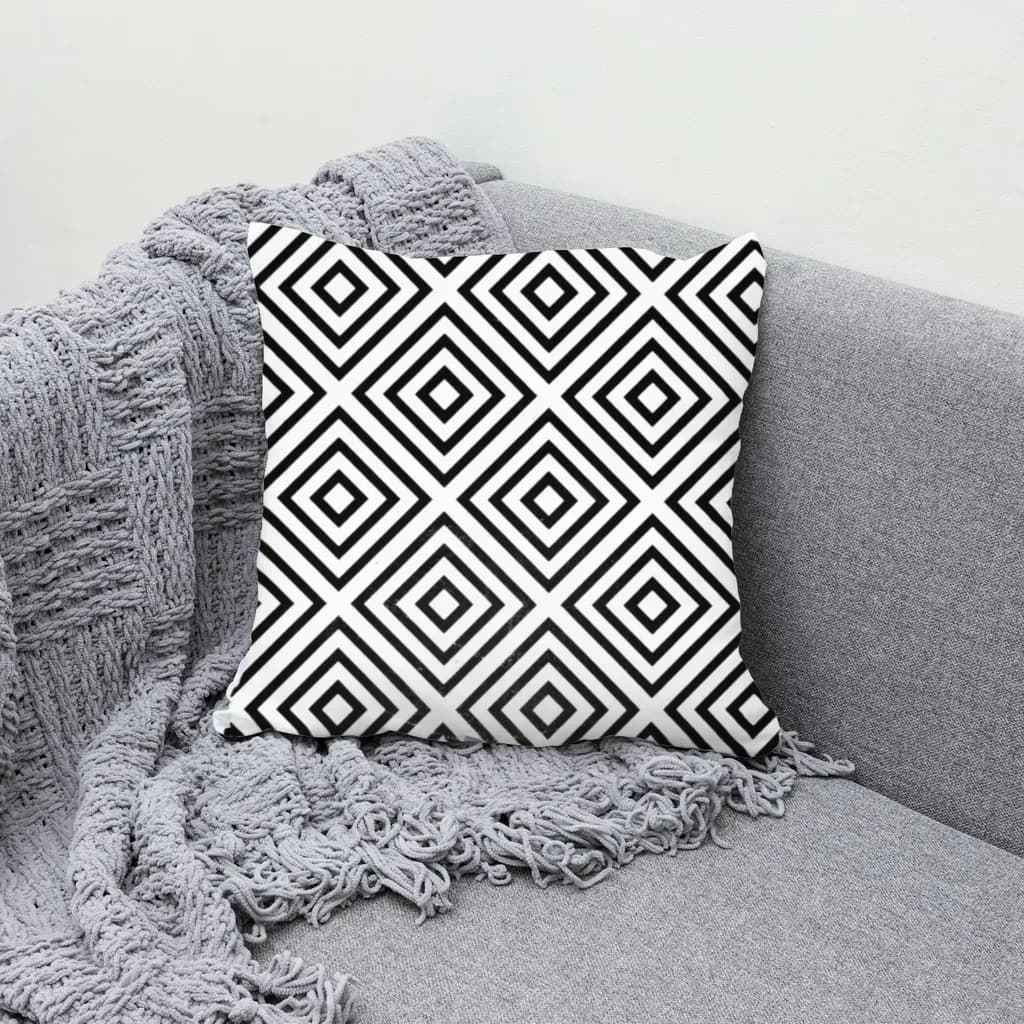
To make a mockup in Photoshop, open a mockup PSD, double-click the smart object thumbnail in the Layers panel, place your design in the window that opens, save, and close it. The main file updates with your art. With no PSD, you build the smart object yourself: place the design, warp it, set the blend mode to Multiply, and add a displacement map.
Photoshop is still the standard tool for product mockups, and the smart object workflow works well once you have seen it once. This guide covers both ways: using a ready-made PSD and building your own from a product photo. At the end we look at when a plain-photo tool is faster, mostly when no PSD matches the product you sell or when you need dozens of designs on several products. If you are new to mockups, start with what a mockup is and how print-on-demand sellers use them.
Part 1: Use a mockup PSD (smart object steps) #
Most mockup templates you download, free or paid, work the same way. The designer has already set up the warp, shadows and lighting. You only swap the artwork.
- Open the PSD. Check the size first (Image > Image Size). Most templates are 3000–5000 px, which is plenty for marketplace listings.
- Find the smart object layer. In the Layers panel, look for a layer whose thumbnail has a small page icon in the corner. It is usually named something like "Your design here" or "Place artwork".
- Double-click the smart object thumbnail. Photoshop opens the contents in a new tab (a .psb file). This flat canvas is where your design lives before it gets warped.
- Place your design. Use File > Place Embedded, or drag the PNG onto the canvas. Scale it with Free Transform (Ctrl/Cmd + T) and hide the placeholder layer. A transparent PNG works best on colored products.
- Save and close the .psb. Press Ctrl/Cmd + S, then close the tab. Back in the main file, the design now follows the folds, curve and lighting of the product.
- Adjust if needed. Many templates come with a color layer for the product, a shadow layer, or a background you can toggle.
- Export. File > Export > Export As (JPEG or PNG). Use the exported file for your listing, not the PSD.
Tips
- If the design looks blurry, the smart object canvas is smaller than your art. Check the .psb size and export your design to match it.
- To make the next design faster, keep the .psb tab open, replace the layer, and save again. Every save updates the main file.
- Read the template license. Many free PSDs allow personal use only, or require credit.
Part 2: Make your own mockup in Photoshop from a product photo #
When no PSD matches the blank you actually sell (your supplier's mug, the exact cap color, a pillow on your own sofa), you can build the template yourself. It takes longer the first time, but you can reuse it afterwards.
- Open the product photo. A straight, evenly lit photo of a plain product is easiest. Your supplier's blank photo works if you have the right to use it.
- Make a displacement map. Duplicate the image (Image > Duplicate), desaturate it (Image > Adjustments > Desaturate), add a light Gaussian Blur (1–3 px), and save it as a separate PSD. Photoshop uses the dark and light areas of this file to push the design into the folds.
- Place the design. Go back to the original photo and use File > Place Embedded. The placed file becomes a smart object automatically, so you can replace it later.
- Shape it to the surface. Use Edit > Transform > Perspective or Distort for flat surfaces seen at an angle. Use Edit > Transform > Warp for curves: mugs, caps, pillows and draped fabric. Drag the grid handles until the design follows the edges of the print area.
- Set the blend mode. Change the design layer to Multiply (or Linear Burn for a slightly stronger result). The shadows and fabric texture of the photo then show through the print. On dark products, Multiply can make the print look muddy. Sellers often use Normal mode with a lower-opacity copy of the shading on top.
- Apply the displacement. Run Filter > Distort > Displace on the smart object, choose your map file, and start with a small value (5–15). Because the layer is a smart object, the filter stays editable.
- Mask the print area. Select the product with the Object Selection or Quick Selection tool, then add a layer mask to the design so nothing spills past the edges, a hand, or a mug handle.
- Group and save as your template. Keep the design smart object, mask and adjustment layers in one group. Next time you only replace the smart object contents.
Bulk in Photoshop: if you need many designs, Photoshop's Image > Variables and File > Export > Data Sets as Files can swap image layers from a list. Actions can do the same. Both work, but they take some setup, and you need one template per product photo.
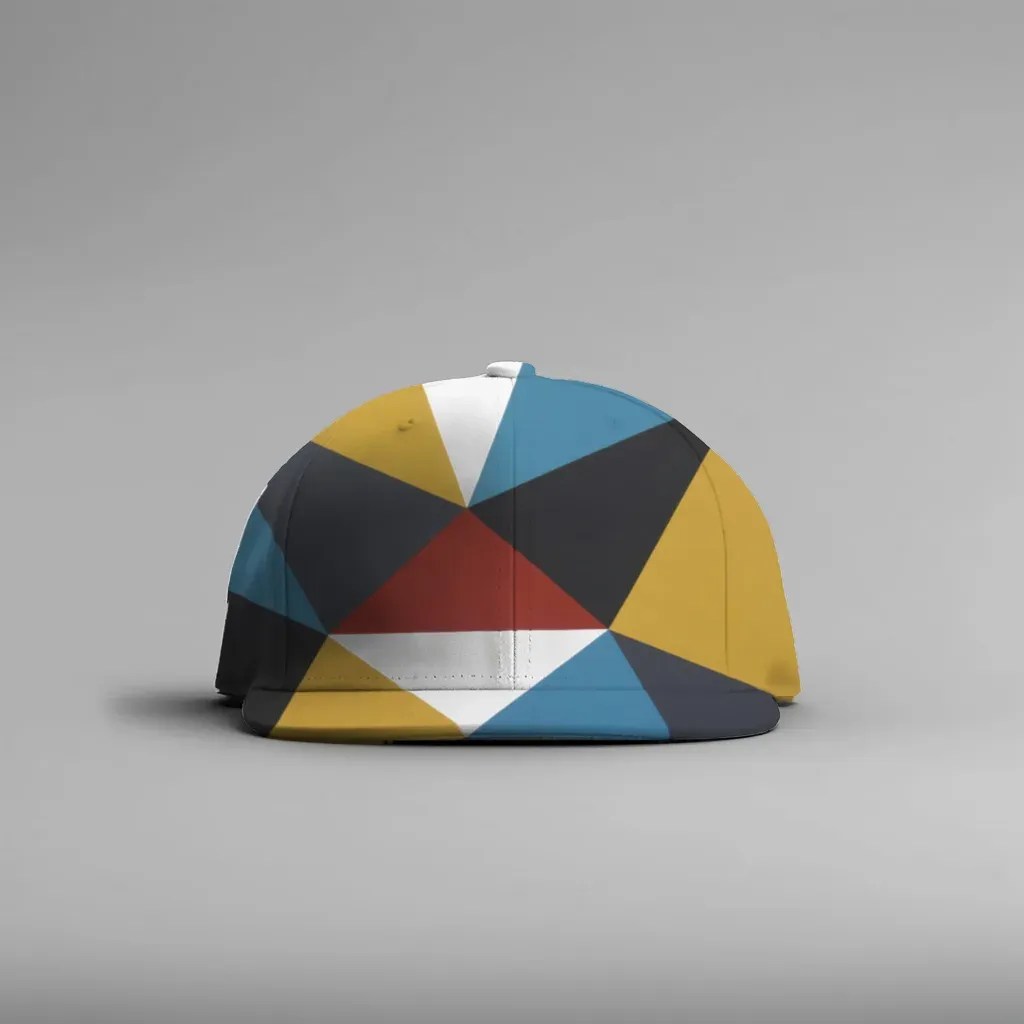
A curved cap is where Warp takes the most time in Photoshop. This render was made from a plain cap photo with a cylinder surface instead of hand-warping.
When a plain photo is faster than a PSD #
Photoshop gives you full control. It is slow in two cases:
- No PSD matches your product. You sell your supplier's exact blank, but the templates show a different shape, color or angle. Building your own takes steps 1–8 above for each photo.
- You need N designs × M products. Twenty designs on three products is 60 mockups. Even with smart objects, that means many saves and exports, or a Variables setup.
This is the gap MockupPress fills. It is a web app that works from a regular product photo:
- Drop a photo of a plain product.
- Drag a box around where the design will print. The app cuts the product from the background, snaps to its edges, picks a surface type (Flat with perspective, Cylinder for mugs and caps, or a free mesh for fabric), and reads highlights, shadows and folds from the photo itself.
- Save the template. If the automatic result is off, Edit has three tools: the Grid (drag mesh points), an Add/Subtract brush for the print area, and Highlights/Shadows/Edge sliders.
- Render in bulk. Pick templates, select designs from your library, and download one ZIP with every mockup plus a manifest.csv.
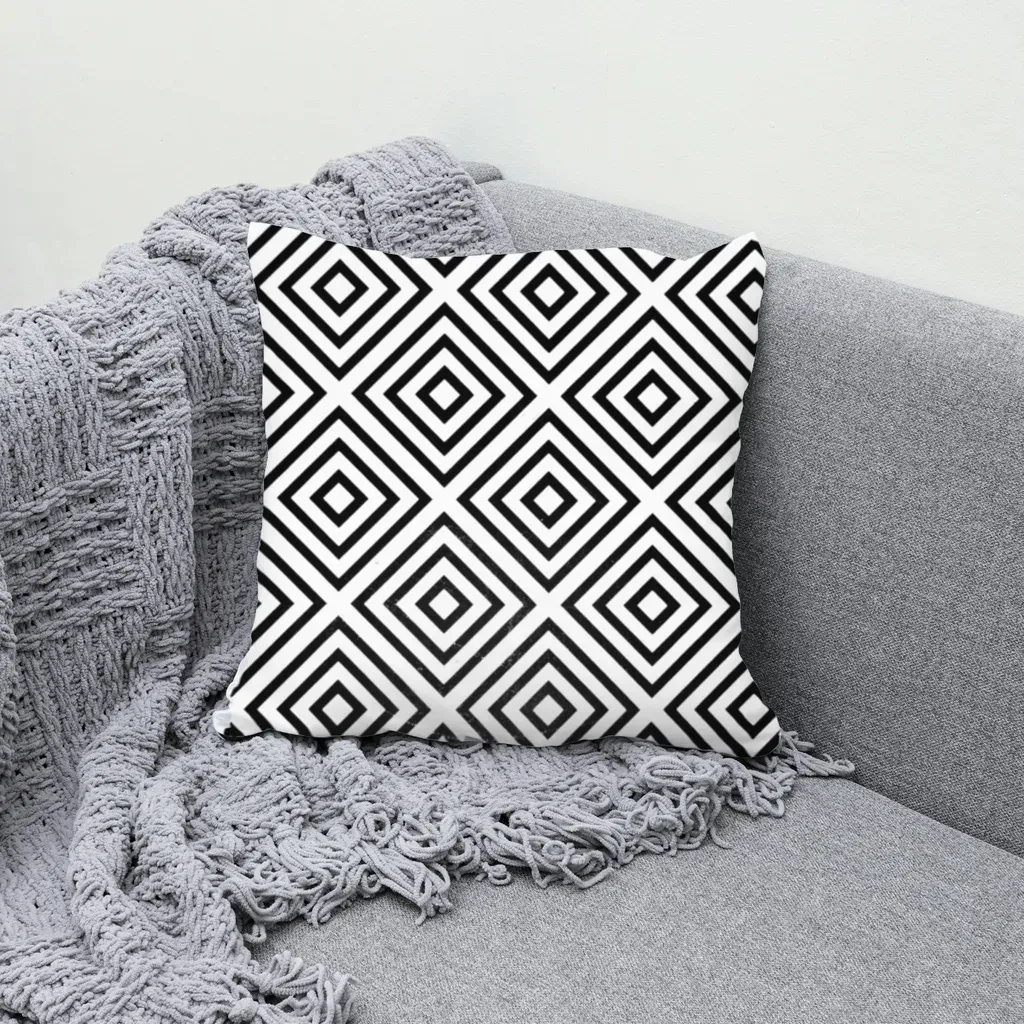
Straight lines show distortion clearly. On this pillow render the pattern bends with the cushion, the same effect a displacement map gives in Photoshop.
If you want to try it on your own product photos, make mockups from a plain photo in your browser. It is free during open beta, with unlimited renders, and you can open the app directly at mockuppress.qrdyai.com. For a full walkthrough of the browser method, see how to make a mockup without Photoshop.
Photoshop vs a plain-photo tool: how they differ #
| Photoshop + PSD template | Photoshop, your own template | Plain-photo tool (MockupPress) | |
|---|---|---|---|
| Starting point | A PSD someone else made | Your product photo | Your product photo |
| Setup per product | None (if a PSD fits) | 15–45 min of warp, map, mask | One box, plus fixes if needed |
| Realistic folds and shading | Yes | Yes, with a displacement map | Yes, measured from the photo |
| Many designs at once | Variables or actions | Variables or actions | Built in: N designs × M templates, one ZIP |
| Max output size | Size of the PSD (often 3000+ px) | Size of your photo | 1536 px on the long side |
| Fine control | Full: layers, color, effects | Full | Limited to grid, brush, light sliders |
| Cost | Photoshop subscription | Photoshop subscription | Free during open beta |
Honest verdict: use Photoshop when you need very large files, product color changes, custom effects, or one hero image you will polish by hand. MockupPress has no ready-made mockup library and cannot change product color (one color needs one photo). Its output is capped at 1536 px, it needs a browser with WebGL2, and your templates are stored in that browser. A plain-photo tool is faster when you have the product photo but no matching PSD, or when the job is the same few products repeated across a large design catalog.
Common Photoshop mockup mistakes #
- Design floats on top. The blend mode is still Normal. Switch to Multiply, or add a shading layer.
- Edges spill over seams or hands. Add a layer mask instead of erasing pixels, so you can still replace the design.
- Displacement looks like noise. The map is too sharp or the value too high. Blur the map more and lower the value.
- Colors shift after export. Export as sRGB (Export As has a "Convert to sRGB" option) so marketplace listings show the same colors.
Frequently asked questions
Double-click the smart object thumbnail in the Layers panel, place your design in the .psb tab that opens, hide the placeholder, then save (Ctrl/Cmd + S) and close the tab. The main file updates with your design warped to the product.
Yes. Open a plain product photo, place your design as a smart object, shape it with Perspective or Warp, set the blend mode to Multiply, apply a displacement map made from a desaturated copy of the photo, and mask it to the print area.
Usually the design layer is still in Normal blend mode, or there is no displacement map, so it sits flat on top of the folds. Switch to Multiply or Linear Burn, add a light displacement, and mask the edges.
Use Image > Variables with File > Export > Data Sets as Files, or record an Action that replaces the smart object and exports. Both need setup per template. Browser tools like MockupPress render N designs on M templates into one ZIP instead.
No. It is a separate web app that works from a regular product photo, with no PSD or Photoshop needed. It is free during open beta, runs in your browser, and exports up to 1536 px on the long side.
More from QRdy Blog
How to Take Product Photos for Etsy With Your Phone (That Also Work as Mockup Templates)
Window light, rear camera at 1x, a clean print area and one untouched shot: an 8-step phone photo routine for Etsy sellers, plus how to shoot blank products so the same photos become reusable mockup templates.

How to Outline Text in Canva (3 Ways, Including Outlined Photo Letters)
Learn how to outline text in Canva with the built-in Outline effect, a stacked-copy trick for thick borders, and Text to Frames for outlined letters filled with photos.

What Is an Alpha Channel? Meaning, File Formats, and Why It Matters for Canva Frames
An alpha channel stores how opaque each pixel is. Learn how it works, which formats support it (PNG, WebP, not JPG), and why it lets a Canva frame follow your real shape.