
Vector vs Raster: What's the Difference (and Which to Use)
Vector graphics are built from math paths that scale to any size; raster images are grids of pixels that don't. Here's the real difference, plus which one to reach for with logos, photos, and Canva frame shapes.
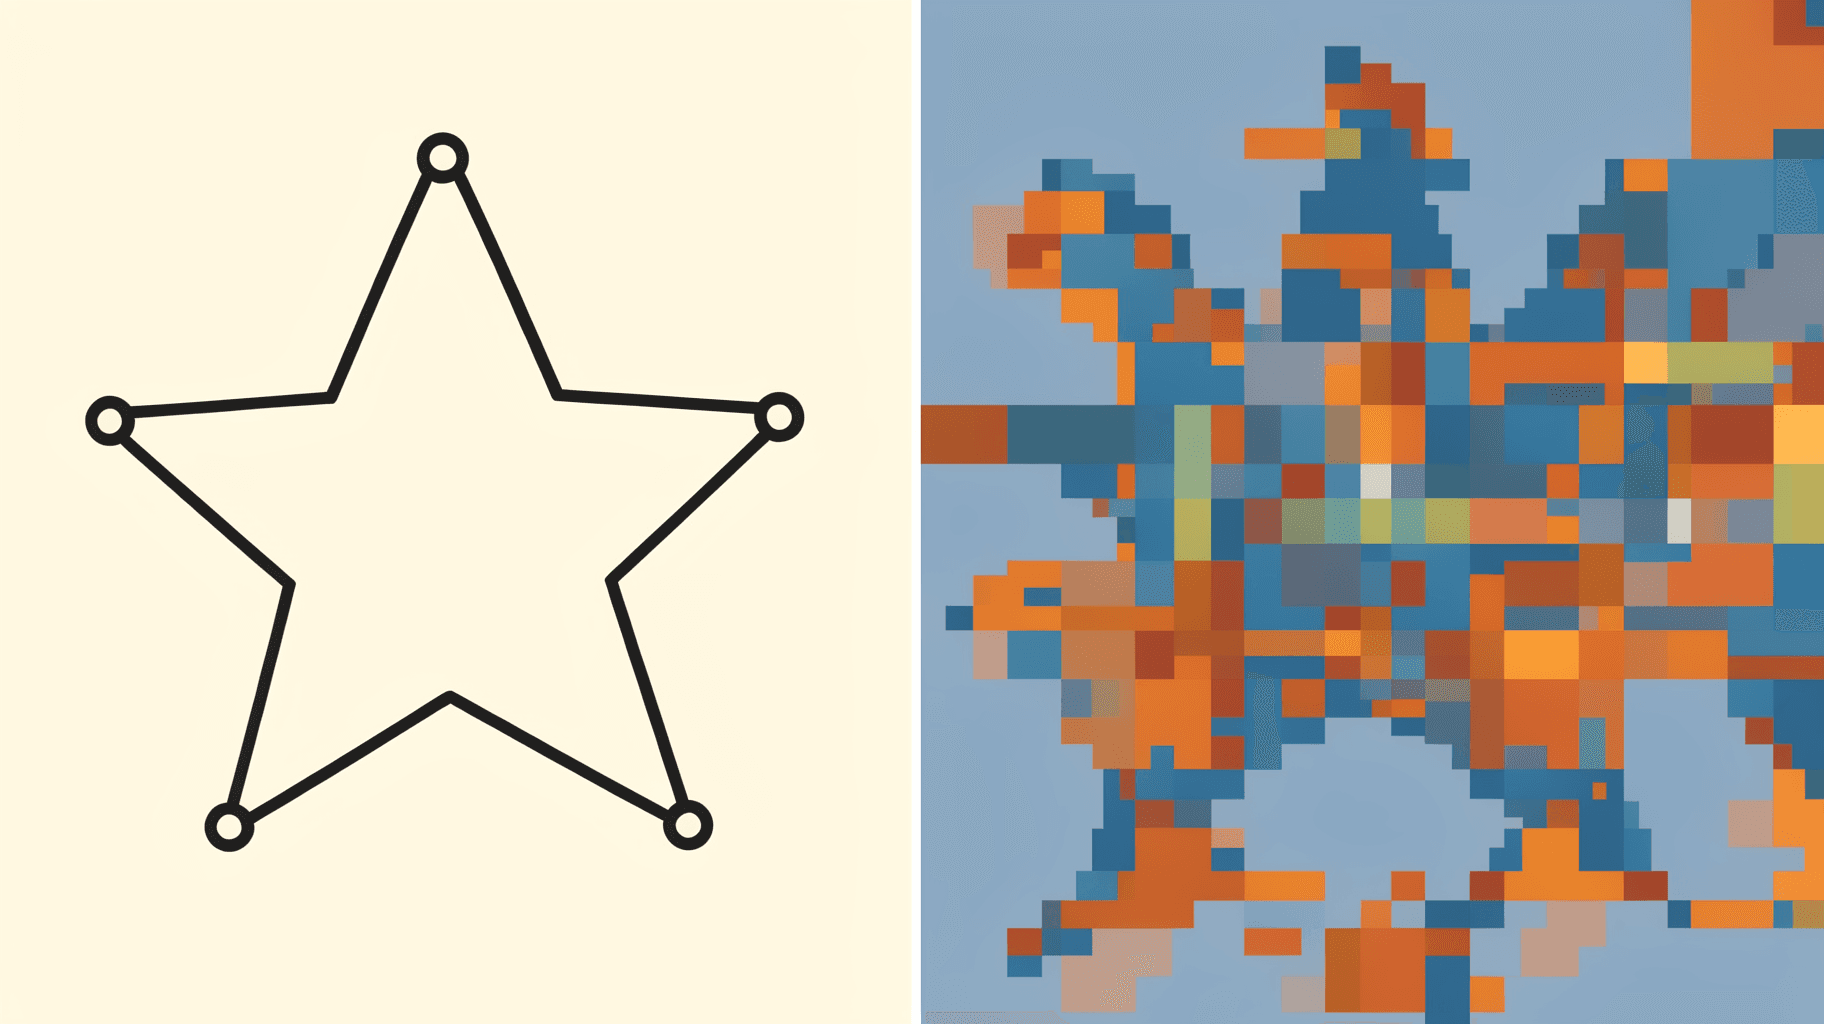
Open the file-type dropdown when you export a Canva design and you'll see PNG, JPG, PDF, SVG, MP4 — a pile of extensions with no explanation of what any of them actually are. Underneath all of them, though, every image on earth is built one of exactly two ways: as a vector or as a raster. Knowing which is which decides whether your logo looks crisp on a billboard or turns into a blurry mess, and it's the reason a "simple" shape upload sometimes fails to convert into a frame.
This is the plain-language version — no computer-science detour, just what each one is, when to use which, and how it shows up inside Canva itself.
Quick comparison: vector vs raster at a glance #
| Vector | Raster | |
|---|---|---|
| Built from | Math paths (points, lines, curves) | A grid of colored pixels |
| Scales to any size | Yes, no quality loss | No, gets blurry or blocky when enlarged |
| Common formats | SVG, AI, EPS, PDF (vector layers) | PNG, JPG, WEBP, HEIC, TIFF |
| File size | Small, regardless of print size | Grows with resolution and detail |
| Best for | Logos, icons, line art, typography, frame shapes | Photos, textures, photorealistic art |
| Editable as | Individual shapes and curves | Individual pixels |
| Native to Canva | Elements, Shapes, typed text | Anything you upload as a photo |
What is a vector image #
A vector image doesn't store a picture — it stores instructions for drawing one. Every shape is described as a set of anchor points connected by straight or curved lines, plus a fill and a stroke color. When you resize a vector shape, the software just recalculates the same math at the new size, so the edges stay perfectly smooth whether the shape is the size of a favicon or the side of a building.
That's the whole trick behind vector graphics:
- No fixed resolution — there's nothing to "run out of" when you scale up.
- Small file sizes, because a circle is stored as "center point + radius," not as thousands of individual pixels.
- Fully editable shapes — you can grab an anchor point and reshape the curve at any time.
- Common formats: SVG (the one browsers and most apps read natively), AI and EPS (Adobe's native vector formats), and PDF when it's exporting vector layers rather than a flattened image.
Inside Canva, anything from the Elements or Shapes panel, and any text you type with the Text tool, is vector under the hood — which is why you can blow a Canva shape or headline up to fill an entire poster without it turning to mush.
What is a raster image #
A raster image is the opposite: a fixed grid of colored squares called pixels, like a mosaic. Every photo you've ever taken with a phone or camera is raster. Zoom in far enough on any photo and you'll eventually see the individual colored squares — there's no math to recalculate, just a finite number of pixels that were captured at the time.
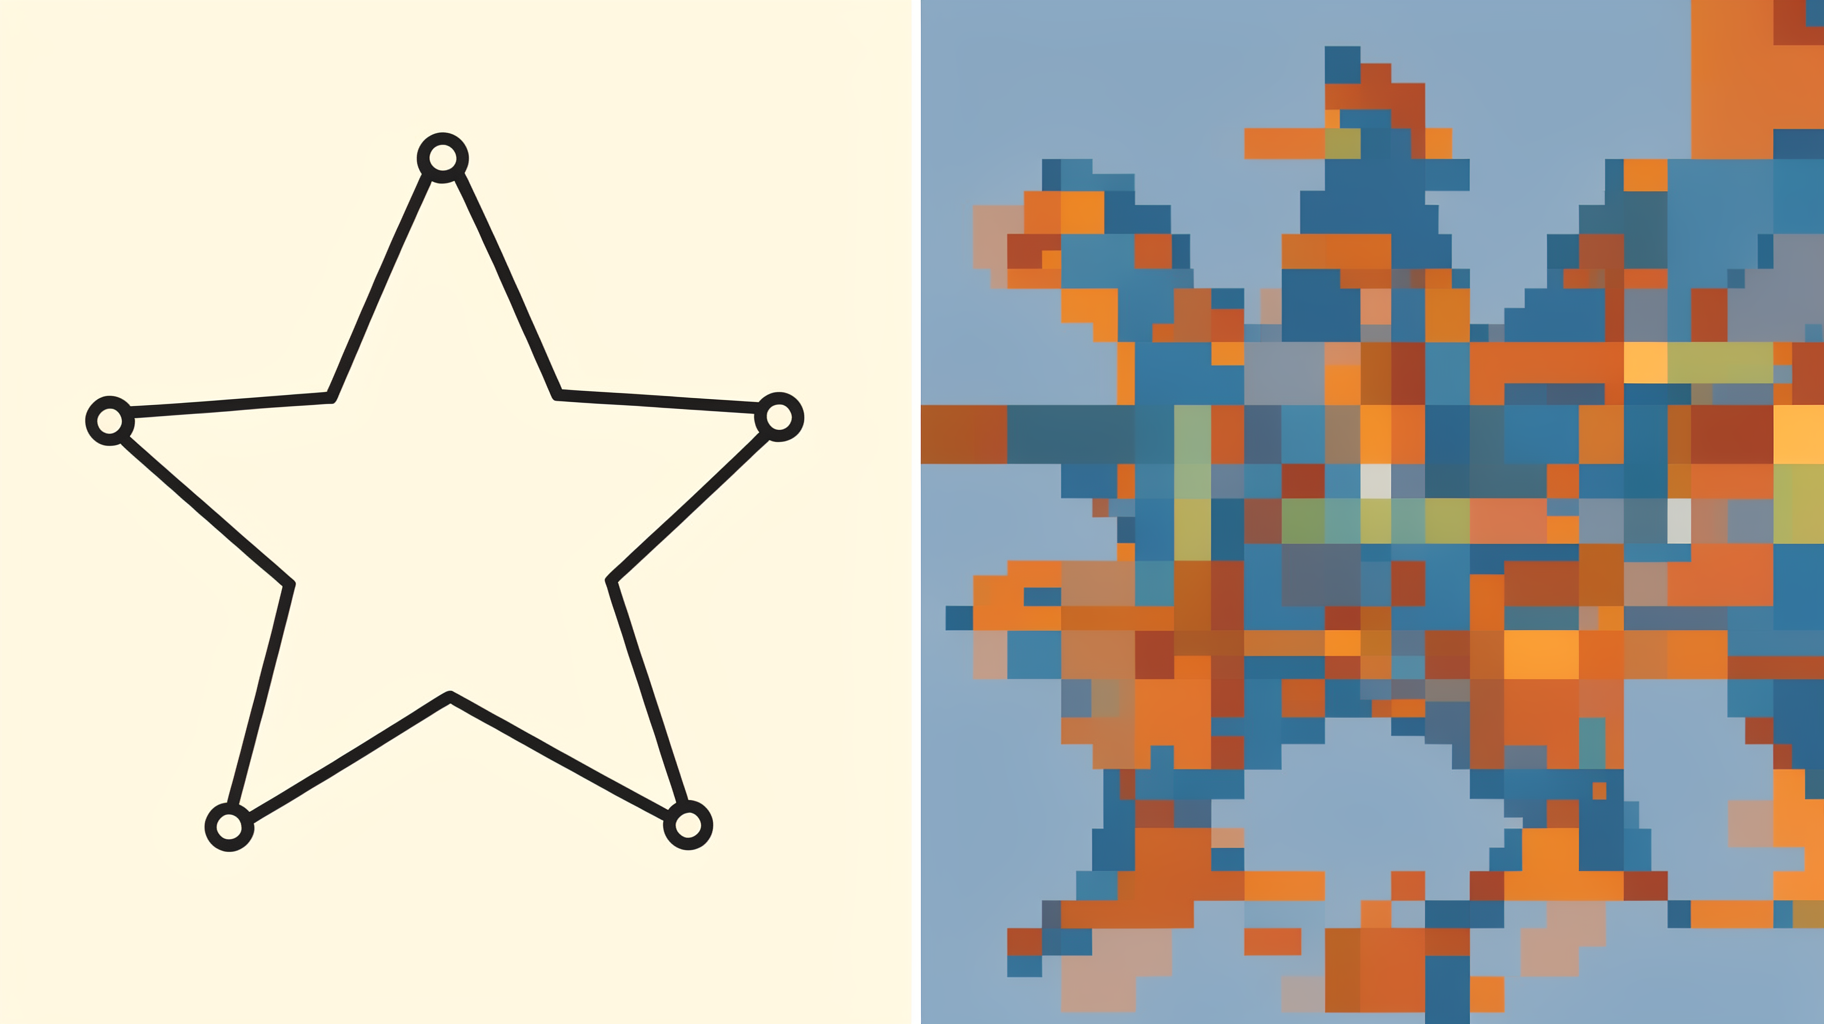
That's the core trade-off of raster images:
- Resolution-dependent — a photo captured at a certain pixel count only ever has that many pixels. Enlarge it past that and the software has to guess new pixels, which is what causes blur or visible blocks.
- File size scales with detail and resolution — a 4K photo is a far bigger file than a simple vector logo.
- The only practical way to store real-world detail — gradients, textures, and photographic realism don't reduce down to clean mathematical shapes.
- Common formats: PNG (supports transparency, common for uploads with a cut-out background), JPG (smaller file size, no transparency, the default for photos), WEBP and HEIC (newer, more efficient compressed formats), and TIFF (large, uncompressed, mostly a print and archival format).
Vector vs raster head-to-head #
Scaling and resizing #
This is the one that actually matters day to day. Stretch a vector logo from a business card to a banner and it stays sharp. Stretch a raster photo the same amount and you'll see soft edges or visible pixel blocks, because the software is inventing pixels that were never actually captured.
Editing #
A vector shape is edited by moving anchor points and adjusting curves — change the color of a vector icon and every instance of that fill updates cleanly. A raster image is edited pixel by pixel (which is what tools like a background remover or a healing brush are actually doing under the hood) — there's no "shape" to grab, only color values in a grid.
File size and complexity #
Vector wins for anything simple — a logo, an icon, a line drawing — because the file only has to describe a handful of shapes. Raster wins (or rather, is the only option) for anything with real photographic detail, where reducing a sunset to mathematical paths would either be impossible or produce a file far larger and stranger-looking than just keeping the pixels.
Best use case #
- Reach for vector when the artwork needs to work at more than one size, needs to stay perfectly crisp, or is made of clean shapes rather than photographic detail: logos, icons, line art, typography, frame outlines.
- Reach for raster for anything that came from a camera or needs photographic realism: portraits, product photos, textured backgrounds, scanned artwork.
File format cheat sheet #
| Format | Vector or raster | Typical use |
|---|---|---|
| SVG | Vector | Icons, logos, line-art shapes, web graphics |
| AI / EPS | Vector | Adobe-native logo and illustration files |
| Either | Vector when exporting layouts and vector art; raster when it's a scanned document | |
| PNG | Raster | Uploads with transparency, screenshots, graphics with flat color |
| JPG | Raster | Photos, anything where small file size matters more than transparency |
| WEBP / HEIC | Raster | Modern, more compressed photo formats used by phones and websites |
| TIFF | Raster | High-quality print and archival photography |
Does Canva itself use vector or raster #
Both, and it's worth knowing which is which. Anything you drag in from Canva's own Elements or Shapes library, and any text you type, is vector — that's why you can resize a Canva shape or headline freely without it degrading. The moment you upload your own photo, though, it becomes a raster asset locked to whatever resolution it was captured or exported at, no matter how it's cropped, framed, or resized inside the design.
Exporting matters too: a PNG export flattens the whole page into one raster image, so even your vector text becomes "just pixels" in the final file. A PDF Print export, on the other hand, keeps vector layers as true vector where it can — which is one reason PDF Print is the safer choice for anything that also needs to look sharp at a different size later, like a logo that gets reused on both a business card and a banner.
Where this shows up inside a Qrdy app #
Vector versus raster isn't just trivia here — it directly explains a couple of things you'll run into using Qrdy's Canva apps.
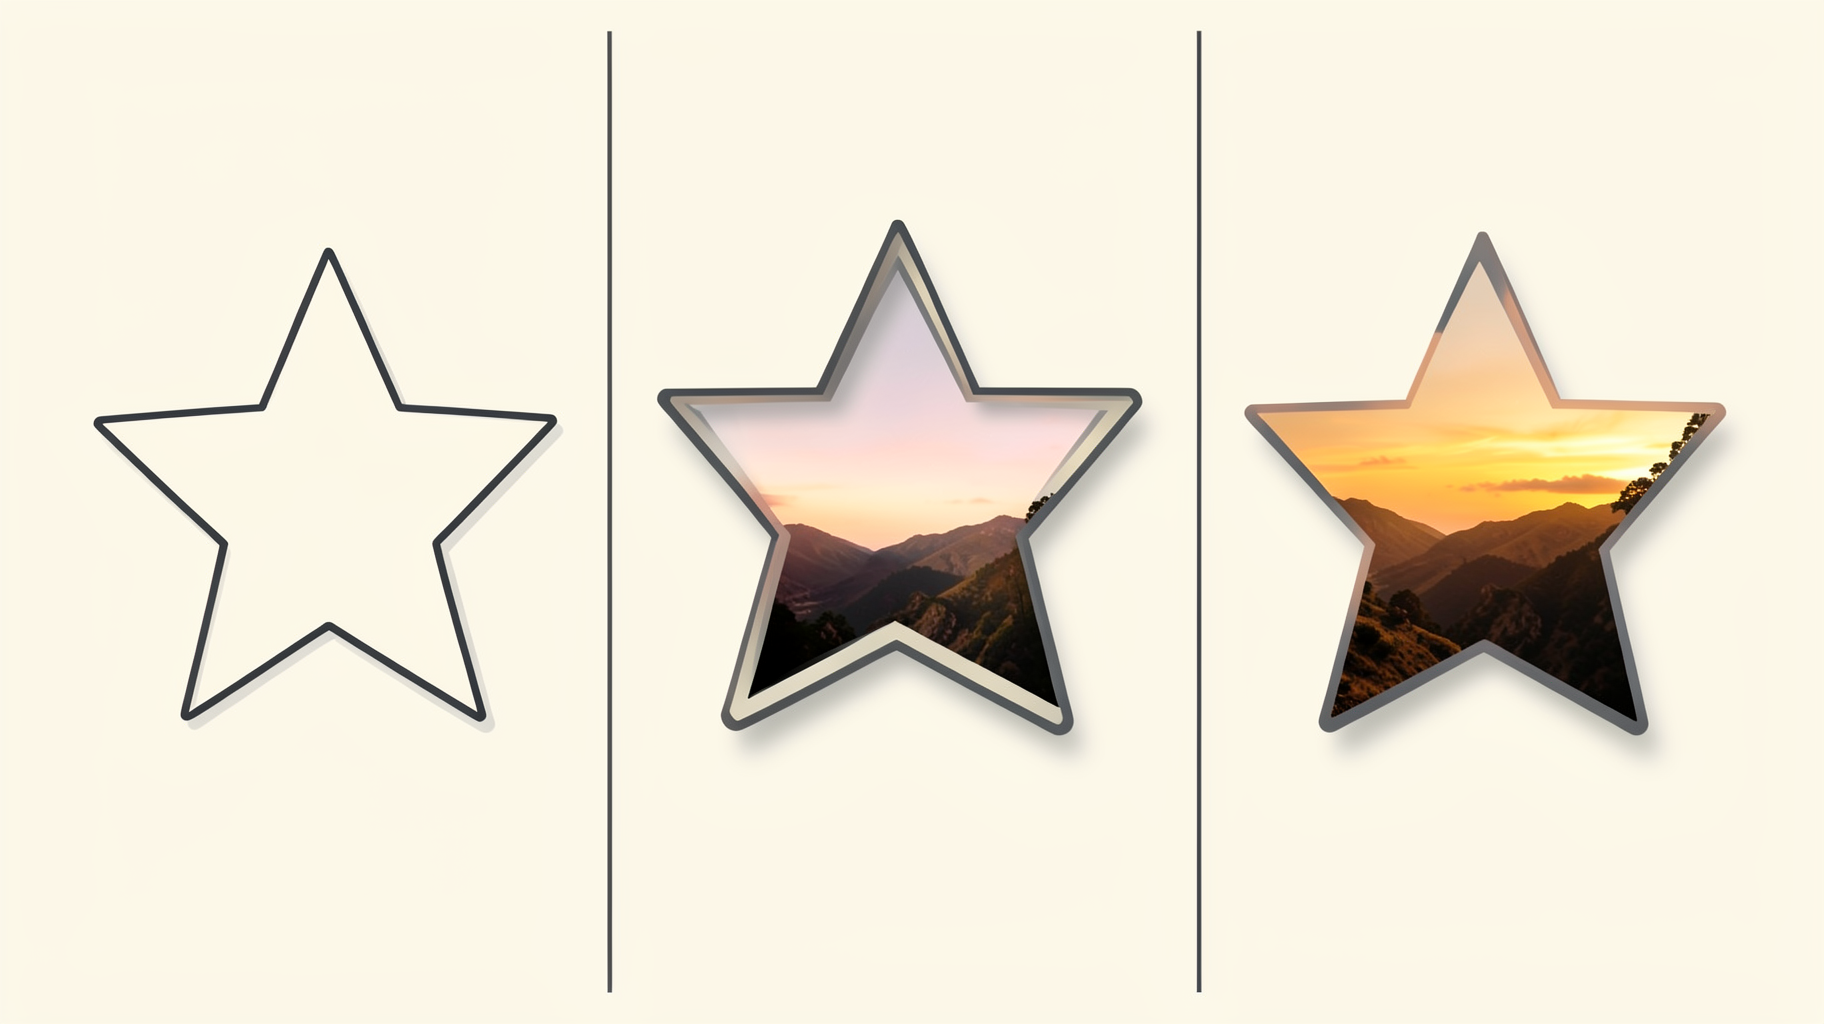
Image to Frame accepts PNG, SVG, or JPG as the source shape for a frame, up to 5MB. A simple SVG — a clean outline with a handful of curves — converts into a frame reliably, because it's just a small set of vector paths for the server to read. A very detailed or "messy" SVG (lots of tiny, tangled curves) can fail to convert, and that's exactly the vector complexity problem showing up in practice; if that happens, simplifying the shape or grabbing something from the Frame Store instead usually solves it. Either way, once you have a frame, the photo you drop inside it is raster — so that photo's own resolution is what determines whether the final print looks sharp, completely independent of how clean the frame's outline is.
Text to Frames converts each letter you type into vector outlines internally before turning them into frames — that's why the lettering stays crisp at any size before you ever add a photo. But the instant you drop an image into one of those letters, the same raster rule applies: the letter shape can scale infinitely, the photo inside it can't.
Frames Lab's Shape mode does the reverse of Image to Frame: it takes a shape or graphic already sitting in your Canva design (usually added from Elements, which is vector) and turns it into a parametric frame you can resize, style, and reuse.
AI Frames generates a frame shape from a text description — the result behaves like a clean vector outline you can recolor, add a border to, or drop a shadow on, without ever redrawing it by hand.
The pattern across all four: the frame wants to be vector-clean so it scales and converts without a fight, and the photo inside it is always raster, so its resolution is the thing worth checking before you print. For more on why that resolution number matters, see the DPI explainer, and for the full rundown on which upload format to reach for, see PNG vs SVG vs JPG in Canva.
When to use vector vs raster #
- Use vector for logos, icons, line art, typography, frame shapes, and anything that needs to be resized a lot or reused at wildly different scales.
- Use raster for photos, textured illustrations, scanned art, and anything meant to look photorealistic.
- When in doubt with an upload, ask what the file actually contains: a handful of clean shapes and flat colors (probably works fine as vector) or continuous photographic detail (has to be raster).
Neither format is "better" — they solve different problems. A photo saved as SVG either won't work or will produce an enormous, ugly file; a logo saved as a low-resolution JPG will look soft the moment someone needs it bigger. The skill is picking the right one for the job, which is really just asking: does this need to scale cleanly, or does it need to look like a photograph?
FAQ #
Frequently asked questions
SVG is a vector format. It stores shapes as mathematical paths made of points, lines, and curves rather than a grid of pixels, so it scales to any size without losing quality. That is also why Image to Frame accepts SVG uploads for a frame shape: the outline scales cleanly to whatever page you drop it into.
Yes, through a process called vectorization or image tracing, but it works best on simple, high-contrast graphics like logos or line art. Trying to vectorize a detailed photo produces a messy, oversized file that looks nothing like the original. For everyday photos, it is best to keep them raster.
The shape itself, whether it is a Canva Element, a Frames Lab frame, or typed text, stays crisp because it is vector. Any photo you dropped inside that shape is raster, though, so it is only as sharp as the pixel resolution of that original photo file. Upsizing a small photo will show blur no matter how sharp the frame around it is.
Related products


More from QRdy Blog

The Best Canva Apps for Graduation Announcements (2026)
Graduation announcements have to survive being shrunk to a five-by-seven and handled by fifty relatives. Here are the Canva apps that make a cap-shaped photo, a photo-filled headline, and a real four-year collage possible — plus an honest look at what Canva already covers for free.
How to Make Photo Christmas Cards in Canva (Step by Step)
A step-by-step guide to designing photo Christmas cards in Canva: shaped photo windows, multi-photo grids, and lettered greetings, plus the card sizes, bleed, and DPI you need for a clean print.
What Is a Triptych? Meaning, Types, and How to Make One in Canva
A triptych is art or a photo split across three panels meant to be seen as one piece. Here's where it came from, how it differs from a diptych, the sizing and spacing rules, and how to lay one out in Canva.