
How to Make a Monogram in Canva (No Monogram Maker Required)
Canva has monogram templates but no single "monogram maker" button. Here is how to build a two- or three-initial monogram from scratch in about five minutes, how to fill the letters with photos, and how to turn the finished mark into a reusable frame.
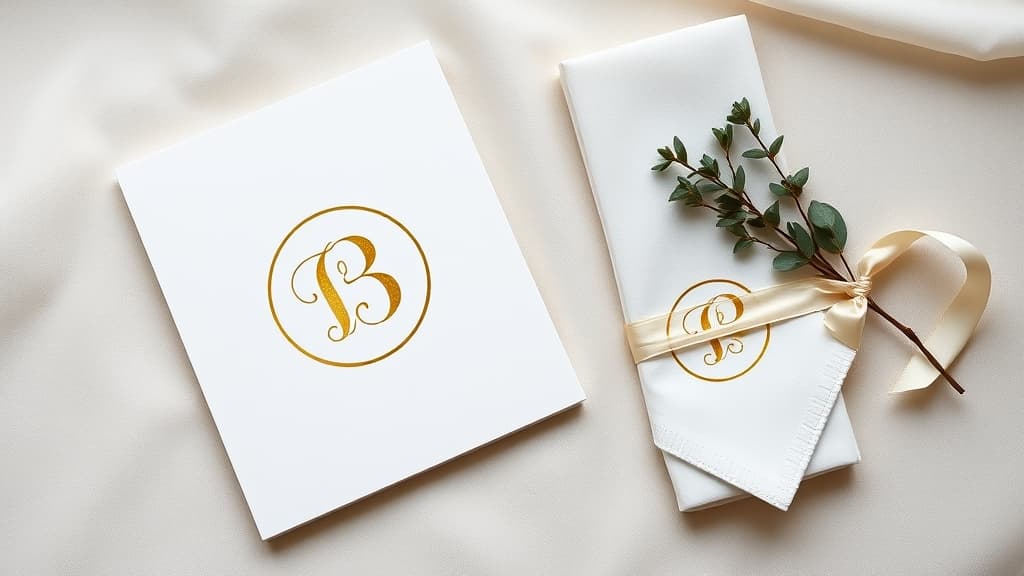
About 5,400 people a month search for a "canva monogram maker". They are looking for something that does not exist: a single button where you type three initials and a finished interlocking mark comes out.
What Canva does have is everything you need to build one in about five minutes — and a few things it genuinely cannot do, which is where a couple of small apps come in.
This guide covers three versions, from plainest to fanciest:
- a clean two- or three-initial monogram built entirely with Canva's own tools
- the same monogram with a photograph inside each letter
- the finished mark turned into a reusable frame you can drop any photo into
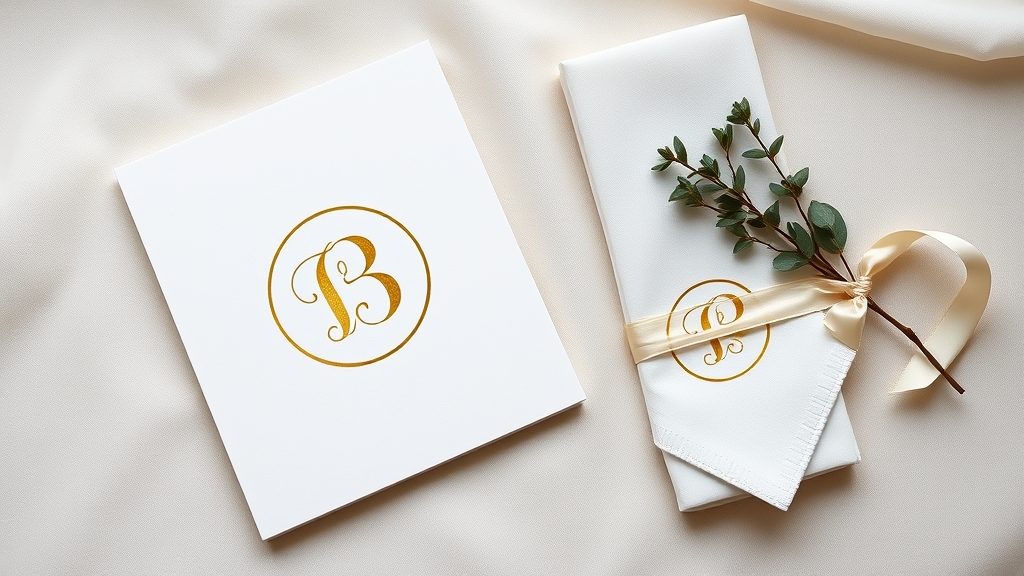
First, decide which monogram you are making #
"Monogram" covers a few different layouts, and picking one before you open Canva saves a lot of nudging later.
| Layout | What it looks like | Good for |
|---|---|---|
| Single initial | One large letter, often inside a ring or shape | Wall art, notebooks, packaging stickers |
| Two-letter (duogram) | Two initials side by side or overlapping, sometimes with an ampersand | Couples, small brands, wedding welcome signs |
| Three-letter classic | First, surname (larger, centre), middle | Wedding stationery, towels, gifts |
| Circle / wreath | Initials inside a ring, sometimes with a name curved around it | Menus, seals, stamps, favour tags |
| Stacked | Initials on two lines, tightly locked together | Logos, letterheads, business cards |
One convention worth knowing: in the traditional three-letter layout the surname initial goes in the middle and is set larger, flanked by the first name on the left and the middle name on the right. Anna Marie Bennett becomes A B M, not A M B. Nobody will arrest you for ignoring it, but wedding clients notice.
Method 1 — Build a monogram with Canva's own tools #
This is the version most people actually need, and it costs nothing.
- Set the page size first. File > Create new design > Custom size. A monogram is usually square — 2000 x 2000 px for digital use, or the real physical size in inches if it is going on a printed card. Doing this first means you are judging the spacing at the size it will really be seen.
- Add each initial as its own text box. Not one box reading "ABM". Three separate boxes let you size and nudge each letter independently, which is the entire trick to a monogram that looks locked together rather than typed.
- Pick one serif and stay there. Playfair Display, Cormorant, Libre Baskerville and similar high-contrast serifs read as "monogram" instantly. Script faces work for a duogram but turn to mush when three letters overlap. Use one typeface for all the initials — mixing two is what makes a homemade monogram look homemade.
- Size the middle letter up. For the classic three-letter layout, set the surname initial roughly 1.3 to 1.6 times the height of the outer two. Then drag the outer letters until their baselines sit visually centred against the big letter — usually slightly above the true centre, because the eye reads the optical centre, not the mathematical one.
- Tighten the spacing by hand. Select all three, then Position > Align to centre them vertically. After that, nudge with the arrow keys until the gaps on the left and right of the middle letter look equal. They will not be numerically equal. Trust your eye at 100% zoom.
- Add the ring or shape, if you want one. Elements > Shapes > circle, set the fill to none and give it a thin border, then drag it over the letters. Send it backwards, centre it with Position > Align, and hold Shift while resizing so it stays a true circle.
- Group and export. Select everything and press Ctrl/Cmd + G. Share > Download > PNG, and tick Transparent background if you have Canva Pro — this is the setting that lets you drop the monogram over a photo or a coloured card later. SVG, if your plan offers it, is the one to pick for a Cricut or a print shop.
That is a finished, usable monogram. The rest of this guide is about the versions Canva cannot do on its own.
Method 2 — Put a photo inside each initial #
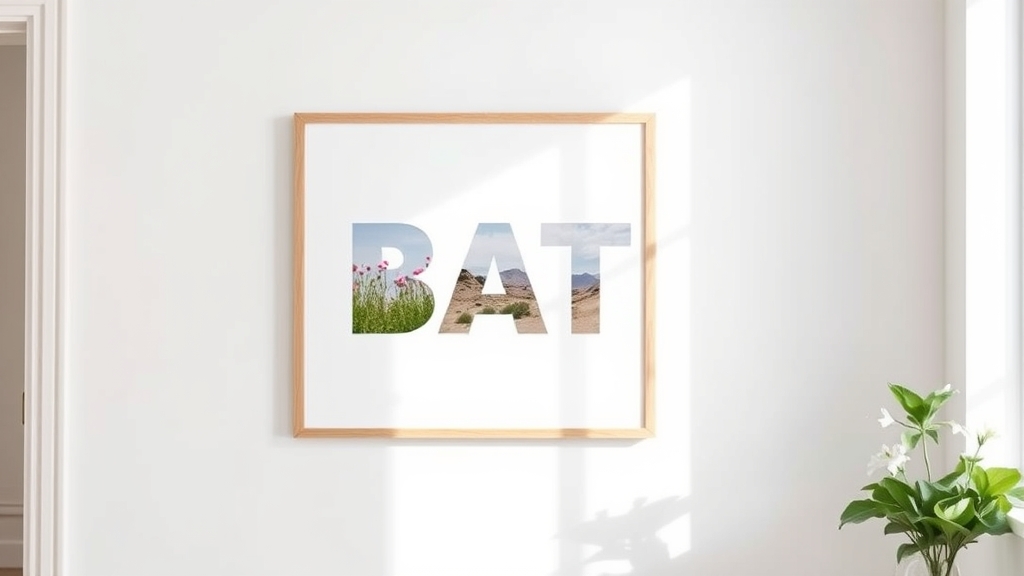
This is the version that turns a monogram from a mark into a keepsake: the letters stay the same, but each one is filled with a photograph — a beach, a bouquet, a first house.
Canva's own Frames library has letter frames for a handful of typefaces, and its Curve text and Elements shapes will get you close for a single letter. What it will not do is take your chosen font, at your spacing, and turn every character into a real Canva frame. That is what Text to Frames is for.
- Open the app. In your Canva design, go to Apps in the left sidebar and open Text to Frames.
- Type the initials. The Text field takes up to 200 characters, which is generously more than a monogram needs. The B and I buttons beside it grey out when the selected font has no real bold or italic cut — the app blocks fake styling on purpose.
- Choose the font. The free tier opens five: Roboto, Open Sans, Lato, Playfair Display and Pacifico. Playfair Display is the monogram pick of that group. The full library runs past 100 faces and is marked with a Pro label.
- Set letter spacing and size. Letter spacing runs from −100 to 100. Negative values pull the initials together, which is exactly the overlap a duogram wants. Font size sets the overall scale.
- Turn on Split into letters. This is the setting that matters. With it on, every character comes out as its own separate frame, so each initial can hold a different photo. Leave it off and you get a single frame across the whole word — one image showing through all the letters.
- Check the preview. It refreshes about half a second after each change, and what it shows is exactly what gets added — the preview and the final output are generated the same way. If the text is too long for the settings you have chosen, the app says "Text is too long"; shorten it or reduce the size.
- Add to design. The frames land on your page and scale down to fit it if needed. If you see "Frames can't be added to this design type", that is a Canva restriction rather than an app fault — reopen the app inside a Presentation, Poster or Instagram Post design.
- Drop a photo into each letter. Drag an image and release it while the letter is highlighted. Then double-click to reposition and zoom the photo inside the letter — dragging the edges resizes the frame instead, which is the single most common thing people get stuck on.
If you want one continuous image running across all the initials rather than a separate photo per letter, skip Split into letters — or use Clipping Mask, which is built for exactly that single-image-through-text effect. We compared the two approaches in Image to Frame vs Clipping Mask, and the concept itself is unpacked in What are photo letters?.
Method 3 — Turn a finished monogram into a reusable frame #
Say you have already built the mark in Method 1, ring and all, and now you want that whole shape — letters plus circle — to act as a window you can pour any photo through. Or you have a hand-drawn monogram you scanned.
Image to Frame converts a picture into a real Canva frame. It accepts PNG, SVG and JPG up to 5MB, and there are three ways to feed it:
- upload a file from your computer
- select an image already sitting on your canvas
- Export design, which exports the current page as a single transparent PNG — this is the one to use when your monogram is made of several separate elements you want treated as one shape
One rule decides whether this works: remove the background first. If the source file still has a white or coloured background, the frame comes out as a plain rectangle. PNG and SVG carry transparency; JPG never does. Run Canva's Background Remover, or export with Transparent background ticked, before converting.
You can also set a border — thickness 0 to 50 plus a colour — though it only renders once the frame is on the page, not in the preview. Very tangled curves occasionally fail to convert; when that happens the app points you at its Frame Store instead, and a simplified SVG usually goes through cleanly.
Curved and circle monograms #
A circle monogram usually needs a name or a date curved around the ring.
Canva has this built in: select the text, click Effects > Curve, and drag the slider. It bends text along a single circular arc, which covers most monogram rings perfectly well.
Where it stops is anything that is not a plain arc. Text Path Maker draws text along a path you choose or freehand — waves, spirals, zig-zags, heart and star outlines — and it can reverse the text direction so the bottom half of a ring reads the right way up instead of upside down. For a straightforward circle, use Canva's Curve. For anything shaped, use the app.
For a decorative border around the whole mark — repeating dots, icons or small images, evenly distributed with adjustable spacing and rotation — Border Art Maker handles that in one pass.
Which tool for which monogram #
| What you want | Use |
|---|---|
| Plain initials, one colour | Canva text + shapes (Method 1) |
| Each initial filled with a different photo | Text to Frames, Split into letters on |
| One image showing through all the initials | Clipping Mask, or Text to Frames with Split off |
| A scanned or hand-drawn monogram turned into a frame | Image to Frame |
| Name curved around a ring | Canva Effects > Curve |
| Text on a wave, spiral or shaped path | Text Path Maker |
| Decorative repeating border around the mark | Border Art Maker |
| The monogram sitting in an arc or grid of photos | Frames Lab |
What Canva already does well #
Worth saying plainly, because you may not need any app at all:
- Monogram templates. Search "monogram" in Templates and there are hundreds, many free and fully editable. If one is close to what you want, editing it beats building from scratch.
- Curve text. Free, built in, works on mobile, and covers the standard circular ring.
- Elements > Frames. Canva ships letter-shaped frames for some typefaces. If your initial is in there, use it.
- Background Remover. Pro, but it is the fastest route to the transparent file Image to Frame needs.
Reach for the apps when you hit the specific wall Canva does not clear — your font as frames, per-letter photos, a non-circular path, or converting your own artwork into a frame.
Five things that make the difference #
- Judge it small. A monogram is usually seen at the size of a coin on a napkin or a favour tag. Zoom out to about 25% before you decide the spacing is right; a mark that reads at that scale reads at any scale.
- Build a one-colour version too. Embroiderers, stamp makers and foil printers will ask for it. A flat black version on a transparent background covers almost every request.
- Set the page to the physical size early. Frames scale to fit the open page when they are added, so a page set to the real print dimensions saves you re-fitting everything later.
- Remove backgrounds before you convert, not after. It is the difference between a monogram-shaped frame and a rectangle.
- Check photo-filled letters at 100%. A photograph that looks great in the preview can turn into an unreadable smudge inside a thin serif stroke. Busy images want a heavy font; delicate serifs want simple, high-contrast photos.
Want the photo-filled version? Text to Frames installs straight into the Canva editor. If you are converting your own artwork instead, Image to Frame is the one you want — and for a full walkthrough of the per-letter technique, see How to fill each letter with a different photo in Canva.
Frequently asked questions
Not as a single button. Canva has plenty of monogram templates you can edit, and it has the text, shape and Curve text tools you need to build one yourself, but there is no generator where you type three initials and get a finished interlocking mark. That is why this guide builds the monogram from ordinary text and shapes — and why apps like Text to Frames exist for the versions Canva cannot do natively, such as filling each initial with its own photo.
In the traditional layout the surname initial sits in the middle and is set larger than the two on either side, with the first name on the left and the middle (or partner's) name on the right. So Anna Marie Bennett becomes A B M, with the B largest. If all three letters are the same size, the conventional order is simply first, middle, last. Neither is a rule you have to follow for a logo or a print — but wedding stationery buyers do notice.
Yes, but transparent PNG export is a Canva Pro feature. On a free account you can still download a PNG on a white background, or an SVG if you are on a plan that allows it. If you need transparency for a Cricut cut file or for dropping the mark over a photo, plan for that before you start designing rather than after.
Not necessarily. Text to Frames gives free accounts five fonts (Roboto, Open Sans, Lato, Playfair Display and Pacifico) and the Split into letters toggle at no cost, which is enough for a photo-filled monogram. The 100-plus font library and the Blur, Border and Inner shadow effects are Pro. If you turn on a Pro font or effect while on the free tier, the main button changes from Add to design to Try Text to Frames Pro.
Related products


More from QRdy Blog
What Is a Silhouette? Meaning, Examples, and How to Use One in Canva
A silhouette is a solid, single-color outline of a shape with no inner detail. Here is what it means, how it works, the main types, and how to turn one into a photo frame in Canva.
10 Weekly Schedule & Countdown Calendar Ideas You Can Make in Canva
Ten practical ideas for weekly schedules and countdown calendars in Canva: class timetables, chore charts, 30-day challenges, wedding and holiday countdowns, all built with Calendar Maker's Week and Custom tabs.
Vector vs Raster: What's the Difference (and Which to Use)
Vector graphics are built from math paths that scale to any size; raster images are grids of pixels that don't. Here's the real difference, plus which one to reach for with logos, photos, and Canva frame shapes.