
How to Make an Arch Photo Frame in Canva (Arch and Rainbow Curved Frames)
Arch and rainbow photo frames are everywhere in nursery art and boho posters. Here is how to make one in Canva step by step, using an arch shape or Frames Lab's Arc mode, with tips for sizing and spacing.
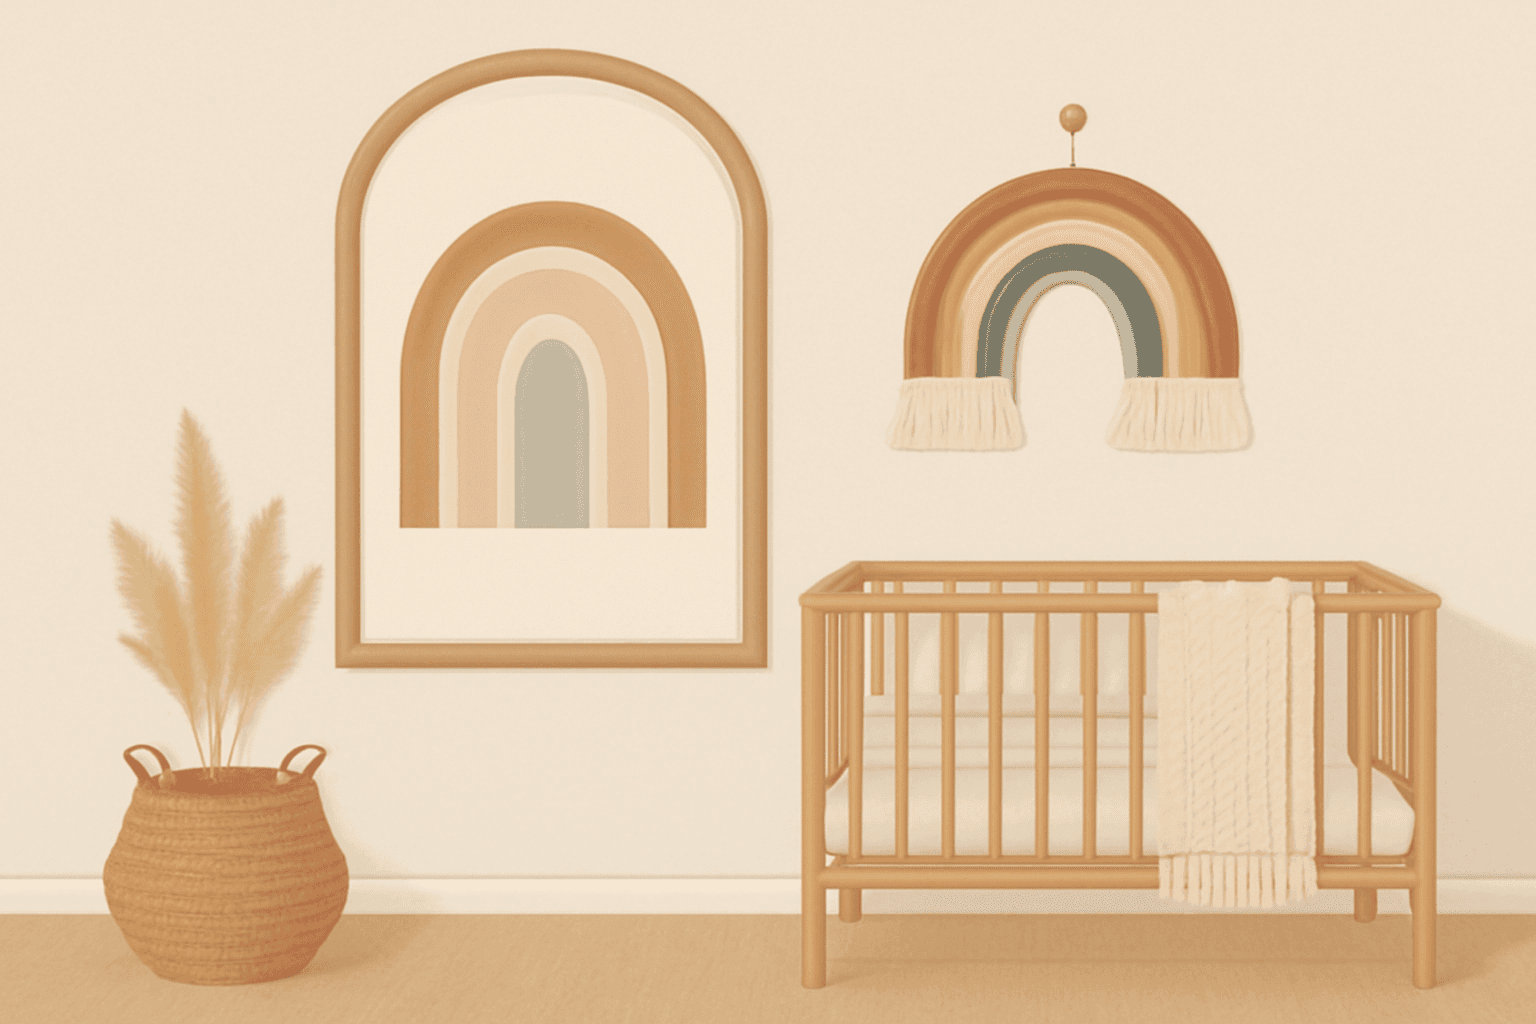
Arch-shaped photos are one of the most popular looks for nursery wall art, baby announcements, wedding signs and boho posters. A tall arch gives a portrait a soft, window-like shape, and a rainbow arc can hold a row of photos in a curve. The catch: Canva's default frames are mostly rectangles, circles and a handful of fixed shapes, so getting a true arch (or a curved arc) takes a small workaround.
This guide shows two reliable ways to do it, both inside Canva: turning an arch shape into a photo frame, and building a curved arc frame with the Frames Lab app.
Which method should you use? #
| You want... | Use this | Time |
|---|---|---|
| One tall arch window around a portrait | Method 1: arch shape + Frames Lab Shape mode | ~3 min |
| A curved / rainbow band that follows an arc | Method 2: Frames Lab Arc mode | ~2 min |
| A quick arch, no apps | Method 3: Canva's built-in shape fill (fewer controls) | ~1 min |
Method 1: Turn an arch shape into a frame #
- Create your design. For a nursery print, try a portrait page such as 8x10 in or 11x14 in.
- Add an arch shape. Open Elements, search "arch", and choose an arch-shaped shape or graphic from Shapes or Graphics. Resize it to the proportion you want: a taller, narrower arch looks more elegant than a squat one.
- Open Frames Lab. In the Apps panel, search Frames Lab and launch it. Go to the Create tab and choose Shape mode.
- Click Recheck design. The app detects the arch you added.
- Set a border (optional). If you want a thin outline around the arch, set it before adding.
- Click the detected frame to place it. Frames Lab adds a real Canva frame in the shape of your arch.
- Drop in your photo. Drag a photo or video onto the frame. It crops to the arch automatically; double-click to reposition inside it.

Tip: whenever you change the shape in your design, click Recheck design again so the app picks up the new version.
Method 2: Build a rainbow or curved arc frame #
Frames Lab's Arc mode builds a curved frame from angle settings, which is ideal for a rainbow-style band of photos or a curved header strip.
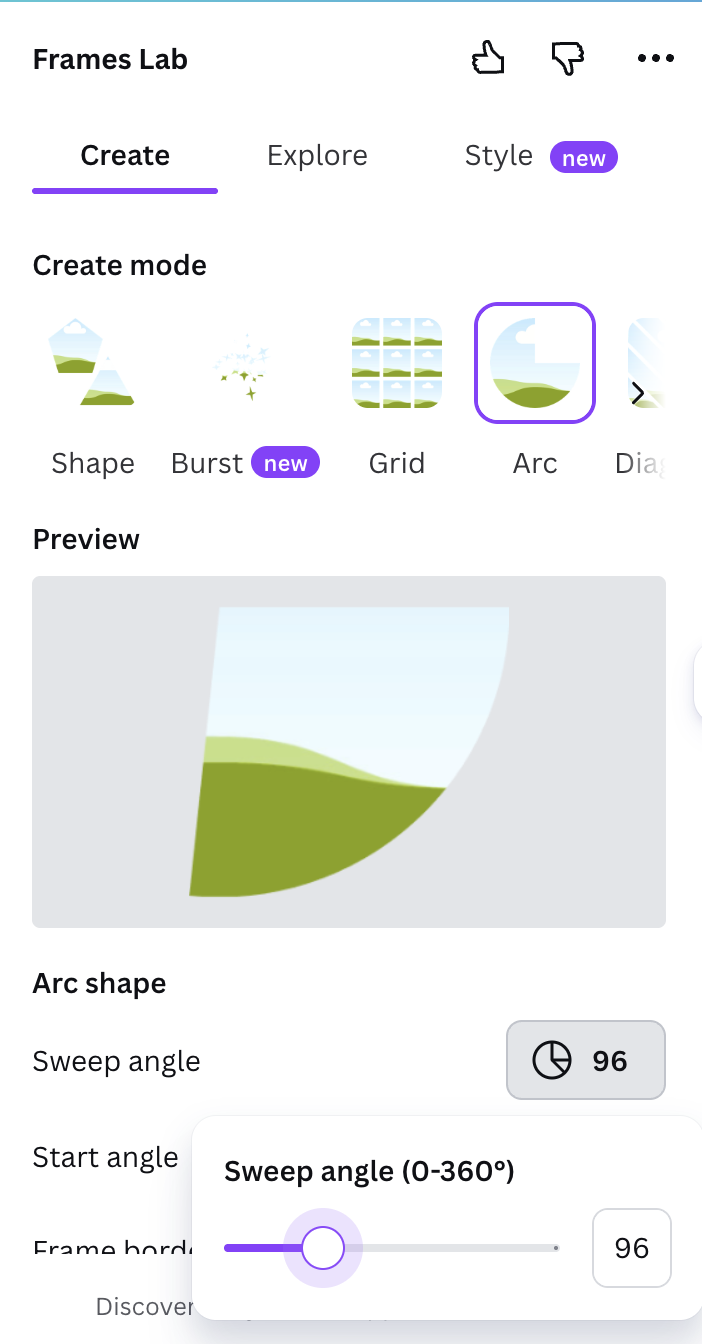
- In Frames Lab, open Create and choose Arc.
- Set the sweep angle: how much of the arc is drawn, in degrees. A larger sweep gives a fuller curve; a smaller one gives a gentle bend.
- Set the start angle to rotate where the arc begins.
- Add a border if you want one.
- Click Add to design, then drag photos into the frame.
- Optional: open the Style tab to add Blur, Border or Inner shadow to the frame you just added (every frame is saved under "Last frames").
Duplicate the arc and scale it down to nest two or three bands inside each other for a layered rainbow effect, then fill each band with a different photo or a solid colour.

Method 3: The built-in route #
Canva lets you drop a photo into many shapes directly: add a shape from Elements, then drag a photo onto it. It is the fastest option and needs no app. The trade-offs are that not every shape accepts a photo, and you get fewer controls over borders, effects and curved layouts. If a shape will not take a photo, use Method 1.
Tips for better arch photos #
- Choose portrait photos. An arch is taller than it is wide, so vertical photos fill it with less cropping.
- Mind the top curve. Heads and key details should sit in the lower two thirds so the curved top does not cut them off.
- Keep the palette small. Beige, terracotta, sage and cream are the classic boho set; Canva's colour tools or the Color Harmony app can help keep it consistent.
- Print at a high resolution. Export as PDF Print for wall art.
- Free tier note: Frames Lab limits how many frames you can add on the free tier; Pro removes the limit.
Ideas for arch frames #
Nursery and baby milestone prints, wedding welcome signs, graduation announcements, a gallery wall of mixed arch sizes, or a rainbow arc header for a birthday invitation.
Frequently asked questions
Canva does not offer a customisable arch frame by default, but you can add an arch shape and turn it into a real frame with Frames Lab's Shape mode, or drop a photo straight into a shape that accepts one.
Open Frames Lab, choose Arc mode, set the sweep angle and start angle, click Add to design, then drag photos in. Duplicate and scale the arc to nest layered bands.
The free tier limits how many frames you can add; Pro removes that limit.
Related products


More from QRdy Blog
What Is a Bento Grid? Definition, Examples, and How to Make One in Canva
A bento grid is a layout of rounded tiles in mixed sizes, named after the Japanese lunch box. Learn what it is, how it works, and how to build one with photos in Canva.
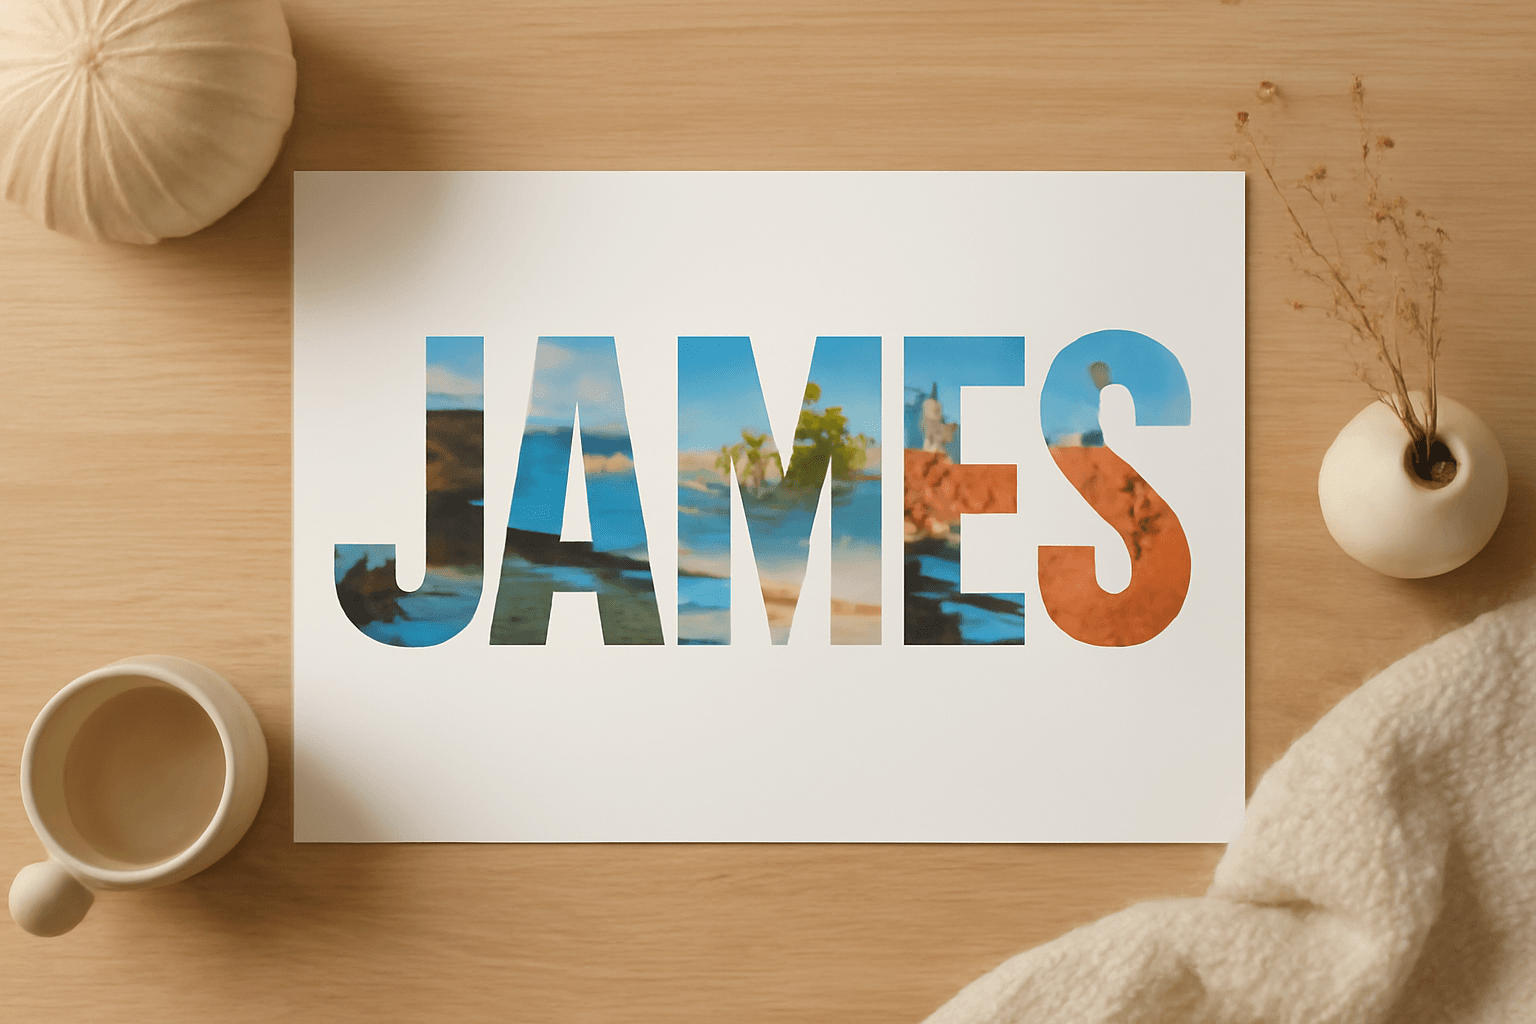
10 Photo Name Art Ideas You Can Make in Canva (Words Filled with Photos)
Ten photo name art ideas for Canva: names, words and dates where every letter is filled with a different photo. Gifts, banners, posters and more, built with Text to Frames.
Photoshop Clipping Mask vs Text to Frames: Photo-in-Text in Canva
Filling text with a photo is a classic Photoshop trick. Here is how the Photoshop clipping mask compares with Text to Frames in Canva, and which one fits a quick title or banner.