
How to Make a Pumpkin Photo Frame in Canva (Halloween, Step by Step)
Put your family, pet or costume photo inside a pumpkin shape in Canva. Three ways to do it, a step-by-step with Image to Frame, plus tips for jack-o-lantern and ghost frames.
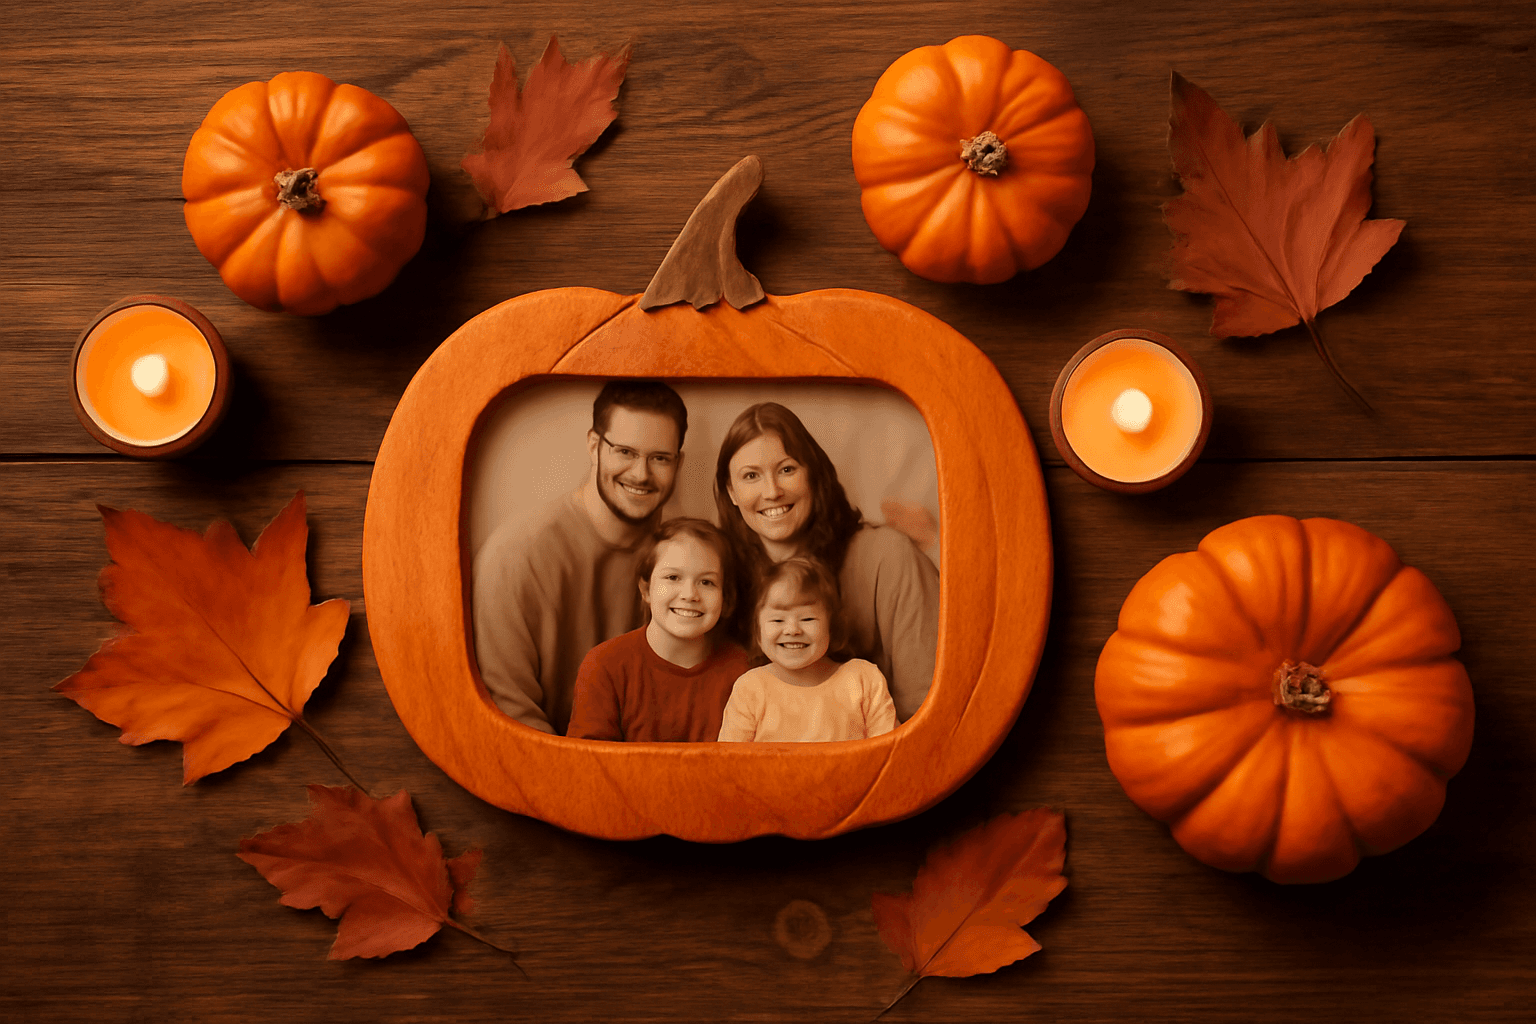
A pumpkin photo frame is one of the easiest ways to make a Halloween design feel custom: the family portrait, the dog in its costume or the kids' trick-or-treat shot sits inside a pumpkin instead of a plain rectangle. In this tutorial you will make one in Canva, and we will cover three ways to get there so you can pick the one that fits your design.
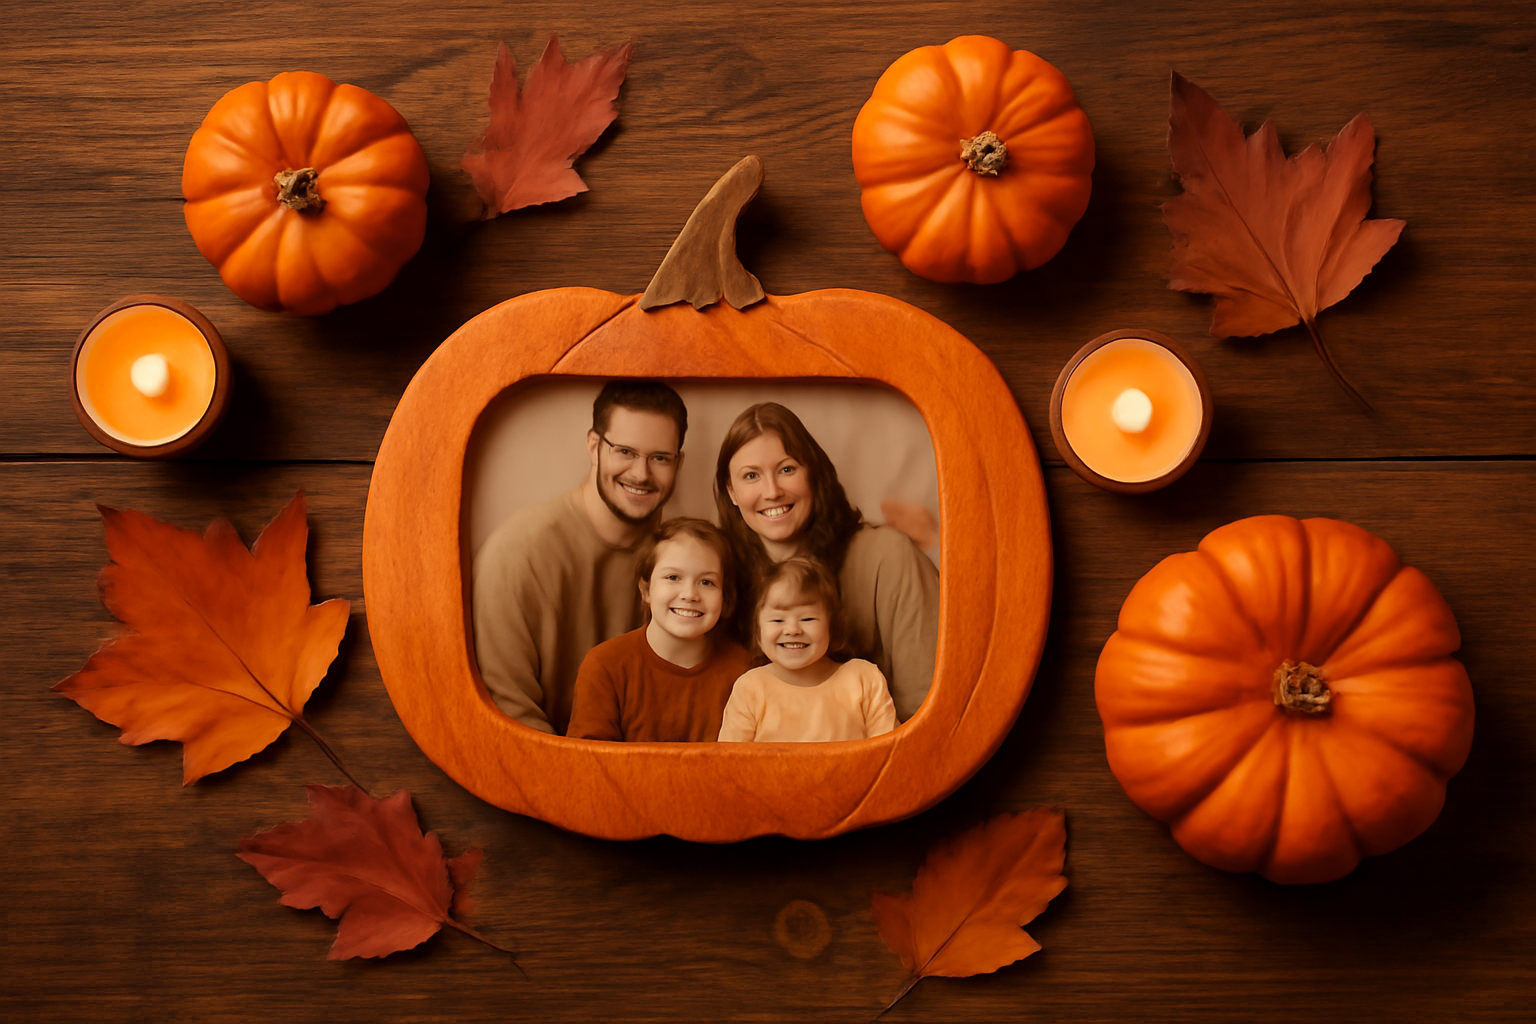
Quick answer: three ways to make a pumpkin frame in Canva #
| Method | Best for | Trade-off |
|---|---|---|
| Canva Elements frames | A quick, simple shape | Few pumpkin-shaped frames to choose from |
| Image to Frame (Qrdy app) | Any pumpkin or jack-o-lantern PNG/SVG you like | Needs the app; Pro unlocks the full feature set (free for students and teachers) |
| AI Frames or Frames Lab | Describing a shape, or building arcs and polygons | Result is a generated or geometric shape, not your own artwork |
If you just need a round frame, Canva's built-in circle frame will do. If you want an actual pumpkin silhouette with a stem and a carved face, a frame made from an image is the practical route, and that is what the steps below use.
What you need #
- A Canva design (a square 1080 x 1080 works well for social posts and prints).
- A pumpkin image with a transparent background: PNG or SVG, up to 5MB. A solid silhouette gives the cleanest result.
- A photo to put inside it.
How to make a pumpkin photo frame with Image to Frame #
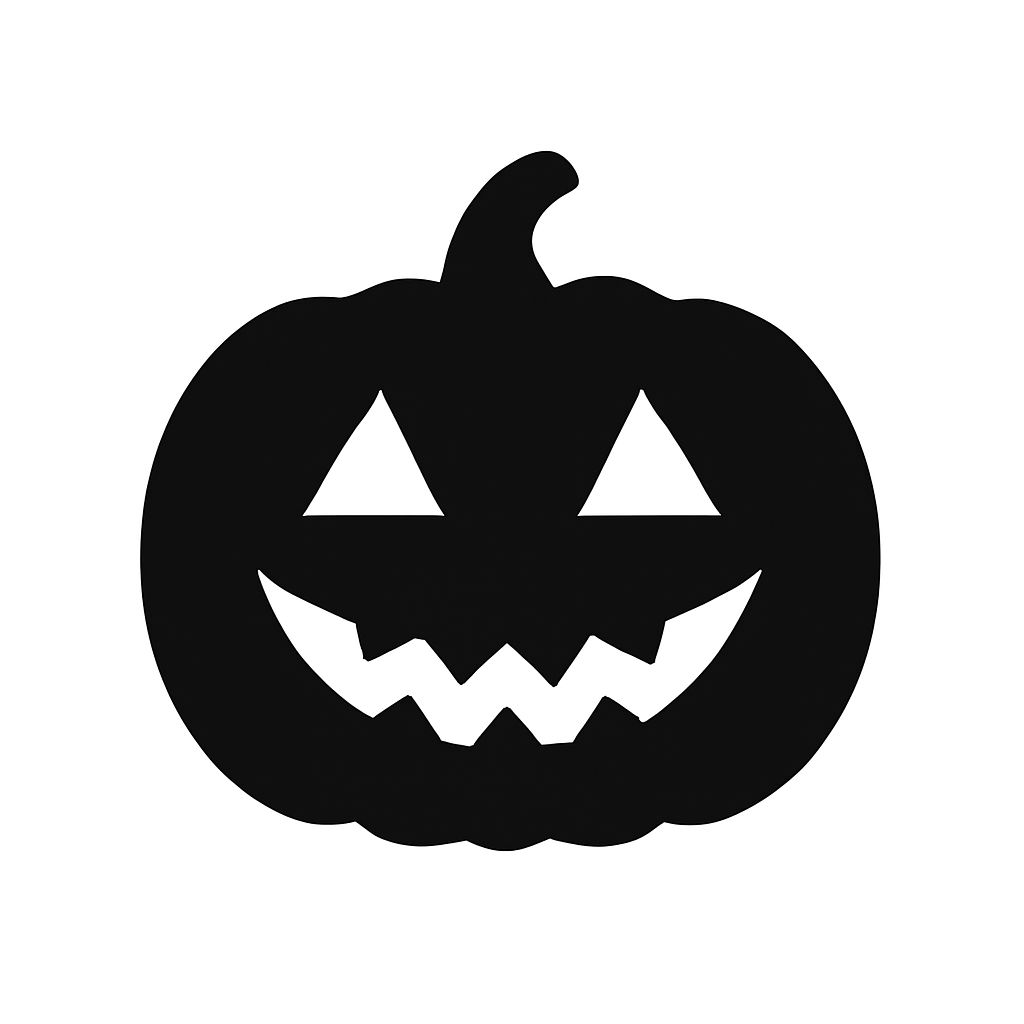
- Pick or make your pumpkin shape. Use a pumpkin silhouette you already have, or generate a simple one. The image above is the kind of source shape that works: a filled pumpkin with a short stem and a bold, simple face.
- Make sure the background is transparent. This is the step that decides the result. If the image still has a white or colored background, the frame will come out as a rectangle. Remove the background first (Canva's background remover works if you have Pro, or any background-removal tool).
- Open Image to Frame in Canva. Find it in the Apps panel on the left side of the editor.
- Add your image. Upload the PNG/SVG, select a picture already on your page, or export the page as a transparent PNG.
- Check the preview. The app shows the frame it will create. If it looks wrong, remove the image and try a cleaner file.
- Set the border (optional). Choose a thickness (0 to 50) and a color. An orange or deep purple border looks good on Halloween designs. Note that the border shows up once the frame is on your page, not in the preview.
- Click "Add frame to design". The frame appears on your page in the shape of your pumpkin.
- Drop your photo in. Drag any photo or video onto the frame and it fills the shape. Double-click to reposition or zoom inside it.
Make it look finished #
- Add an orange or dark background. A deep purple, black or warm cream background makes the pumpkin shape pop.
- Keep the face simple. The eyes and mouth become openings in the frame, so large triangles read better than small details.
- Pick a photo with room. A portrait with the subject centered works better than a wide group shot, because the pumpkin crops the corners.
- Layer a second frame. Copy the frame, enlarge it slightly, set it to a solid orange fill behind the first, and you get a thicker pumpkin outline.
- Add a caption. A short line in a spooky font, such as the year and the name of the trick-or-treater, turns it into a keepsake.
Try a ghost, bat or witch hat too #
The same method works for any Halloween silhouette. Here is a ghost shape, which suits pet and kid photos.

If you would rather describe a shape than hunt for a file, AI Frames generates a frame from a text prompt, and Trace to Frame lets you click points to draw your own outline. Frames Lab covers arcs, grids and polygons if you want a geometric collage instead.
Common problems #
- The frame is a rectangle. The image still has a background. Remove it and try again.
- The file will not convert. Very complex artwork with tangled curves may not work. Use a simpler silhouette.
- The photo looks cut off. Double-click the photo inside the frame and drag or resize it until the subject sits in the visible area.
Ideas for your pumpkin frames #
Use them for a Halloween card, an Instagram carousel of costume photos, a classroom bulletin board, a party invitation or a printable decoration. A row of three pumpkin frames, each with a different photo, also makes a clean Halloween banner.
Image to Frame is a Canva app by Qrdy that turns a PNG, SVG or JPG into a frame you can fill. If you try this and a particular pumpkin file will not convert, a simpler silhouette almost always fixes it.
Frequently asked questions
Canva's Elements library has some seasonal frames and plain shape frames, but the choice of pumpkin-shaped photo frames is limited. Search "pumpkin frame" in Elements first; if nothing fits your design, you can turn any pumpkin PNG or SVG into a frame with Image to Frame.
A PNG or SVG with a transparent background and a clean outline works best (up to 5MB in Image to Frame). A solid-filled pumpkin silhouette gives the most reliable result; very tangled artwork may not convert.
Yes, but keep the face simple. Large triangle eyes and a wide mouth become cut-outs in the frame, so the photo shows through the shape and the face reads clearly. Tiny details tend to disappear.
Related products


More from QRdy Blog
What Is a Perpetual Calendar? Meaning, Types, and How to Make One in Canva
A perpetual calendar works in any year because it never prints one. Learn what it is, the main types, how it works, and how to build a reusable birthday version in Canva.
10 Family Planner and Calendar Ideas You Can Make in Canva
Ten printable family planner ideas you can build in Canva with Calendar Maker: a fridge calendar, chore chart, birthday calendar, meal plan, carpool grid and more. Honest notes on where Canva's built-ins are enough.

Image to Frame vs Trace to Frame: Which Canva App Makes Your Custom Frame?
Need a custom-shaped frame in Canva? Image to Frame converts a PNG, SVG or JPG; Trace to Frame lets you click points to draw a polygon. Here is when each one wins, with a side-by-side table.