
How to Make a Photo Strip in Canva (Photo Booth Style, Print or Digital)
A photo strip is just four photos stacked in a 2×6 inch column — but getting the cells even and the print size right is where most people get stuck. Here's the step-by-step in Canva, plus a faster way using Frames Lab.
A photo strip looks like the easiest thing in the world to design. Four photos, one column, done.
Then you actually try it, and you find out the fiddly part is not the photos — it is getting four cells that are exactly the same height, with exactly the same gap, on a canvas that is the right physical size to cut out afterwards. Eyeball it and you end up with a strip where the bottom photo is 3 pixels taller than the rest, which nobody consciously notices but everybody feels.
Here's how to do it properly in Canva — the free way first, then the faster way.
First, decide the size (this is the step people skip) #
A classic mall-photobooth strip is 2 × 6 inches, four photos stacked vertically, with a small caption or logo bar at the bottom. That is the size to copy if you want the nostalgic look.
A few variations worth knowing:
| Format | Size | Cells | Typical use |
|---|---|---|---|
| Classic strip | 2 × 6 in | 4 | Wedding favours, party keepsakes |
| Modern booth strip | 2 × 6 in | 3 + logo bar | Branded event booths |
| Double strip sheet | 4 × 6 in | 2 strips side by side | Printing at a photo lab |
| Digital / Instagram strip | 1080 × 1920 px | 3–4 | Stories, Reels covers |
If you plan to print, start a custom size design in inches, not pixels — Canva exports print-ready PDFs based on the physical dimensions, and starting in inches saves you a DPI headache later.
Method 1: Canva's built-in grids (free, good enough) #
Canva ships with grids and frames, and one of the grid options is a single column split into rows. That is a photo strip.
- Create a design at Custom size → 2 × 6 in.
- Open Elements → Grids and scroll to the vertical stacked options. Pick the one with the number of rows you want (Canva usually offers 2, 3 and 4 in a single column).
- Drag the grid so it fills the canvas, then pull it in slightly on all sides so you have a white border — that border is what makes it read as a photo strip rather than a collage.
- Drag your photos from Uploads straight onto each cell. They snap in and crop automatically.
- Double-click any cell to reposition or zoom the photo inside it.
- Add the caption bar: draw a rectangle below the grid in your background colour, then put your text on top of it.
That last step matters. Do not use a fifth grid cell for the caption — keep the text as a separate element so you can swap photos later without knocking it out of place.
Where this method runs out: you get the row counts Canva decided to ship. If you want five cells, or a 4px gap instead of Canva's default, or rounded corners on every cell, you are stuck nudging things manually.
Method 2: Frames Lab (when you want exact numbers) #
Frames Lab is a QRdy app that runs in the Canva side panel and builds frames from parameters instead of from a preset library. For a photo strip you want its Grid mode.
- Open Frames Lab in your 2 × 6 in design (Apps → Frames Lab).
- Go to the Create tab and pick Grid from the create-mode strip along the top.
- Under Layout, set columns = 1 and rows = 4. That is your strip.
- Set the gap — this is the white line between photos. Somewhere around 2–4% of the strip width reads as classic; wider looks more like a modern collage.
- Optional: open Advanced for rounded corners, or Border to add a coloured outline and set its thickness.
- Hit Add to design. The frame auto-scales to fit the canvas you have open, so you do not have to resize it by hand.
- Drag a photo — or a video — into each cell.
Two things worth knowing before you go wild with it: the grid is capped at roughly 30 cells, so a 1 × 4 strip is nowhere near the ceiling but a 6 × 6 mosaic might be, and the free tier limits how many frames you can add before it prompts you to upgrade to Pro.
The reason to reach for this over Canva's grids is repeatability. If you are making twelve strips for a wedding, typing 1 × 4, gap 3 twelve times gives you twelve identical strips. Eyeballing it twelve times does not.
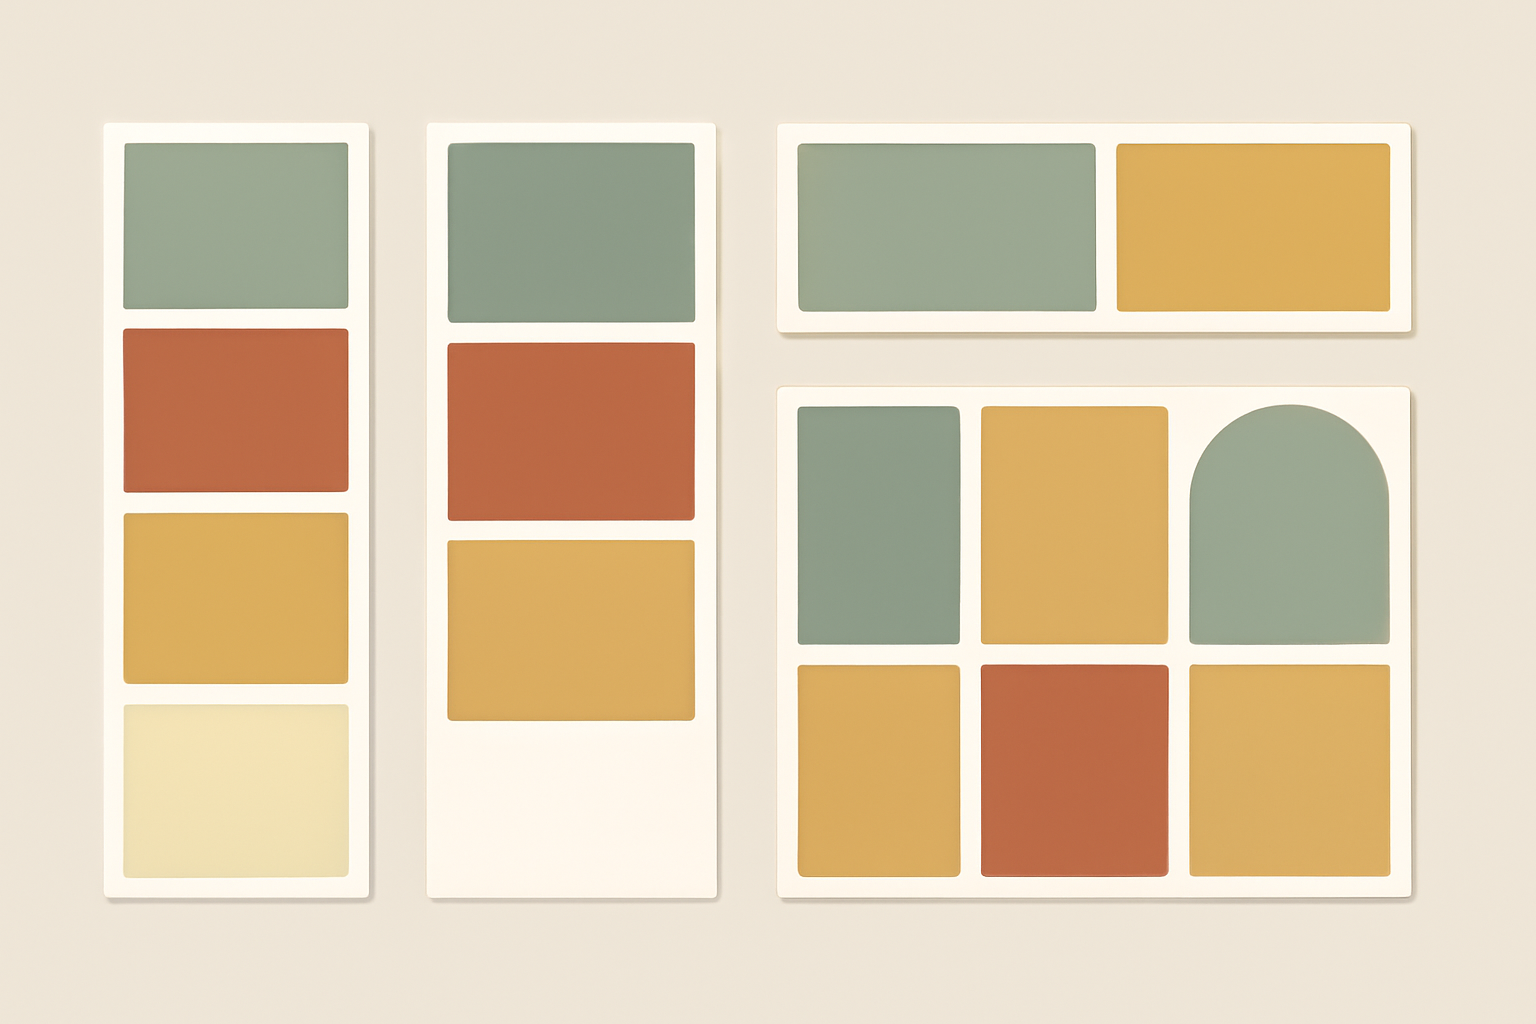
Method 3: Frame Collage, for the non-rectangular version #
If you want something less literal — a strip where the cells step diagonally, or a heart made of small photo squares next to your strip — Frame Collage works differently. It gives you a matrix (8×8 up to 32×32) and you toggle individual cells on and off, pixel-art style, then every live cell becomes a Canva frame.
It is overkill for a plain four-photo strip. It is the right tool the moment you want a shape.
Printing it: fitting strips on a 4×6 #
Home printers and photo labs both hate 2 × 6. Nobody sells that paper. What you do instead is gang them up on a standard size.
- Start a second design at 4 × 6 in.
- Export your finished strip as a PNG with a transparent background off (you want the white border to survive), then upload it back into Canva.
- Place two copies side by side on the 4 × 6, leaving 2–3 mm between them and a small margin at the edges.
- Add a faint dashed line down the middle if you want a cut guide — Elements → Lines, then set the line style to dashed.
- Download as PDF Print with crop marks off. PNG works too, but PDF Print keeps the resolution honest.
- Print on photo paper or 250gsm+ card, then cut.
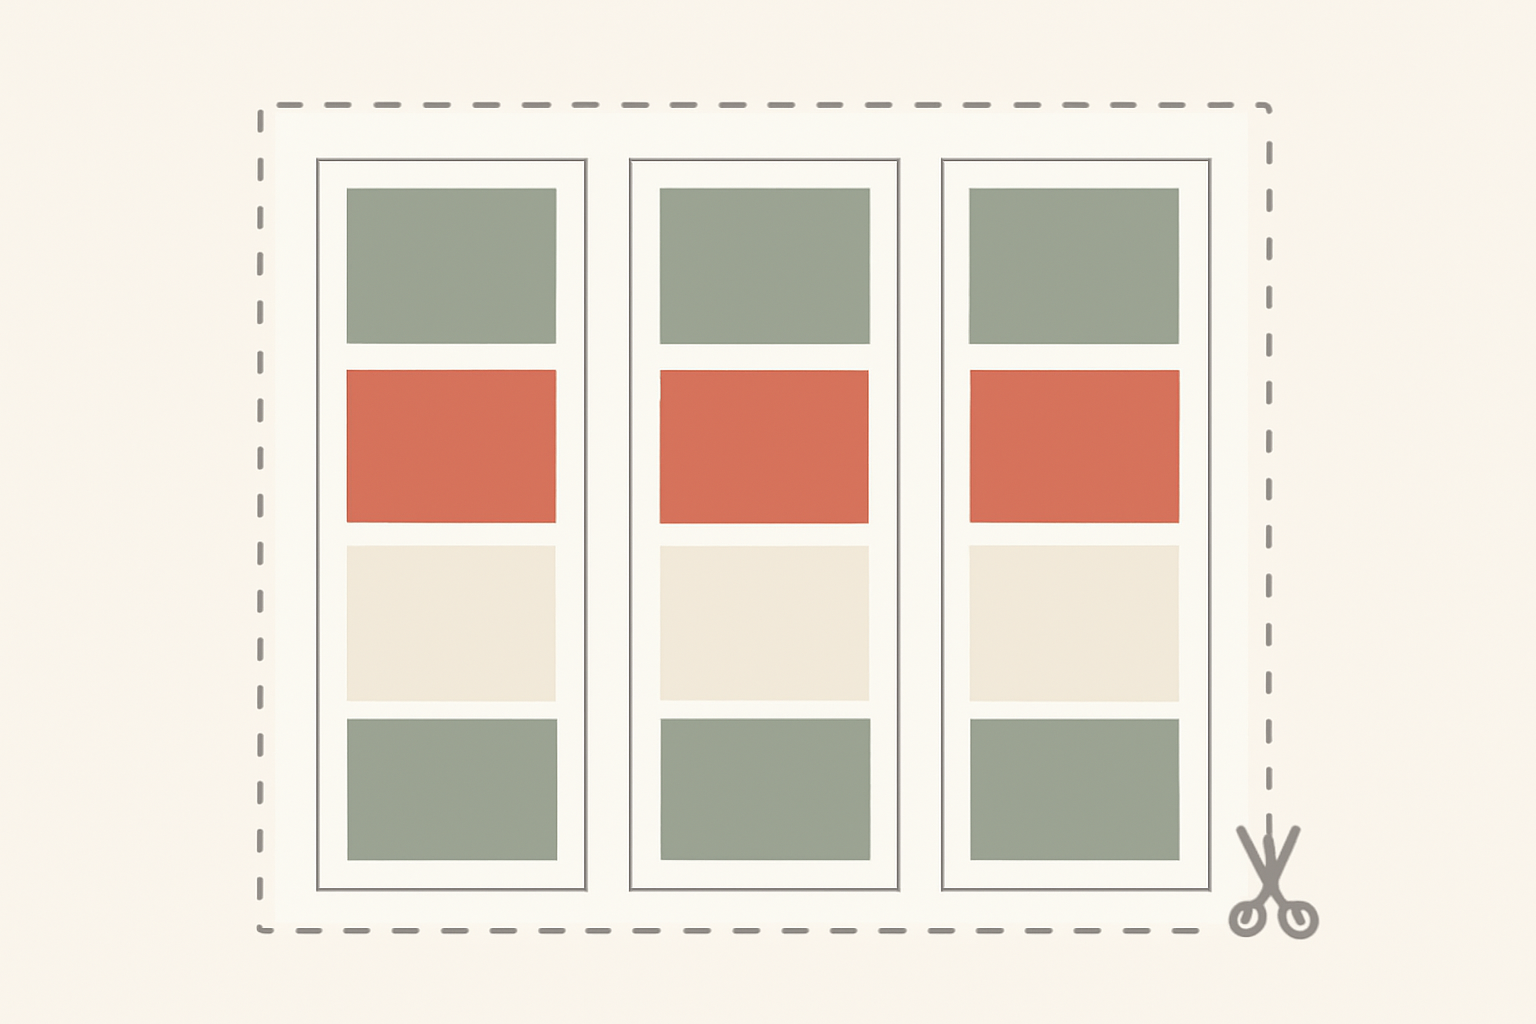
If you are sending to a lab rather than printing at home, ask for 4 × 6 borderless and keep everything important 3 mm inside the edge — labs trim, and they are not gentle about it.
Five details that make a strip look real #
- Convert to black and white for one or two cells, not all four. Real booths were inconsistent. Perfectly matched colour grading across all four reads as "designed", which is the opposite of the look.
- Keep the gaps equal but the bottom margin bigger. The classic strip has a taller white area under the last photo — that is where the date or venue name went.
- Crop tight. Booth photos were shot from about a metre away in a tiny box. Wide, airy crops break the illusion instantly.
- One caption, small, at the bottom. A date, a name, a venue. Not a paragraph.
- Add a subtle border if it will sit on a white page. A 1–2px warm grey outline stops the strip dissolving into the background. Frames Lab's Border setting does this at the frame level so you do not need a separate rectangle behind it.
Which method should you actually use? #
If you need one strip, right now, use Canva's built-in grids. It is free, it is three clicks, and the result is fine.
If you need a set of strips that match, or a cell count Canva does not offer, or precise control over the gap and corner radius, Frames Lab's Grid mode is worth the app install — you are typing numbers instead of dragging rectangles, and numbers are repeatable.
And if you want the strip to be a shape rather than a column, that is Frame Collage's job.
Frequently asked questions
The classic mall-photobooth strip is 2 x 6 inches with four photo cells stacked vertically. Each cell ends up roughly 1.8 x 1.2 inches once you account for the white border and the caption bar at the bottom. Some modern booths print a wider 2 x 6 with only three photos and a bigger logo area, and event booths often use 4 x 6 with two identical strips side by side. If you are printing at home, 2 x 6 is the safest starting size.
Yes. Canva's built-in Grids (Elements > Grids) include a 1-column, multi-row grid that works as a photo strip, and it is free. The trade-off is that you get whatever row counts Canva ships - you cannot type in an exact number of cells or an exact gap. Frames Lab lets you set columns, rows and gap numerically, and it has a free tier with a limit on how many frames you can add before upgrading.
Two 2 x 6 strips fit on a 4 x 6 print with a hairline of margin, or three narrower 1.3 x 6 strips if you want more per sheet. Set your Canva design to 4 x 6 inches, place the strips side by side, leave a few millimetres between them for the scissors, and export as PDF Print so the printer does not resample your image.
Do not make it a fifth photo cell. Build your strip with four cells, then add a plain rectangle underneath it in your background colour and put the text on top. Keeping the caption outside the frame means you can drag photos in and out without ever disturbing the text.
Related products


More from QRdy Blog
What Is a Perpetual Calendar? Meaning, Types, and How to Make One in Canva
A perpetual calendar works in any year because it never prints one. Learn what it is, the main types, how it works, and how to build a reusable birthday version in Canva.
10 Family Planner and Calendar Ideas You Can Make in Canva
Ten printable family planner ideas you can build in Canva with Calendar Maker: a fridge calendar, chore chart, birthday calendar, meal plan, carpool grid and more. Honest notes on where Canva's built-ins are enough.

Image to Frame vs Trace to Frame: Which Canva App Makes Your Custom Frame?
Need a custom-shaped frame in Canva? Image to Frame converts a PNG, SVG or JPG; Trace to Frame lets you click points to draw a polygon. Here is when each one wins, with a side-by-side table.