
How to Make a Christmas Tree Photo Collage in Canva (Step by Step)
Turn your favorite family photos into a Christmas tree-shaped collage in Canva: two methods (a tree-shaped frame or a stacked grid), exact steps, print sizes, and tips so faces stay visible.
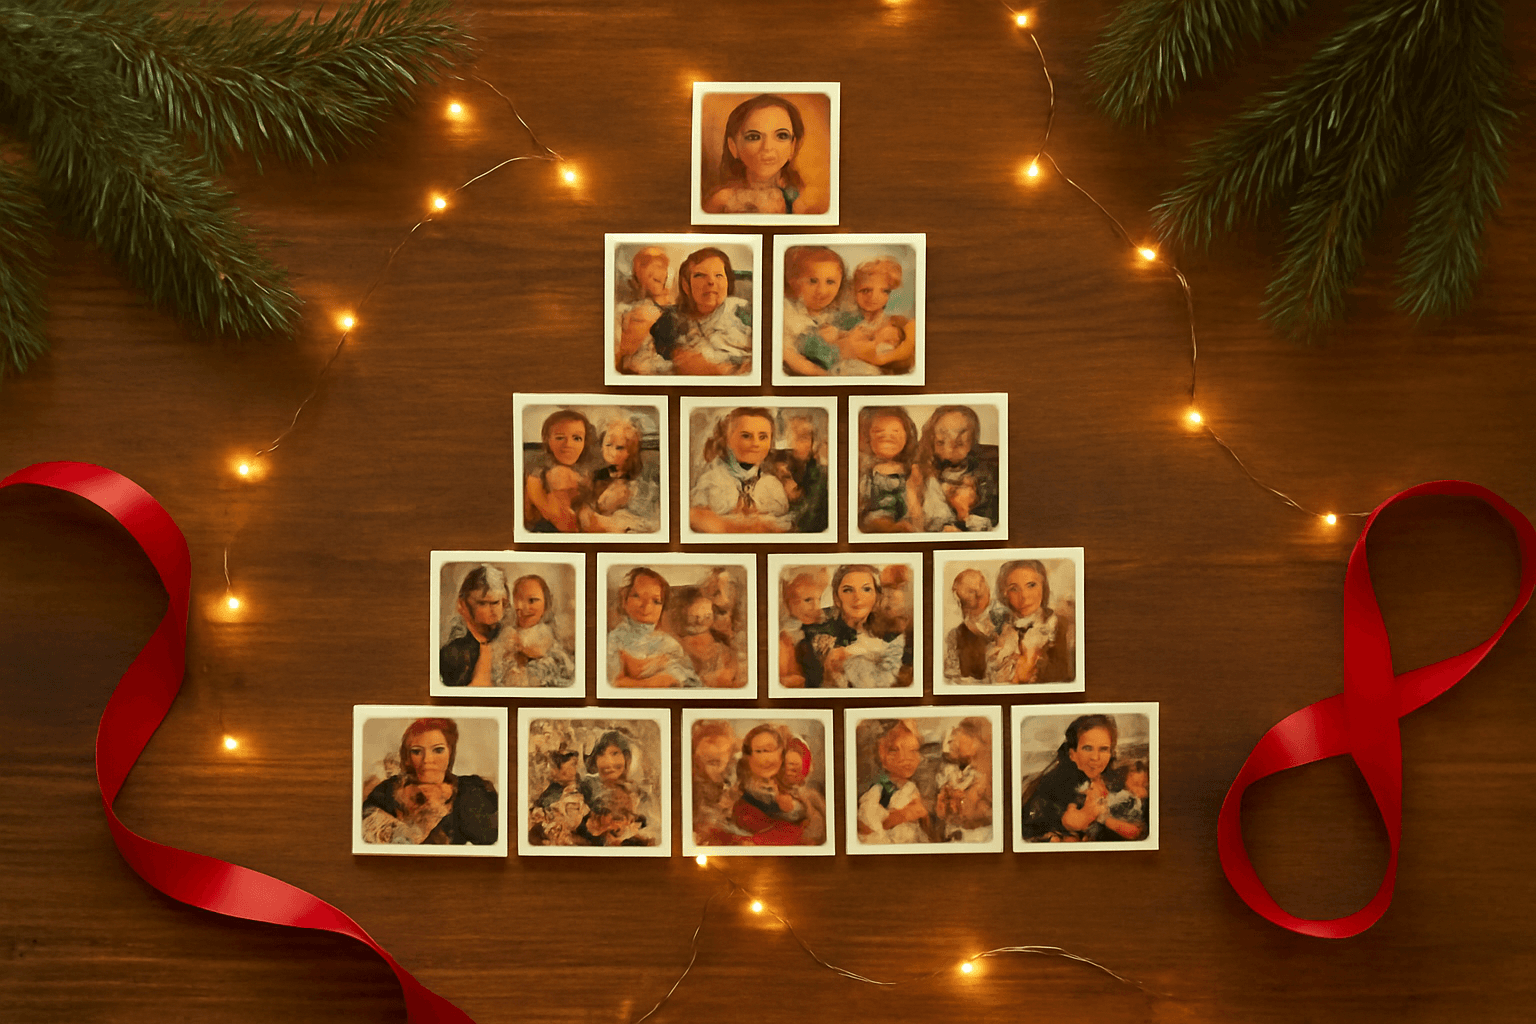
How to Make a Christmas Tree Photo Collage in Canva (Step by Step)
A Christmas tree photo collage is one of the easiest holiday gifts to personalize: one tree shape, a dozen of your best photos from the year, and a print you can frame, tuck into a card, or hang on the wall. The catch is that Canva doesn't ship a "tree-shaped photo collage" template that lets you choose the photos, so you build it yourself.
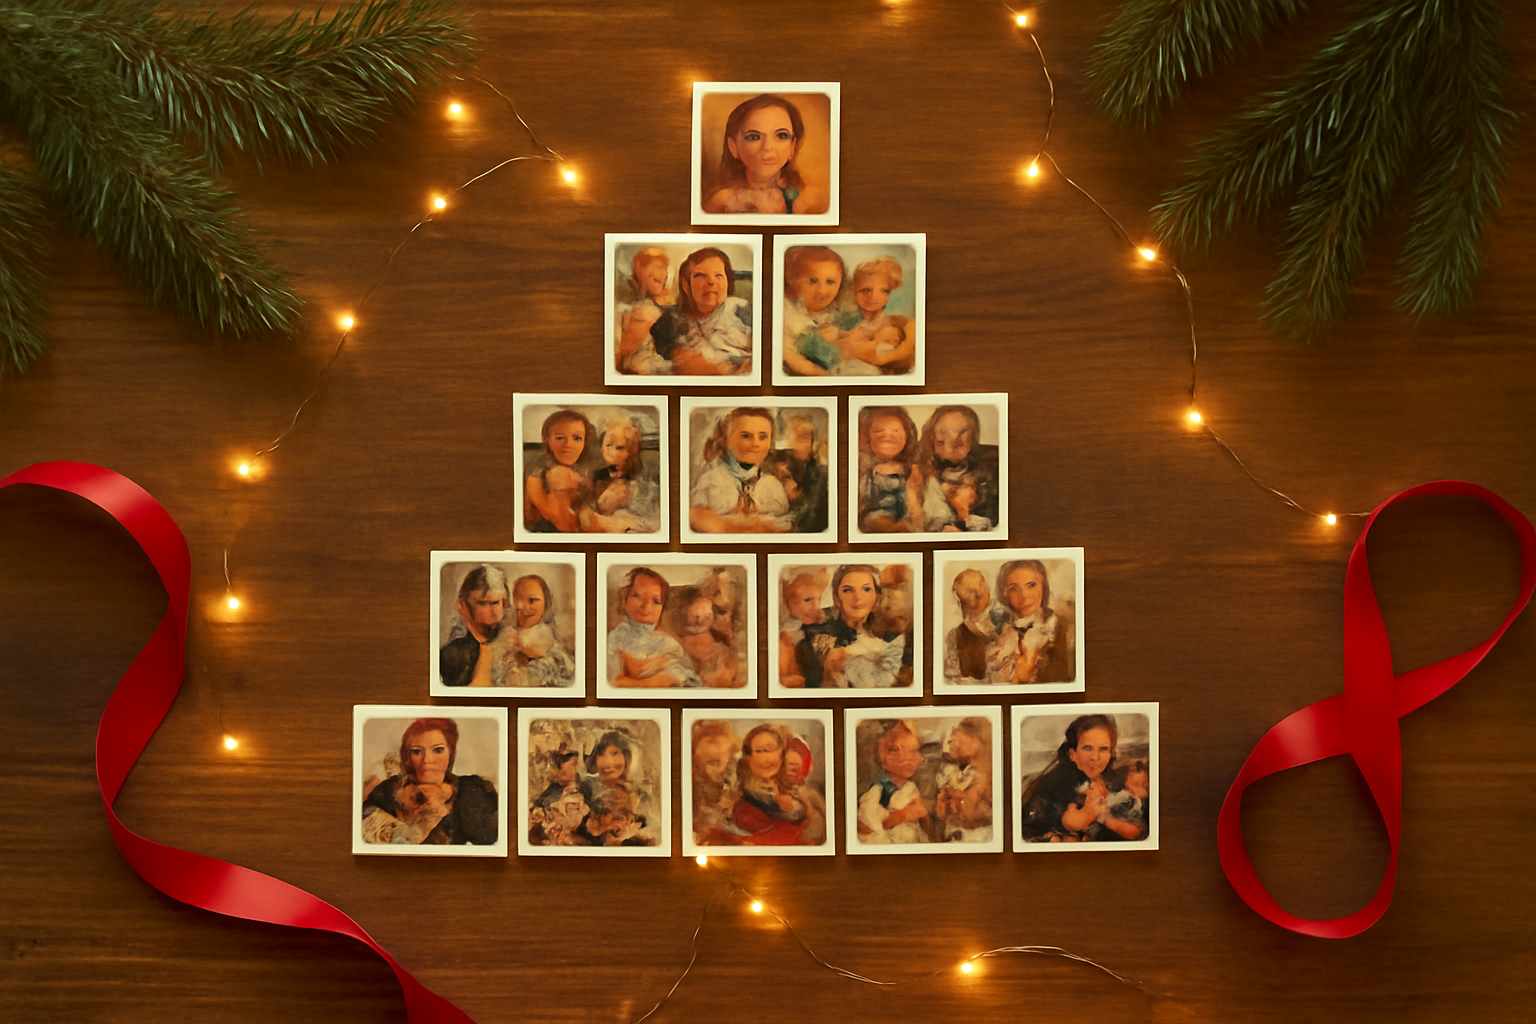
This guide shows two ways: a tree-shaped frame (photos fill a real tree silhouette) and a stacked grid (photos arranged in a triangle). Both take about 10-15 minutes.
Quick pick: which method? #
| Method 1: Tree-shaped frame | Method 2: Stacked grid | |
|---|---|---|
| Look | One tree silhouette filled with photos | Photos arranged as rows forming a triangle |
| Best for | A bold, graphic tree; one hero photo | Showing many separate photos clearly |
| Tools | Canva + Frames Lab app | Canva only |
| Time | ~10 min | ~15 min |
Before you start #
- Pick 10-15 photos. More than that and faces get too small to recognize.
- Choose one color feel (all warm, or all black and white). A consistent tone makes the collage look intentional.
- Pick a canvas size: 8x10 in (portrait) for a print, or 5x7 in for a card.
Method 1: Fill a tree-shaped frame (Frames Lab) #
Canva's built-in frames cover circles, squares and a handful of shapes, not custom silhouettes like a tree. Frames Lab is a Canva app that turns a shape in your design into a frame you can drop photos into.
- Open Canva and create a portrait design (8x10 in works well).
- Go to Elements and search "Christmas tree". Add a simple, solid tree graphic or shape (a plain silhouette works best; avoid ones with lots of tiny ornaments).
- Open Apps, search for Frames Lab, and open it.
- In the Create tab, choose Shape mode, then press Recheck design. The app lists the shapes it found in your design.
- Click the tree in the list to add it as a frame. Optionally set a Border color first (a thin gold or white border looks nice).
- Delete the original tree graphic and resize the new tree frame to fill the page.
- Drag a photo into the tree frame. It fills the whole silhouette, so pick a photo with room to crop.

One tree frame = one photo. If you want many photos inside a tree, combine the idea with Method 2, or place several smaller photos over the frame and use the tree as the border shape.
Tip: for a star on top, make a second small frame (a star shape works the same way) and drop your newest family photo into it.

Method 2: Stacked grid tree (no apps needed) #
This is the classic "photo tree" look: rows of photos widening toward the bottom.
- Create an 8x10 in portrait design and set a background (deep green, navy, or cream all work).
- Add a square frame from Elements → Frames and size it to about 1.4 in wide.
- Duplicate it so you have 1 on the top row, 2 on the second, 3 on the third, 4 on the fourth, 5 on the fifth. That's 15 frames.
- Use Position → Align and the spacing tools to center each row and keep equal gaps (about 0.1 in).
- Add a short trunk: a small brown rectangle centered under the bottom row.
- Drop one photo into each frame. Put your best, brightest photo at the top.
- Add a star on top (Elements → "star") and a line of text such as "Our 2026" under the trunk.
Prefer a faster start? Frames Lab also has a Grid mode with rows, columns and gap settings (keep it under about 30 cells), which is handy if you want to build one block of frames and trim it into a triangle.
Make it look good (and print well) #
- Crop faces into the center of each frame before you move on; Canva crops from the middle by default.
- Same-size faces: avoid mixing close-ups with far-away group shots in adjacent frames.
- Color match: apply the same filter or tint to every photo for a cohesive tree.
- Export: download as PDF Print at 8x10 in, or PNG if you're sending it digitally.
- Gift idea: print on matte paper and frame it. Matte avoids glare on the glass.
Free vs Pro #
Method 2 works entirely on a free Canva account. Frames Lab is free to start but limits how many frames free users can add; Pro removes that limit. If you only need one tree frame, the free allowance is usually enough.
FAQ #
Can I make a Christmas tree photo collage in Canva for free? Yes. The stacked-grid method uses only built-in frames. The tree-shaped frame uses Frames Lab, which has a limit for free users.
How many photos should I use? 10-15. A 5-row tree (1+2+3+4+5) gives 15 photos and still prints clearly at 8x10.
What size should I print? 8x10 or 11x14 in for the wall; 5x7 in with 6-9 photos for a Christmas card.
Ready to try it? Open Canva, add a tree shape, and start with Method 1; if you want more photos on show, switch to Method 2.
Frequently asked questions
Yes. The stacked-grid method uses only Canva's built-in grids and works on a free account. The tree-shaped frame method uses the Frames Lab Canva app, which has a limit on how many frames free users can add; Pro removes that limit.
Between 10 and 15 photos reads best. A stacked tree of 5 rows (1, 2, 3, 4, 5 photos) gives 15 photos and still keeps faces large enough to recognize when printed at 8x10 inches.
8x10 or 11x14 inches is a good range. For a Christmas card, use a 5x7 portrait layout with fewer photos (6-9) so each one stays readable.
Related products


More from QRdy Blog

What Is a Monogram? Meaning, Styles, and How to Make a Photo Monogram in Canva
A monogram is a design built from one or more initials. Learn the definition, the classic three-letter order rule, the main styles, and how to make a photo-filled monogram in Canva with Text to Frames.

10 Ý tưởng quà Giáng sinh cho ông bà tự làm trong Canva (lịch ảnh, khung ảnh, thiệp)
10 ý tưởng quà Giáng sinh cho ông bà tự thiết kế trong Canva: lịch ảnh gia đình, khung ảnh hình trái tim, thiệp tên bằng ảnh các cháu, lịch đếm ngược. Rẻ, cá nhân hoá và in được ở nhà.

Word Calendar Template vs Canva Calendar Maker: Which Should You Use?
Microsoft Word calendar templates are fast and familiar; Canva's Calendar Maker app is built for good-looking, printable calendars. Here is an honest side-by-side, with a clear verdict for each use case.